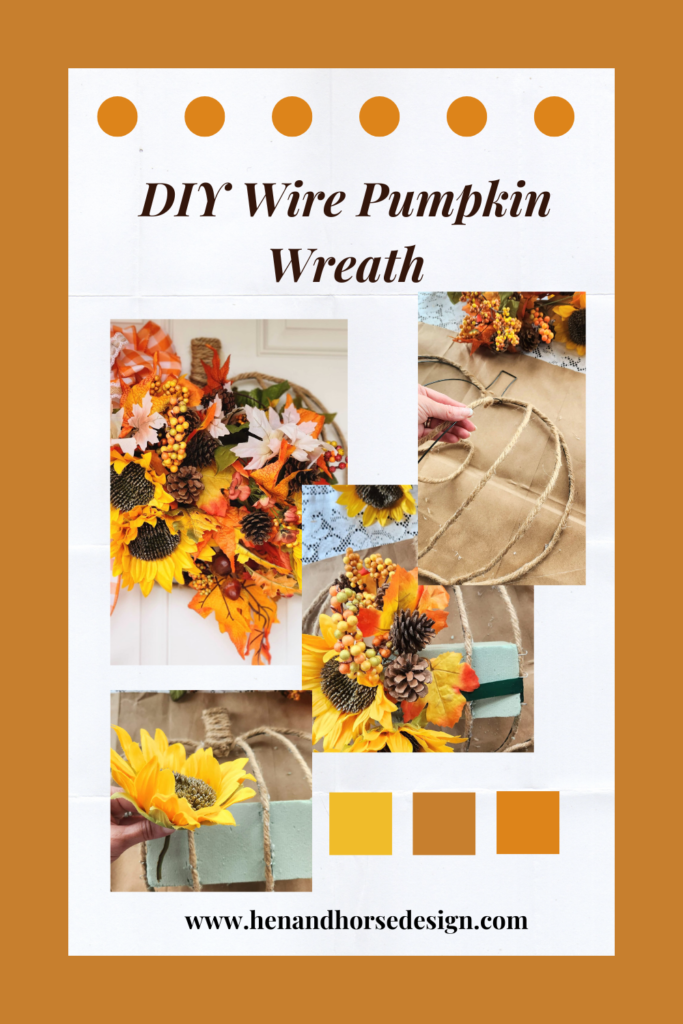
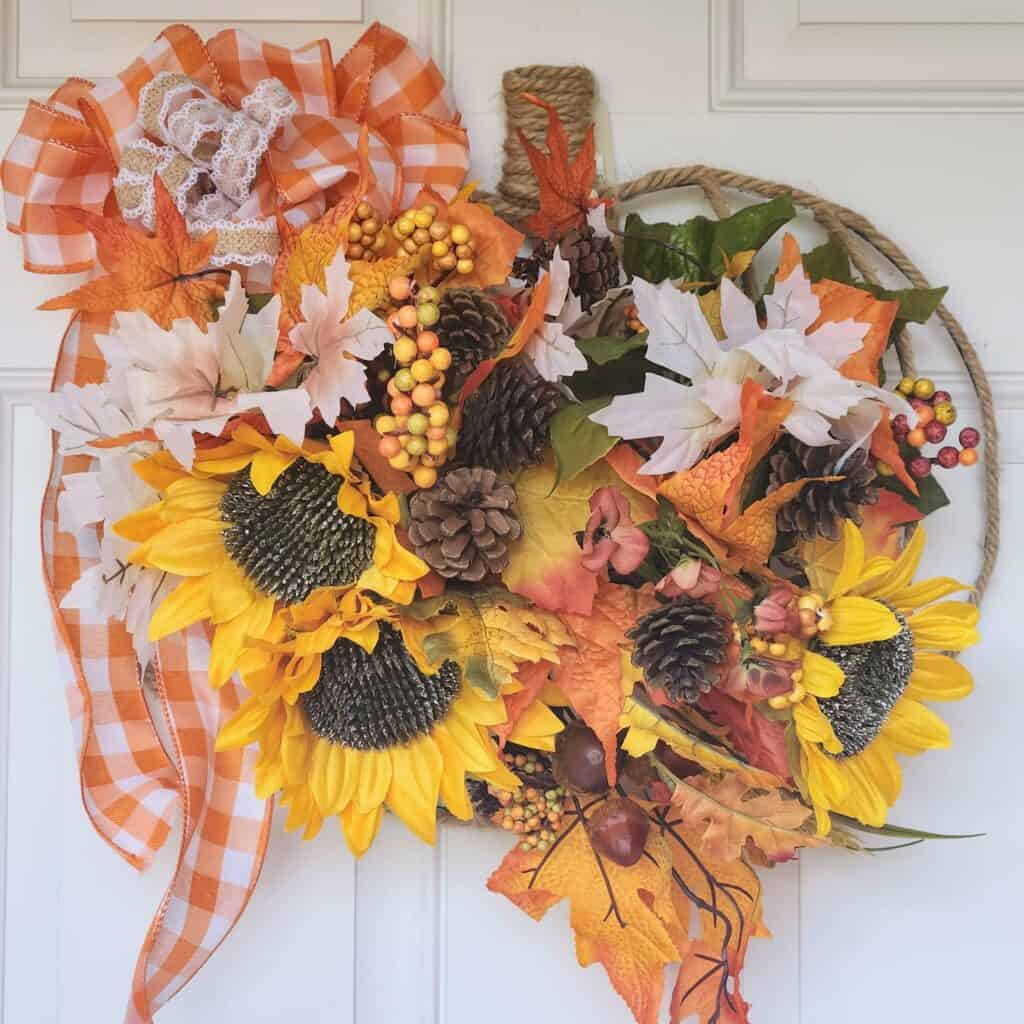
Easy Dollar Tree DIY Wire Pumpkin Wreath Tutorial
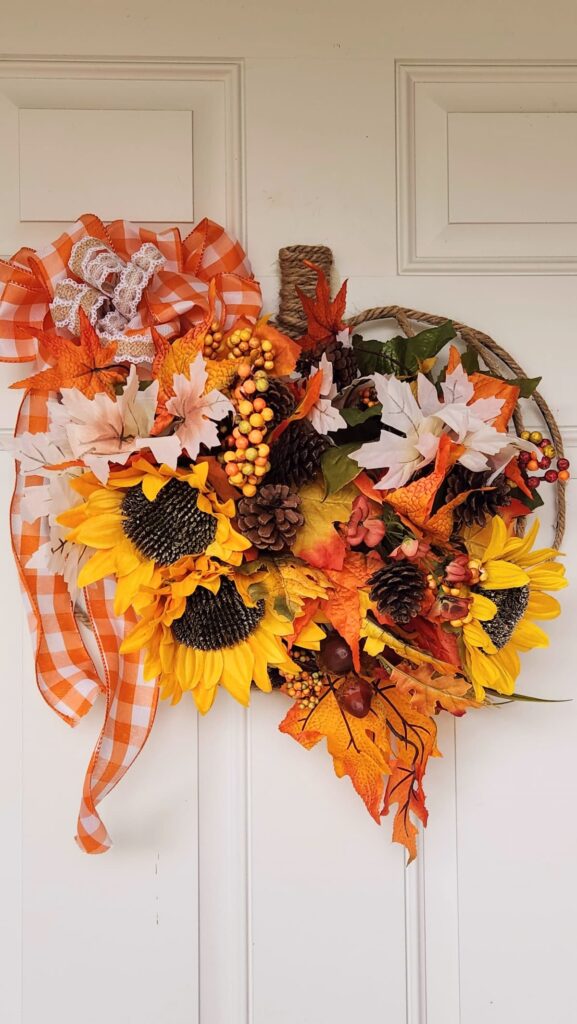
Get ready to twist and twirl your way into the coziest season of the year with my DIY Wire Pumpkin Wreath! One of my favorite things to make is a new front door wreath. It’s the quickest and best way to update your home with fall decor.
There are no tricks, just treats for this fall season! This fall wreath project is a perfect blend of simplicity and creativity, making it ideal for both beginners and seasoned DIY enthusiasts. Whether you’re a crafting novice or a pro, you’ll have a blast creating and decorating your very own wire pumpkin wreath.
So grab your wire frame, your crafting spirit, and a pumpkin spice latte, because we’re about to embark on a whimsical journey of wreath-making magic for your home decor.
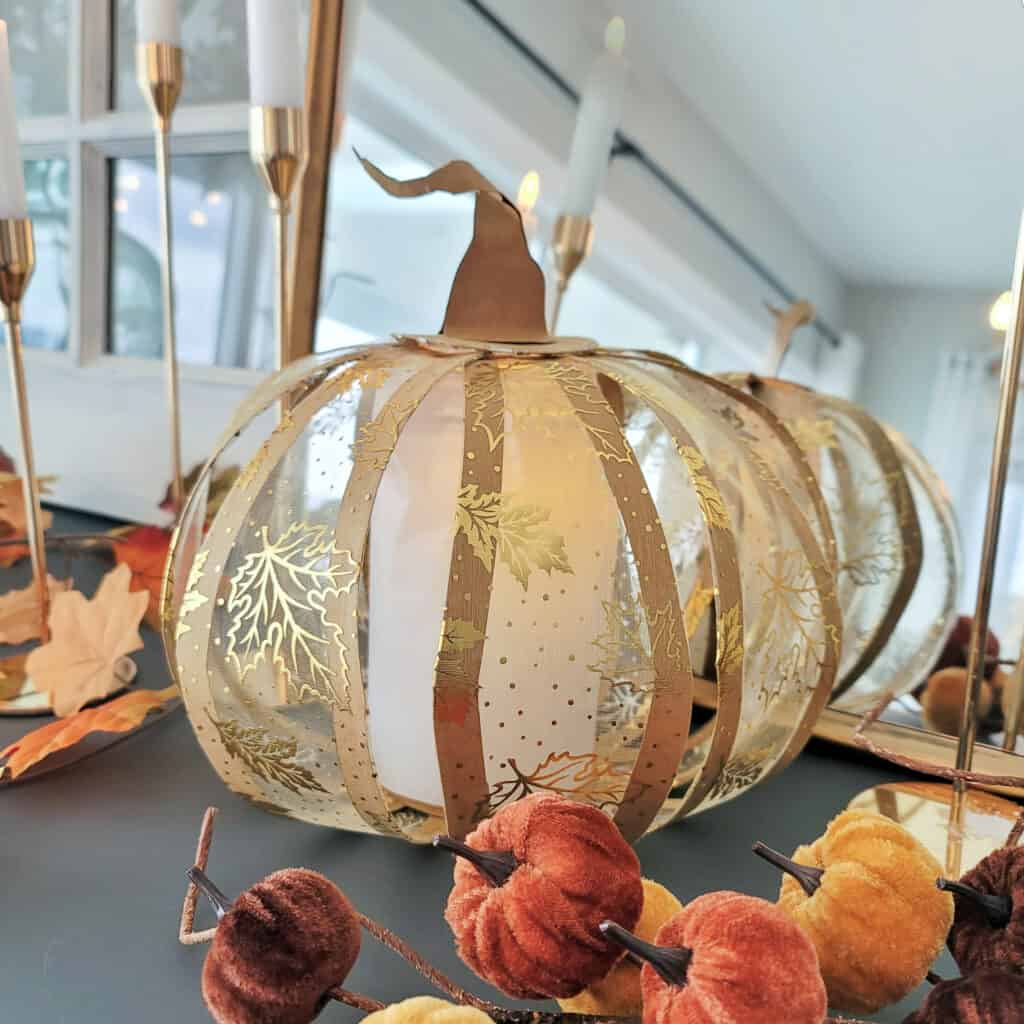
This month the Handcrafted Society challenge is to create a project with pumpkins as the medium. If you are coming over from Crystal at Sweet Valley Acres, welcome to Hen and Horse Design. I’m so pleased you stopped by! Wasn’t Crystal’s pumpkin lantern made from paper so clever? I love how she created the gold leaves and the darling little witch hat on top!
To see my last month’s Handcrafted Society project click on my post Easy to Make Fall Mantel Banner Using Leaves
Let’s get started with what you will need for the DIY wire pumpkin wreath.

What Materials You Will Need for this Project
- 1. Wire pumpkin wreath frame
- 2. Jute rope
- 3. Floral wire or Orange pipe cleaners (see how I used paperclips and electrical tape)
- 4. Artificial fall leaves
- 5. Several bunches of Faux florals (choose the colors you love)
- 6. Orange ribbon
- 7. Wire cutters
- 8. Hot Glue gun and glue sticks
- 9. Scissors
- 10. Floral foam
Step-by-Step Tutorial
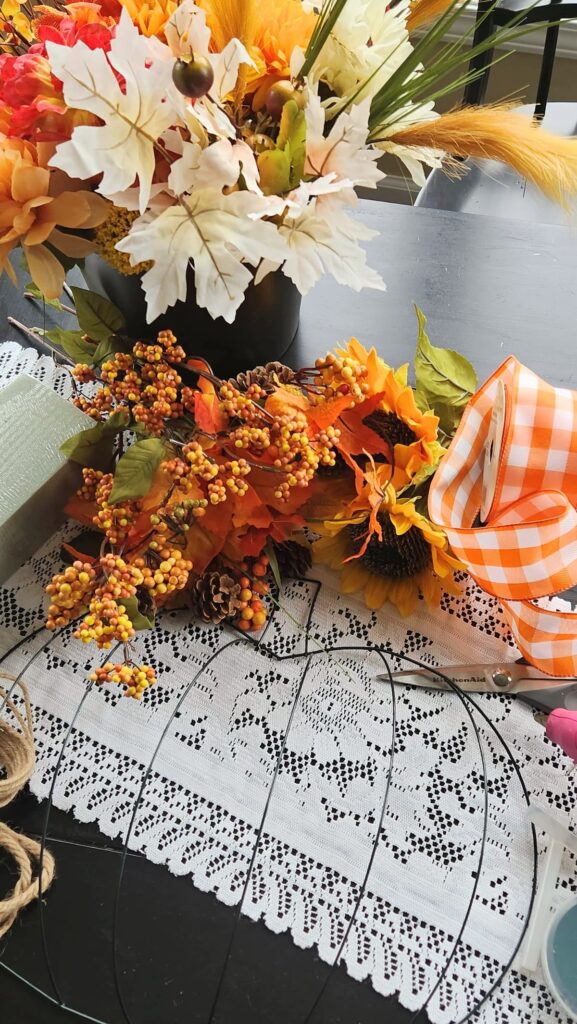
Step 1: Prepare your workspace
The first step is to prepare your workspace with all the supplies needed. I laid down a cut paper bag for any glue drippings or floral foam dust.
Rather than shape a wire wreath frame into a pumpkin shape, I opted to use a dollar tree pumpkin wreath form. You can also find them at Hobby Lobby. Using the premade wire pumpkin wreath form is not only cost-effective at $1.25 but it’s also a great way to save time.

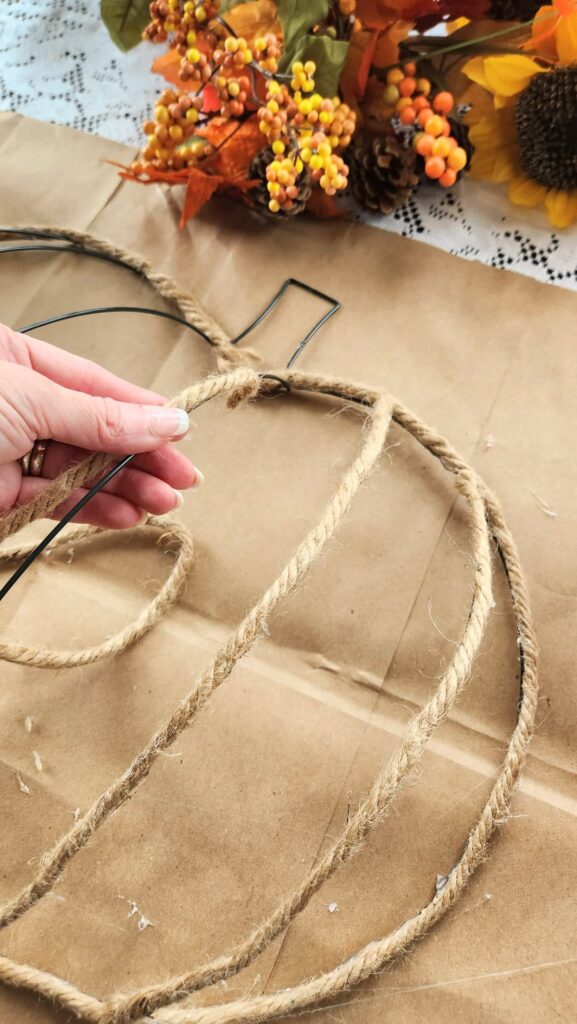
Step 2: Measure the twine
To get started on your darling pumpkin wreath first lay the wreath on a flat surface and start by measuring the twine to each of the metal bands. Cut each piece to the appropriate size.
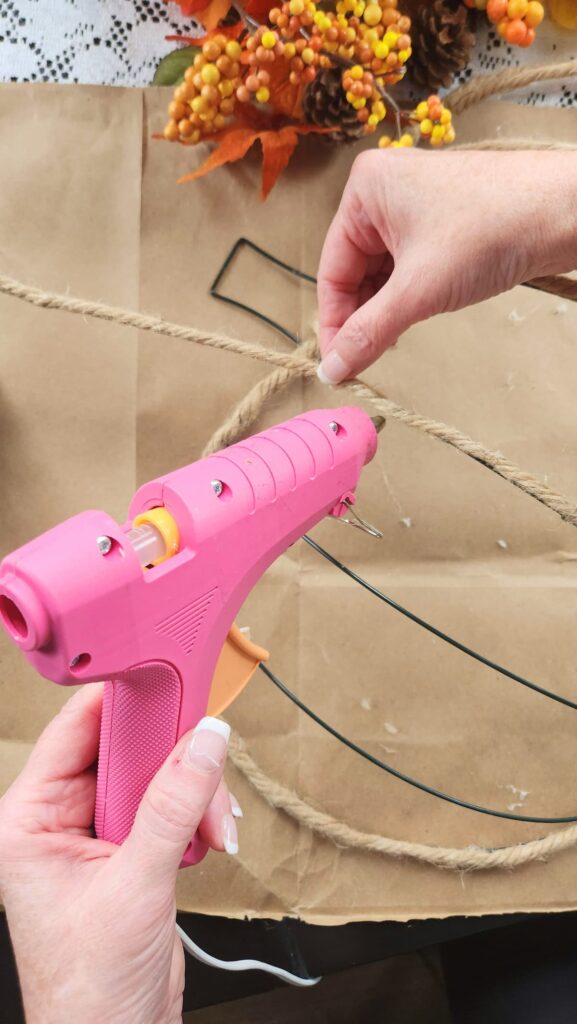
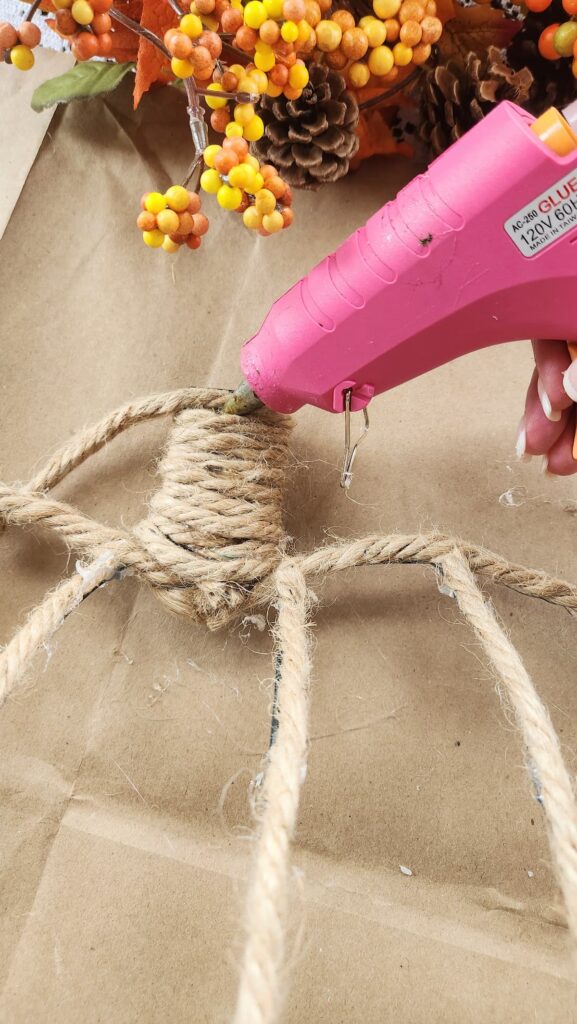
Step 2: Attaching the twine to the metal bands
Next using your hot glue gun slowly attach the twine to each of the metal bands.
I started at the top of the pumpkin and worked my way down from the stem of the pumpkin. I then went all the way around the circumference of the pumpkin. Tuck in the ends of the twine with hot glue.

Step 3: Cover the stem of the pumpkin frame
After the metal bands are covered, apply the same process to cover the stem of the pumpkin wire frame.
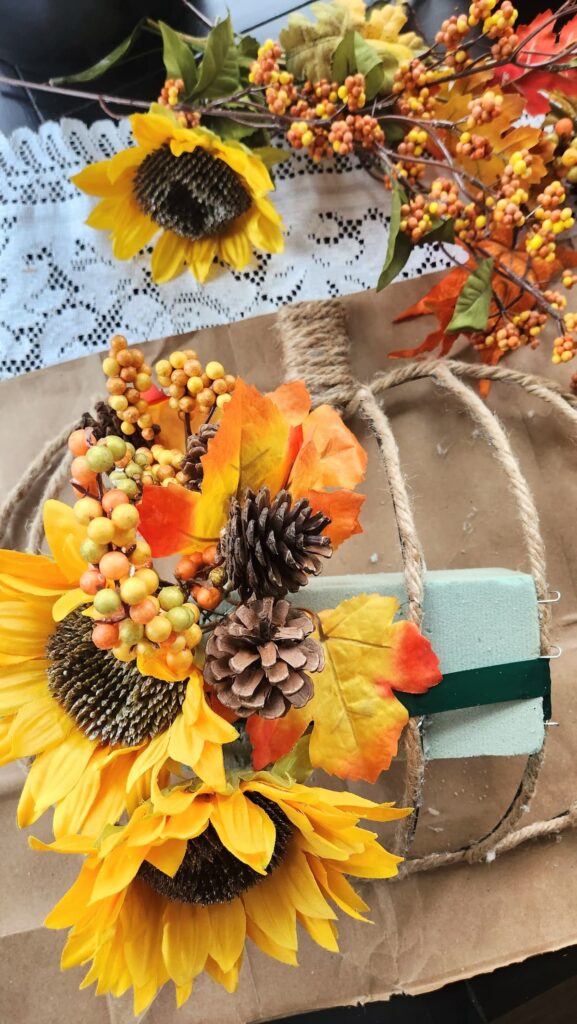
Step 4: Attach the foam block
The next step is to attach foam blocks with a piece of wire to secure the block to the dollar tree pumpkin frame. Another option is to use paper clips, floral wire, orange pipe cleaners, or electrical tape. The electrical tape was handy so I used that.
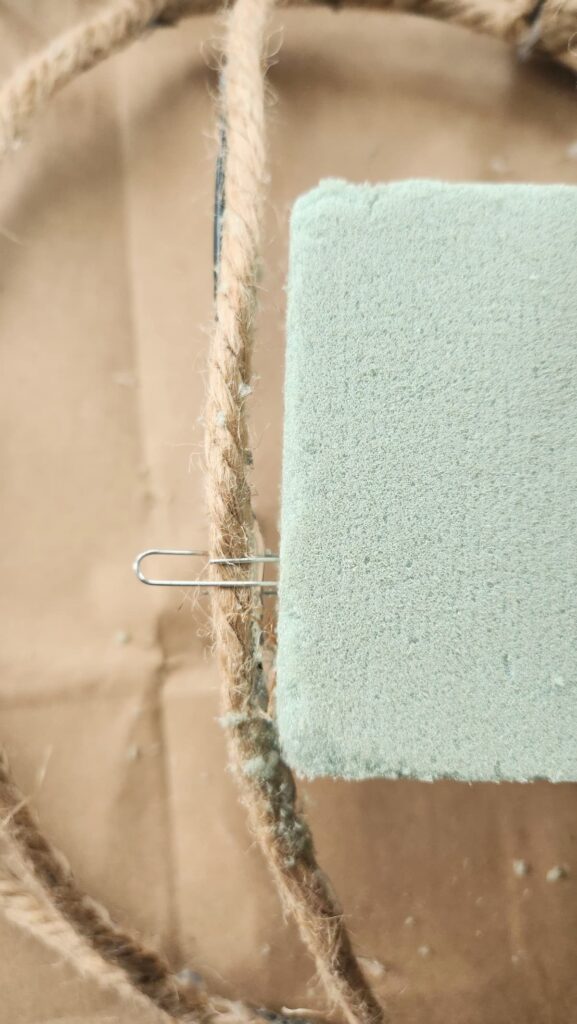
Using the paper clips I bent the clip to bend around the wire and then into the foam block.
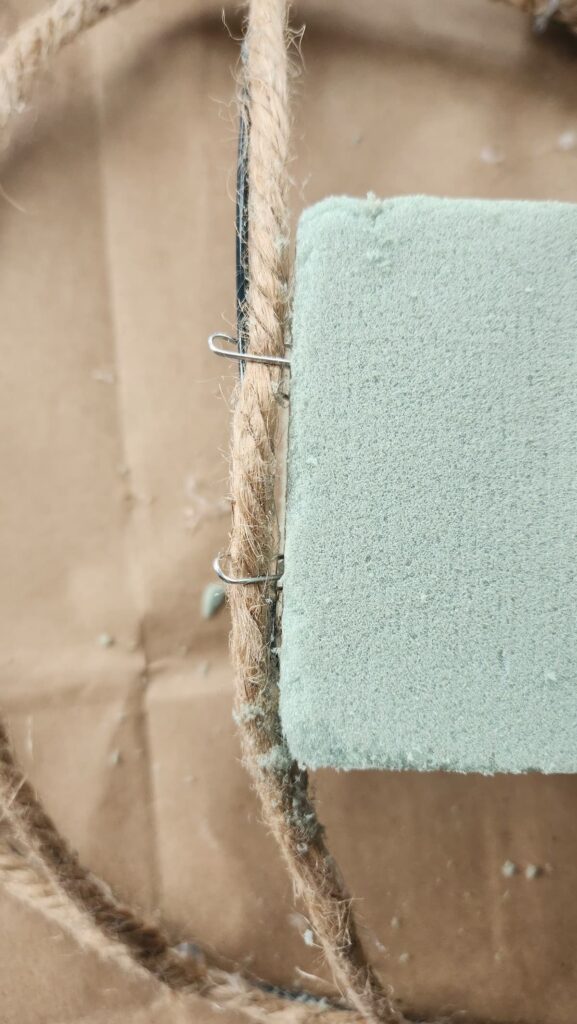
Once that was done, I added additional security to the block by running a piece of electrical tape around behind the back of the wreath and foam block until it further secured the foam brick.

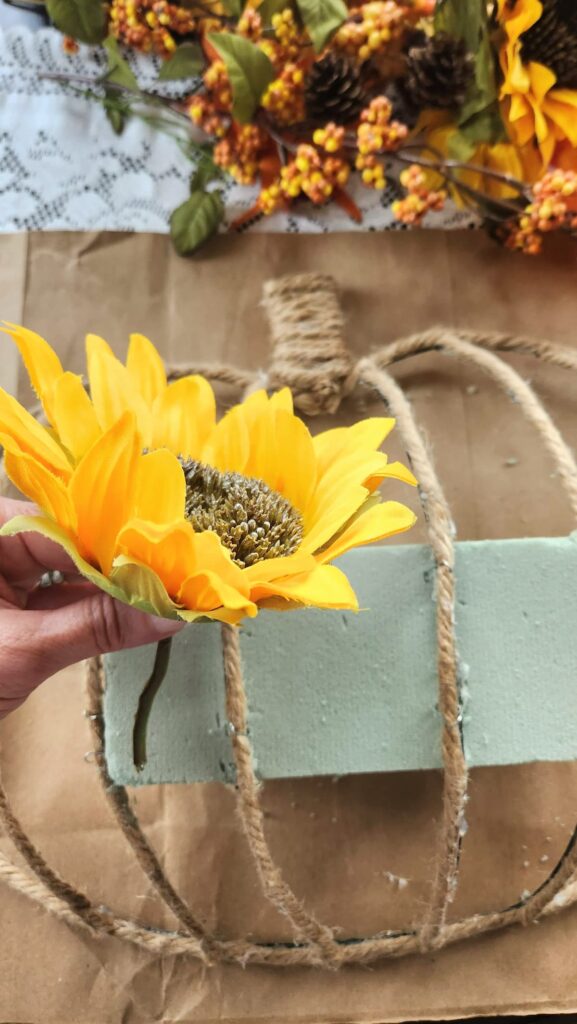
Step 5: Cutting the stems
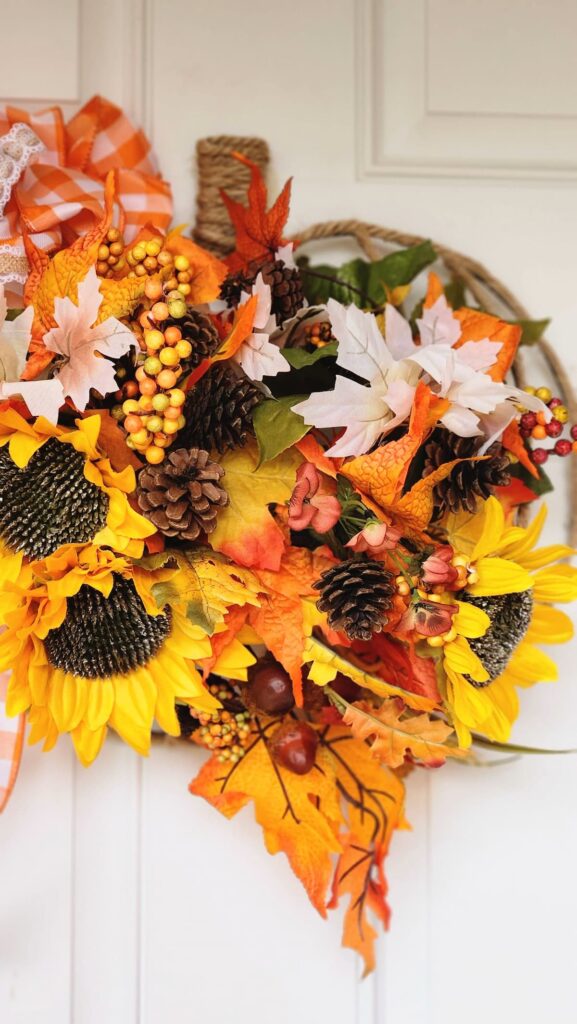
Cutting the floral stems to about three or four inches, stick the stems one by one into the foam. I arranged three or four sunflowers to begin, then added smaller flowers, pinecones, and leaves to fill in the pumpkin.
Step 6: Making a simple bow
Instructions for creating an orange ribbon bow
One of my favorite ways to add color and pop is to use a bright, colorful ribbon. The orange plaid ribbon was the perfect way to finish off my pumpkin wreath.
Fold the ribbon back and forth about eight to nine times, then twist the middle with a piece of floral wire.
For extra texture, I also added a burlap ribbon with white lace on it. Cut the ends of the ribbon on an angle for a finished look.
Step 7: Final touches
Feel free to add any additional touches, adjustments, or embellishments. I have several suggestions below to give your wreath a customized design.
Be sure to pin this to your Pinterest board for future reference. When it comes time to make your wreath it will be easy for you to refer to your DIY ideas board.

Tips for a Successful DIY Pumpkin Wreath Project:
How to Secure Items Firmly:
- Use Hot Glue Sparingly: While hot glue is a great adhesive, it can be messy and may show through thin materials. Apply it sparingly, and press items firmly in place for a few seconds to ensure a strong bond.
- Wire Wrapping: For extra security, consider wrapping wire around items like leaves and pipe cleaners before attaching them to the wreath frame. This will prevent them from falling off over time.
- Double Up: If you’re worried about items shifting, use double-sided tape or glue dots in addition to hot glue for added stability.
- Cable Ties: In some cases, cable ties (zip ties) can be used discreetly to secure larger or awkwardly shaped items in place.
Suggestions for Customizing the Design:
Customizing your design:
- Mix and Match Colors: Don’t limit yourself to the color orange. Experimenting with different colors of pipe cleaners, leaves, and ribbons will create your own unique pumpkin wreath that matches your decor.
- Add Embellishments: Consider adding small ornaments, acorns, or faux berries to give your wreath extra flair.
- Varied Leaf Shapes: Use leaves of different shapes and sizes to add depth and some visual interest to your fall wreath.
- Personalize with a Monogram: If you want to make your wreath even more personalized, consider adding a wooden or cardboard monogram letter to the design.
- Seasonal Transitions: Make your wreath versatile by swapping out elements such as a scary witch or turkey to transform it into a Halloween or Thanksgiving-themed decoration when the time comes.
Potential Challenges and How to Overcome Them:
- Uneven Shape: If your wreath frame doesn’t form a perfect pumpkin shape, use pliers to gently reshape it until you’re satisfied with the symmetry.
- Glue Strings: Hot glue can leave behind unsightly strings. To avoid this, keep a small bowl of cold water nearby. Dip your fingers in the water and quickly smooth out the glue as you work.
- Burned Fingers: Hot glue can be, well, hot! Be cautious and consider using a heat-resistant silicone finger guard to protect your fingertips while pressing items into place.
- Running Out of Supplies: Plan ahead and purchase more materials than you think you’ll need. Dollar Tree items can go out of stock quickly, so having extra ensures you won’t run out mid-project.
- Styling Challenges: If arranging leaves or attaching elements proves difficult, lay them out on a flat surface first to plan your design. This can help you visualize the finished product before committing.
Craft supply shopping list
Other related posts:
Easy to Make Fall Wood Door Hanger
It’s time to head over to see Michelle from Thistle Key Lane and her creative embroidery hoop pumpkin project. Wait until you see how she added the felt leaves to finish off this look. Each one is prettier than the next. I imagine the pumpkin hoops would look adorable in any home!
Remember, DIY projects are all about creativity and personal expression, so don’t be afraid to make adjustments along the way and let your imagination run wild. Happy crafting!


-
Rambling From The Roost: Volume 24
The little garden that thinks it’s big, a barn update, and a porch that’s finally coming together. Hi there, friend— pull up a chair, because I have things to tell you. The kind of things best shared over something cold and something good, because summer is doing her very best right now, and I am…
-
21 Simple Spring Home Tips and Decorating Ideas
There is something about the change of seasons that makes me want to throw open every window, pull back every curtain, and breathe in all that fresh air. Spring is a time of renewal — a fresh start after the cold winter months — and honestly, it is one of my favorite times of year…
-
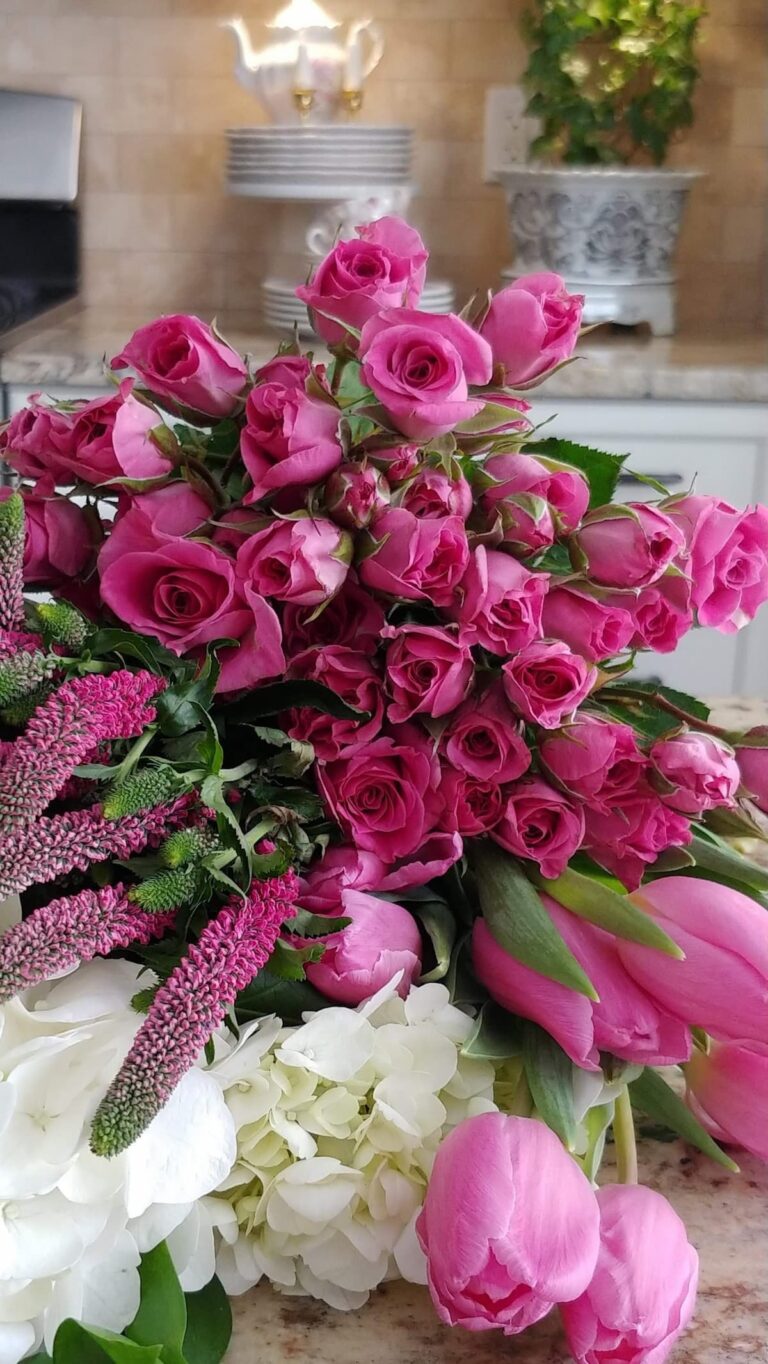
Trader Joe’s Flowers What to Buy: Best Spring Guide
There is something that happens to me every single week without fail. I walk into Trader Joe’s with my list — olive oil, lemons, seafood blend — and without even meaning to my cart takes a hard left turn straight into the flower section. Every time. I cannot be stopped. If you’ve never lingered in…
-
Charcuterie Board Serving Size: The Perfect Guide
Long before anyone called it a charcuterie board, my family was making them. A platter of meats, cheeses, crackers, whatever looked good — it just appeared at every gathering without anyone thinking twice about it. We didn’t have a name for it. We just knew it disappeared fast. 😄 These days, the charcuterie board has…
-
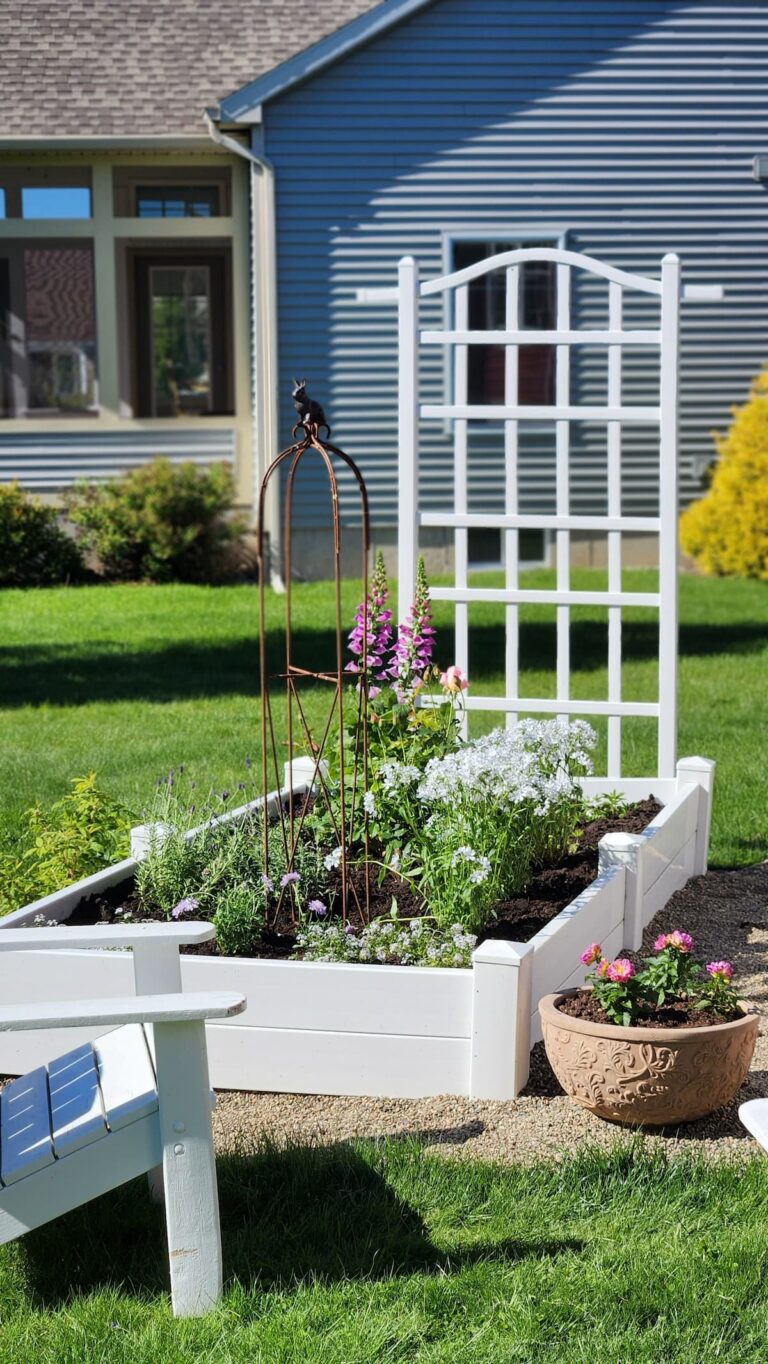
What to Plant in Spring Garden: Best Guide and Tips
There is something about this time of year that makes me want to throw open the back door, pull on my garden gloves, and just dig. You know that feeling? That restless, hopeful, let’s-make-something-beautiful energy that arrives right along with the first warm days? That’s exactly where I am right now — standing in my backyard…
-
Rambling from the Roost: Volume 23
The one where we escape to our favorite island, eat very well, and I share a few things you might have missed on the blog. Oh friend, pull up a chair. Pour yourself something cold — or hot, depending on where you live — because it’s time for another Rambling from the Roost. These little…


Such a great project Susan. I love that you added the twine to the form rather than leaving it bare – that was a beautiful touch. This looks so happy and festive! What a wonderful way to greet your guests!
Thank you Crystal. It was a fun project.
I have one of these dollar tree wire pumpkins but I had no idea what to do with it! This is so cleaver and beautiful! Love it!
I can’t wait to see what you do with it! Thank you for stopping by!
What a bright, fun accent to great everyone at the door. There is no debating, it saying something like “Fall is here and there is a fun spirit waiting inside for you”.
It’s perfect for your bright, cheery personality!
You are so kind Diane! Thank you for stopping by! I hope you are enjoying Fall where you live!
Excellent tutorial Susan! I love seeing how it all comes together, and what a gorgeous fall wreath to welcome guest! Pinning!
So kind Michelle. Thank you! It’s such a great time of year for fun projects.
This is so beautiful, Susan! I love seeing how your created this…very clever! Your colors and textures are perfect for the fall season!
I appreciate that Missy. A fun and easy project for fall.
Those Dollar Tree frames are so fun to work with! Cute project!
Thank you Jennifer. They really are fun to use!
Thanks for sharing this awesome tutorial! I’m excited to try it out for the upcoming fall season. Do you have any additional tips or variations for personalizing the wreath to match different home decor styles?
Yes, for sure! I would select your florals to make your home decor. Add a sash with your initials on it or a pretty emblem. Another idea would be to use something specific to your home whatever that might be that you collect.