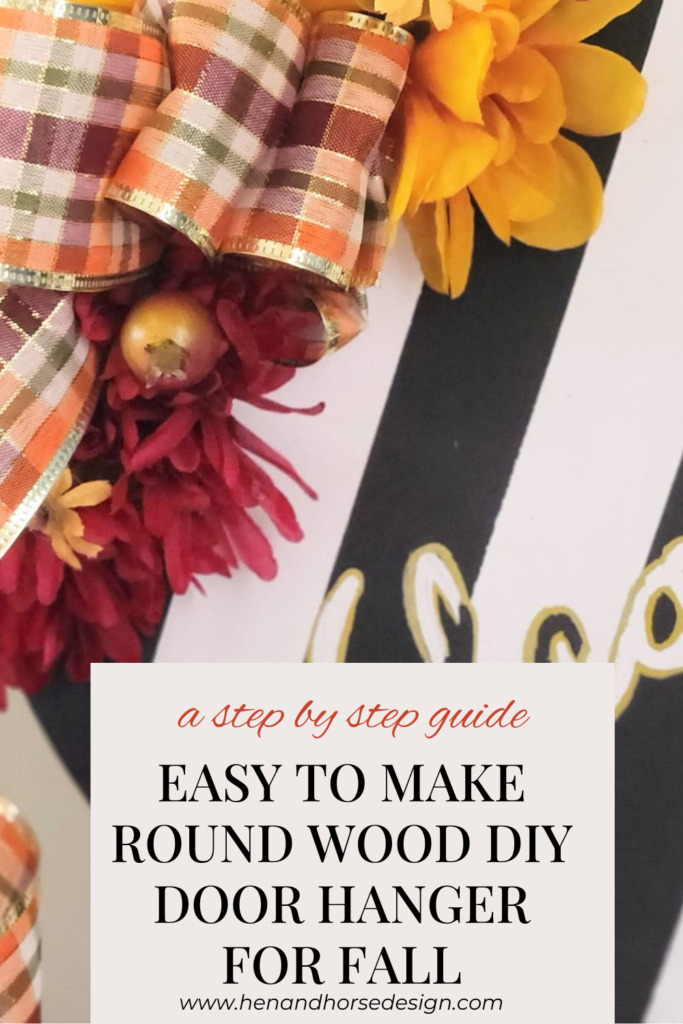
Easy to Make Round Wood DIY Door Hanger for Fall
Hey there, crafty friend! Are you ready to dive headfirst into the wonderful world of DIY door hangers? Picture this: a cozy afternoon with your favorite tunes playing in the background, a table overflowing with colorful paints and craft supplies, and an empty wooden door hanger just waiting for your creative touch. It’s like a mini canvas for your front door, and trust me, the possibilities are endless for a new pretty welcome sign.
I’ll guide you step by step through the process, so whether you’re a seasoned DIY enthusiast or just dipping your toes into the crafting world, you’re sure to have a blast and end up with a stunning fall door hanger that’s uniquely yours.
So grab your paintbrush, unleash your inner Picasso, and let’s turn that plain ol’ wooden circle into a masterpiece that’ll make your neighbors do a double-take!

Before we begin I want to share this with you. Creating the perfect home doesn’t have to break your budget or dampen your enthusiasm.
I made this easy and inexpensive DIY door hanger from a Dollar Tree run for under $7.00. (I already had the acrylic paints)
It’s not perfect but it was fun to make. Remember perfection isn’t everything!! If you’ve been holding back because you think you have to make it look perfect, this is your sign to start creating! It was fun simply creating something from nothing, and that’s the point. Have fun!
Benefits of Making Your Own DIY Door Hanger
Creating your own DIY door hanger allows for personalization and creative expression, making it a unique addition to your home decor. It also provides a cost-effective and eco-friendly way to enhance your space while enjoying a fun crafting project.
I recently was invited to join The Handcrafted Society where we create craft projects each month using a different medium. I must say this has totally sparked my love of crafting. I’m finding more time for crafting which I find so relaxing and fun.
Materials and Supply List: Tools Needed
Here is a list of the supplies you will need. Many of these items you may already have in your home. If you do not, the first thing to do is make a quick trip to Hobby Lobby or your local Home Depot to pick up what you need.
What you’ll need:
- Round Wood Board: I found mine at Dollar Tree for cheap (any size will work well)
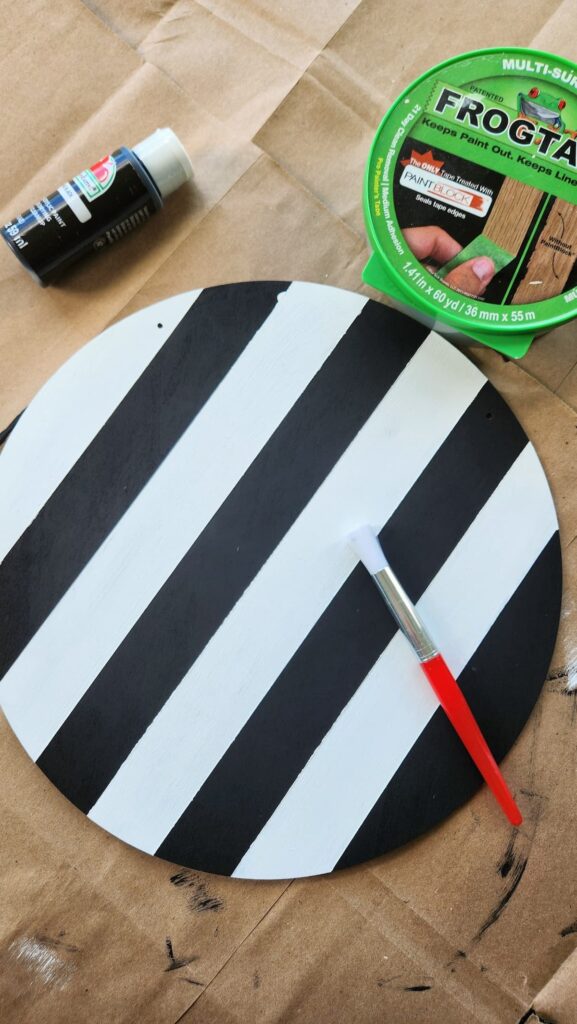
- Painter tape: I use frog tape, it’s the best out there
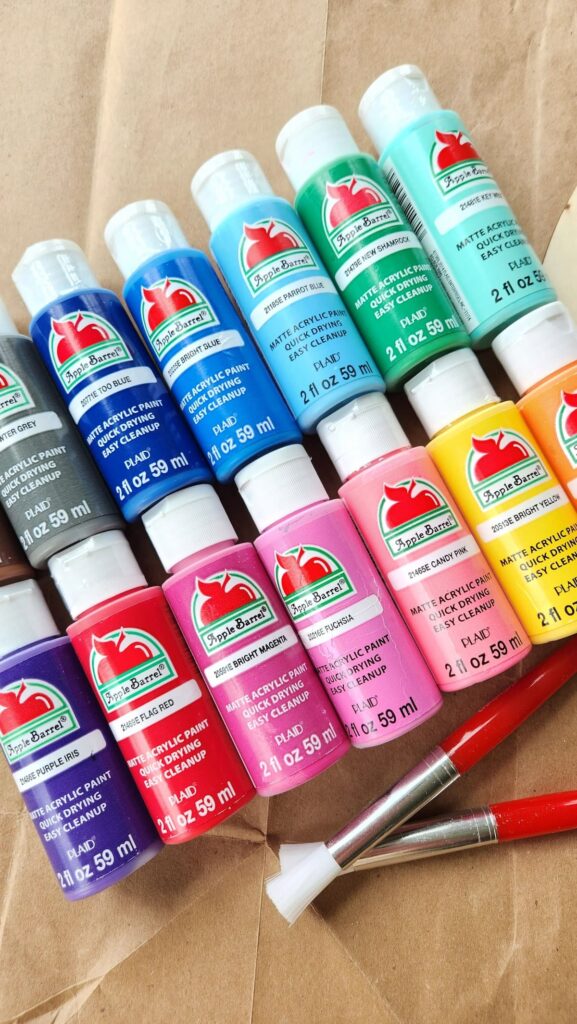
- Acrylic paint
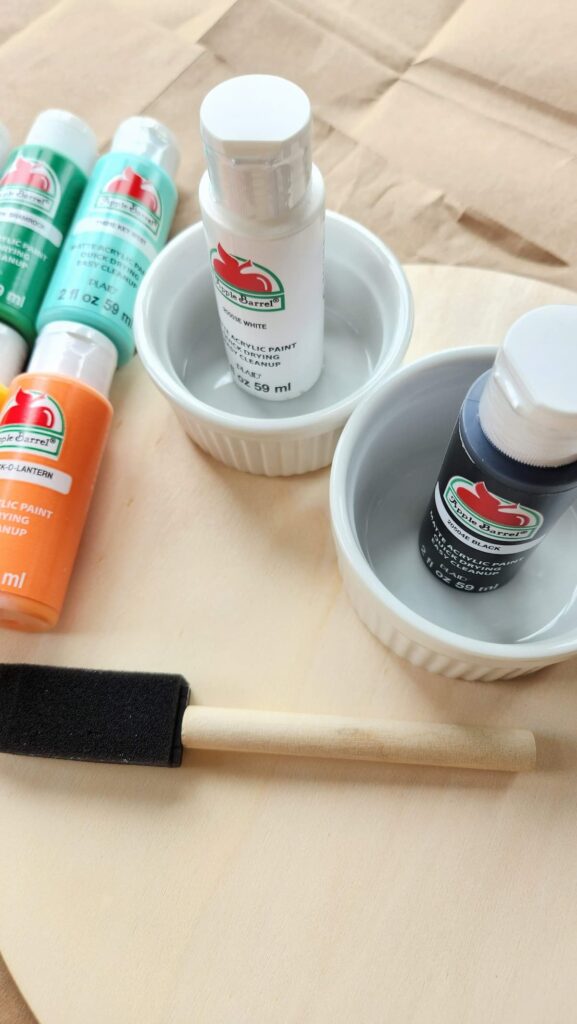
- Paint brush or a foam brush
- Hot glue gun: a must in your craft drawer
- Ribbon: fall plaid with wired edge
- Faux florals or any decorations for the top: acorns or painted pinecones would be great
How do you make a DIY Door Hanger?
Your door hanger should reflect the colors you love and coordinate with your home decor in a fun way. Mix different textures and shapes to your hanger. The idea is to have fun with it and be creative.
There is no wrong way to decorate your door hanger. And remember! The door police are not showing up today! If you like it, then, that is all that matters.
Follow along using these five easy steps as a guide.

Choose your design
Here are some ideas to get you started.
- Top of the circle: You could paint the top of the circle with a bright color, such as red, orange, or yellow, to create a festive look. Or, you could paint it with a neutral color, such as white or brown, and then add a stencil or decal.
- Brown paint: Brown is a classic color for door hangers, and it can be used to create a variety of looks. You could paint the entire door hanger brown, or you could use it as an accent color. For example, you could paint the top of the circle brown and the rest of the door hanger white.
- Paint colors: There are endless possibilities when it comes to choosing paint colors for a door hanger. You could choose colors that match your home’s décor, or you could choose colors that represent a particular holiday or event. For example, you could paint a door hanger red and green for Christmas, or you could paint it orange and black for Halloween.
Additional Ideas
- Different holidays: Door hangers can be decorated for any occasion, from Christmas to Halloween to Thanksgiving. When choosing a design, consider the holiday you want to celebrate. For example, you could paint a Christmas door hanger with a snowman or reindeer, or you could paint a Halloween door hanger with a pumpkin or witch.
- Top of the board: The top of the board is where you will attach the hanger. You can use a piece of wire, a ribbon, or even a chain.
- Preparing your wood: Before you start painting, make sure to prepare your wood by sanding it smooth. This will help the paint to adhere better. (This is if you have raw wood. It’s not necessary if you buy a precut wood hanger from Dollar Tree or a craft store.)
- Pieces of tape: You can use pieces of tape to create borders or patterns on your door hanger. This is a great way to add some extra detail to your design.
- Paper towel: If you are anything like me, you’ll need a few in case it gets a bit messy. You can also use a paper towel to apply the paint to your door hanger. This will help to prevent the paint from dripping.
Tips for creating a DIY wood door hanger:
- Use a high-quality paint that will last.
- Apply multiple coats of paint for a more durable finish.
- Let the paint dry completely between coats.
Step-by-Step Guide
1. Prepare your workspace
As with any craft idea or project preparing your workspace is always a great idea. Truth be told. I’m not the best at this. I typically want to dive right and get started. The ideal situation is if you have a craft table. I do not. Not yet anyway.
Instead, I covered my workspace with brown grocery bags. They work just fine for me and there is no additional cost. Plus I’m doing a good thing for the environment by re-using them.
The best part about making a DIY wood door hanger is that you can customize it to your own taste. There are no rules when it comes to design, so let your creativity run wild.
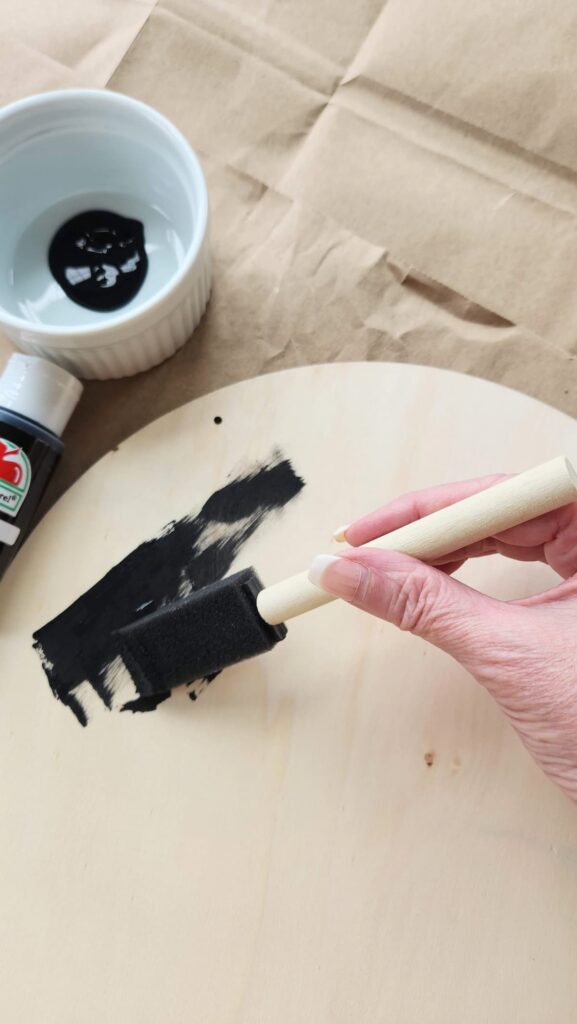
2. Paint the base of your door hanger
Now that you’ve decided on the size of your wood piece, it’s time to create your colorful sign. The sky is the limit with different designs. I painted the entire roundboard black. I wanted a background of black and white stripes to coordinate with my front door rug.
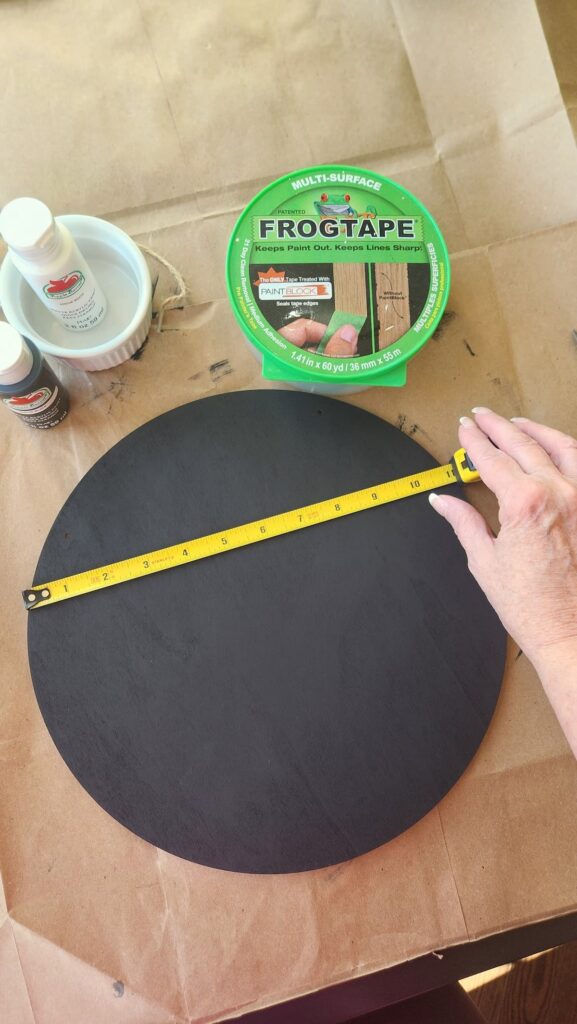
Next, I used a straight edge to measure the lines for the stripes.
4. Adding personalization

Using frog tape, I marked off the stripes prior to painting.
Tip: Remove the frog tape prior to the paint drying for crisp lines.
5. Finishing touches
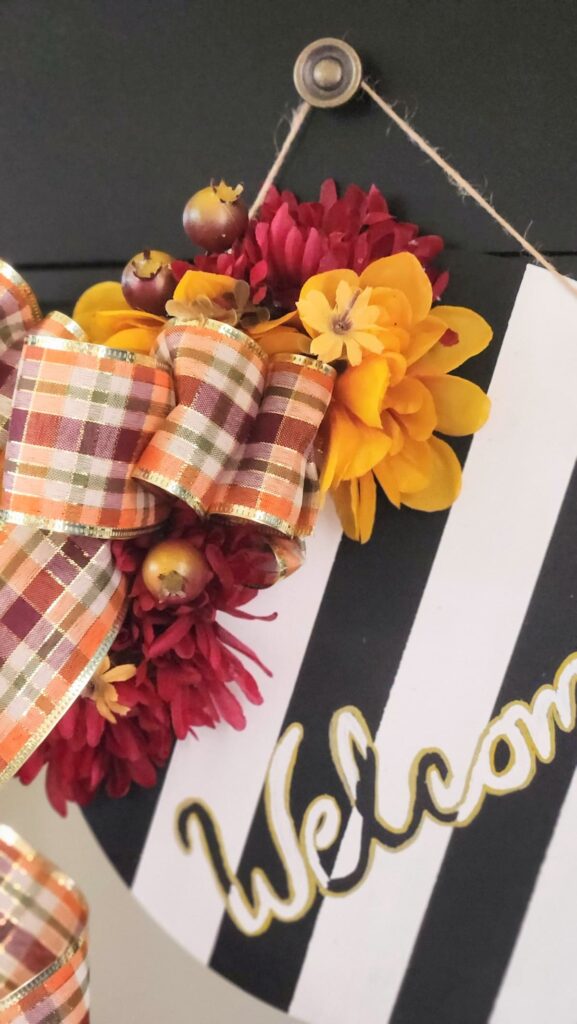
The next part is where your creativity blossoms. Any color of faux florals, pinecones, acorns, or wheat stems may be used.
Take into account any ideas for coordinating your door hanger with your home decor.
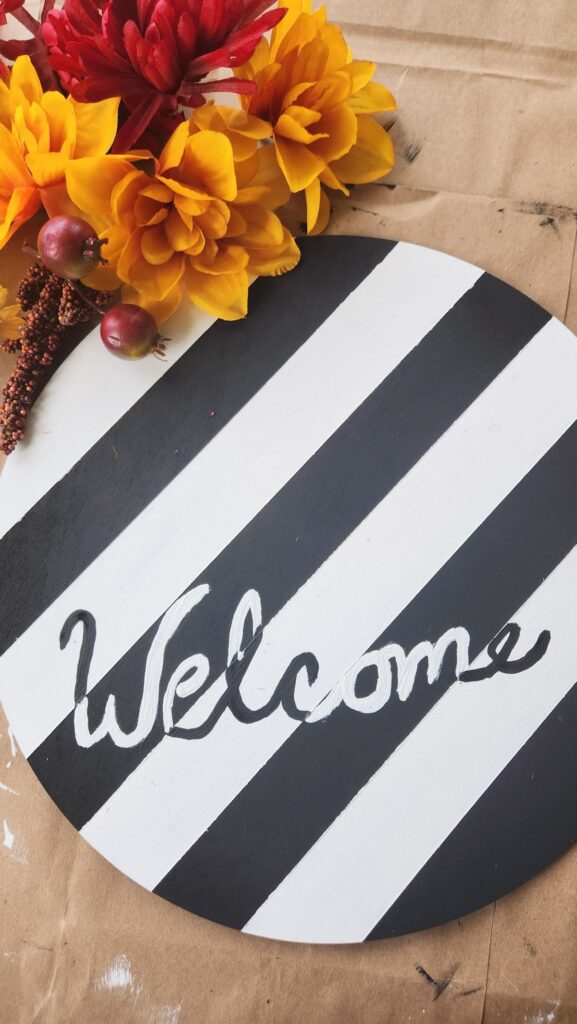
Prior to adding my flowers, I hand painted ‘welcome’ on my sign. If you prefer, you could use a wood cutout like this. My freehand drawing isn’t perfect but remember, it’s okay to improvise.
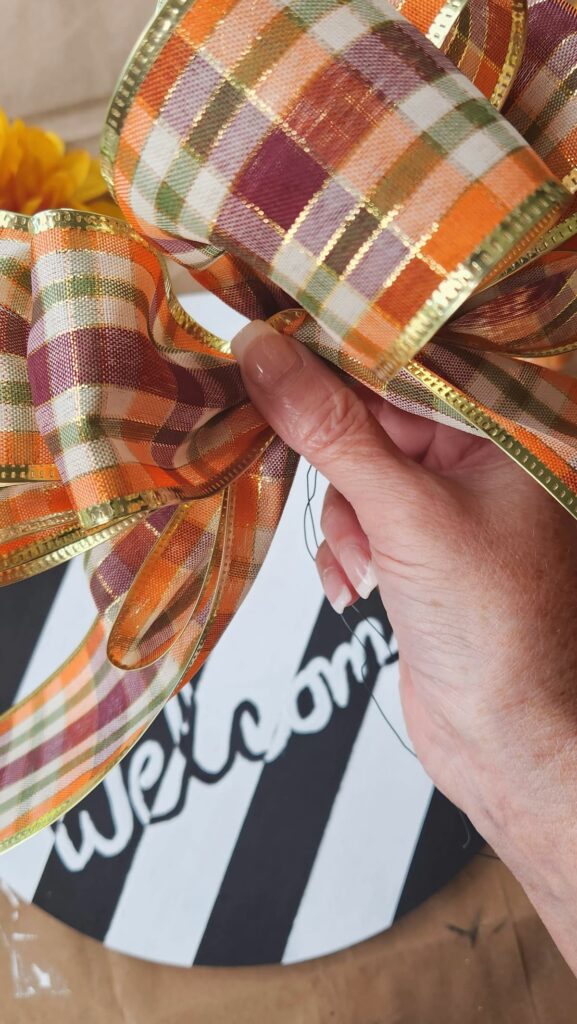
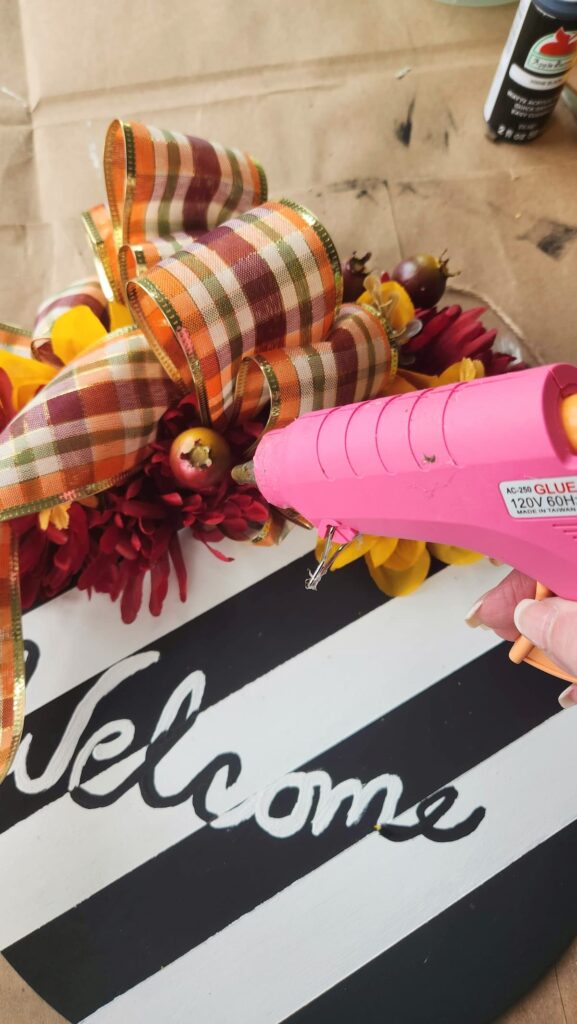
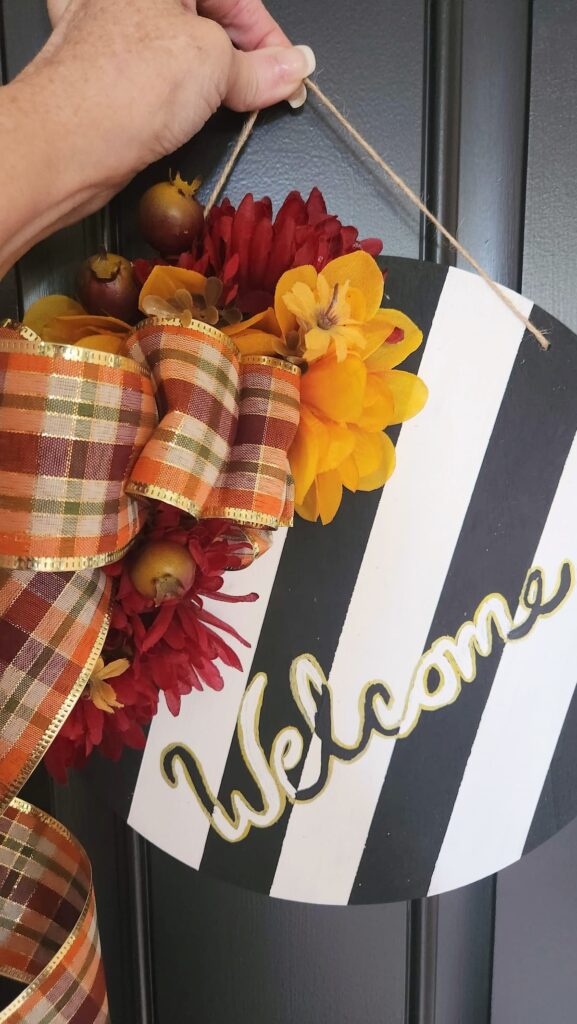
To keep with the fall color theme, I added a red, orange, and burgundy plaid ribbon with a gold edging.
I used a glue gun to adhere the ribbon and the flowers to my door hanger.
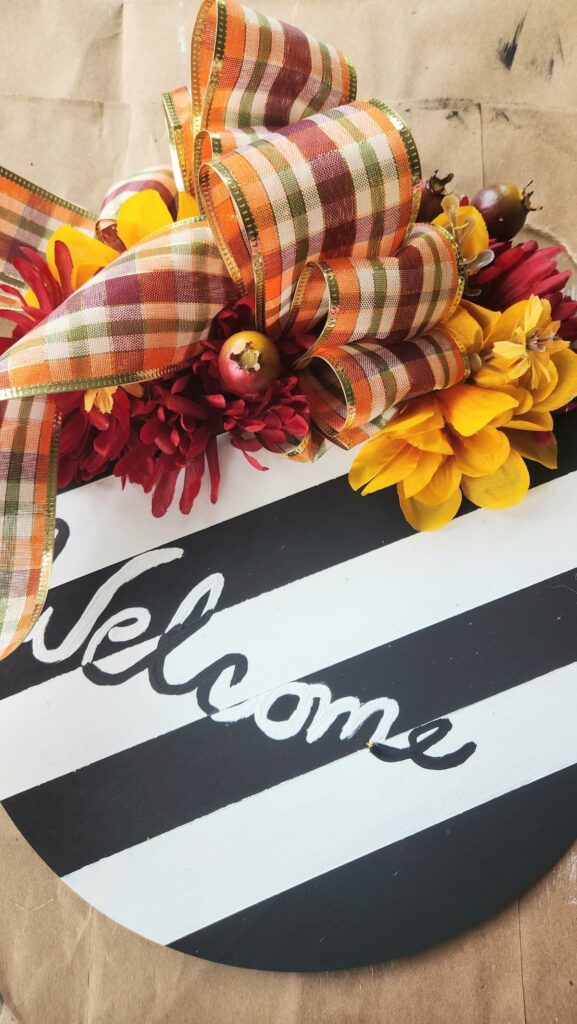
Lastly, I outlined the hand-drawn welcome with a gold paint pen to make it pop.
What can I use to hang a DIY door hanger?
3 Tips for Hanging your door hanger
- Choose the Right Location: Select a suitable location on your door for the door hanger. It should be eye-catching and easily visible. Consider the door’s design and any other decorations or hardware that may interfere with the placement. Usually, eye level or slightly above it is a good choice for optimal visibility.
- Use the Right Hardware: Depending on the weight and size of your wooden door hanger, choose the appropriate hardware. Common options include adhesive hooks, over-the-door hooks, or wreath hangers. Ensure that the hardware you select can support the weight of your door hanger without causing any damage to your door’s surface.
- Secure it Properly: Once you’ve chosen the location and hardware, attach the door hanger securely. If using adhesive hooks, follow the manufacturer’s instructions for proper installation. If using a wreath hanger or over-the-door hook on your front porch, make sure it’s firmly in place. Test the door hanger to ensure it doesn’t wobble or fall off when the door is opened or closed. Adjust the placement or hardware if necessary.
Remember to consider the weather conditions and the material of your door hanger when selecting hardware and installation methods, as exposure to elements like rain or direct sunlight may affect the longevity of your door hanger.

Shop & Source
Recap
In summary, the DIY door hanger project is a breeze to complete. It’s a delightful and cost-effective way to spruce up your door for the fall season. So, don’t hesitate—give it a try and come back to share your creation with me and to get into the fall spirit.


Super cute Susan! love your creativity.
This is adorable, Susan! I am a sucker for black and white stripes and this is such a fun interpretation for fall!
Glad you liked it Missy.
Love this!
Thank you Stacy! A fun easy project for all.