Fall Pine Cone Wreath DIY: Autumn Beauty in Minutes
I hope you’re not tired of beautiful wreath ideas because I have another one for you! This fall pine cone wreath DIY is perfect for the holiday season, and it’s so easy to make that you’ll be able to do it in minutes.
All you need is a wreath form, some pinecones of various sizes, and a hot glue gun. You can find all of these supplies at your local craft store.

What Is a Pine Cone Wreath?
One of the easiest and most inexpensive ways to add a festive touch to your table centerpieces for the front door is to make a lovely wreath out of pinecones. Basically, a pine cone wreath is just that, a wreath made out of pinecones. Sound simple? Here’s the thing tho. A pine cone wreath can be made in so many different ways.
For as long as I can remember, I love making wreaths. Wreaths are a wonderful part of any home and home decor. Pine cone wreaths are no exception.
Why Make a DIY Pine Cone Wreath?
The first reason to make your own wreath is that you get to create it exactly how you want it to be. Have you ever walked into a home decor store or craft store and thought that a wreath or garland looked beautiful but it was the wrong color for your home decor? I sure have. That’s why I started making my own wreaths. I can make it just the way I like.
Another reason to make your own easy DIY pinecone wreath is you save a lot of money. Gorgeous wreaths online or in craft stores can cost quite a bit of money. Making one yourself reduces the extra cost of buying one dramatically.
Lastly, using natural materials in your home decor brings the fall season into your home. Natural elements like acorns and pinecones are the perfect way to decorate your home throughout several seasons.
Plus, indoor wreaths that are made from pinecones can also double as a beautiful table centerpiece or hang on a cabinet or kitchen door.
What Kind of Pine Cones Are Best For Making a Wreath?
Now that we’ve talked about what a pinecone wreath is and why you should make one, let’s look at what variety of pinecones can be used to make a wreath.
Here are some of the most popular types listed below:
- Lodgepole pine cones
- Eastern white pine trees produce a beautiful option for crafts
- Sugar pine cones
- Ponderosa pine cones
- Jeffrey pine cones
How Do I Prepare Pine Cones for a Wreath?
When choosing pine cones for your wreath, look for cones that are uniform in size and shape. Avoid cones that are cracked or damaged.
If you are using fresh pine cones, you will need to dry them before using them in your wreath. To do this, spread the pine cones out in a single layer on a baking sheet and bake them in a preheated oven at 200 degrees Fahrenheit for 20-30 minutes, or until the cones are completely dry. My blogging friend Wendy from WM Design House shares everything you need to know about preparing pine cones here.
If you are using dried pine cones, you can simply brush them off to remove any dirt or debris.
How to Make a Pine Cone Wreath in Minutes?
First, you can use various sizes of pinecones which can be found at any local craft store. Once you get your supplies, it’s as simple as gluing the pinecones on a wreath form and adding any embellishments you like.
If you prefer a more colorful wreath, the pinecones can be painted any color you like.
How do I attach pine cones to a wreath form?
There are two main ways to attach pine cones to a wreath form: using floral wire or using hot glue.
To use floral wire, cut a piece of wire about 6 inches long. Thread the wire through the bottom of the pine cone and then wrap it around the wreath form. Twist the wire ends together to secure the pine cone in place.
To use hot glue, simply apply a small amount of glue to the bottom of the pine cone and then press it onto the wreath form. Hold the pine cone in place until the glue has dried.
Once you have attached all of the pine cones to your wreath form, you can add any other desired embellishments, such as ribbon, berries, or nuts.
Supplies Needed to Make Your Own Pine Cone Wreath
- Wire wreath form, grapevine wreath base, or foam wreath form
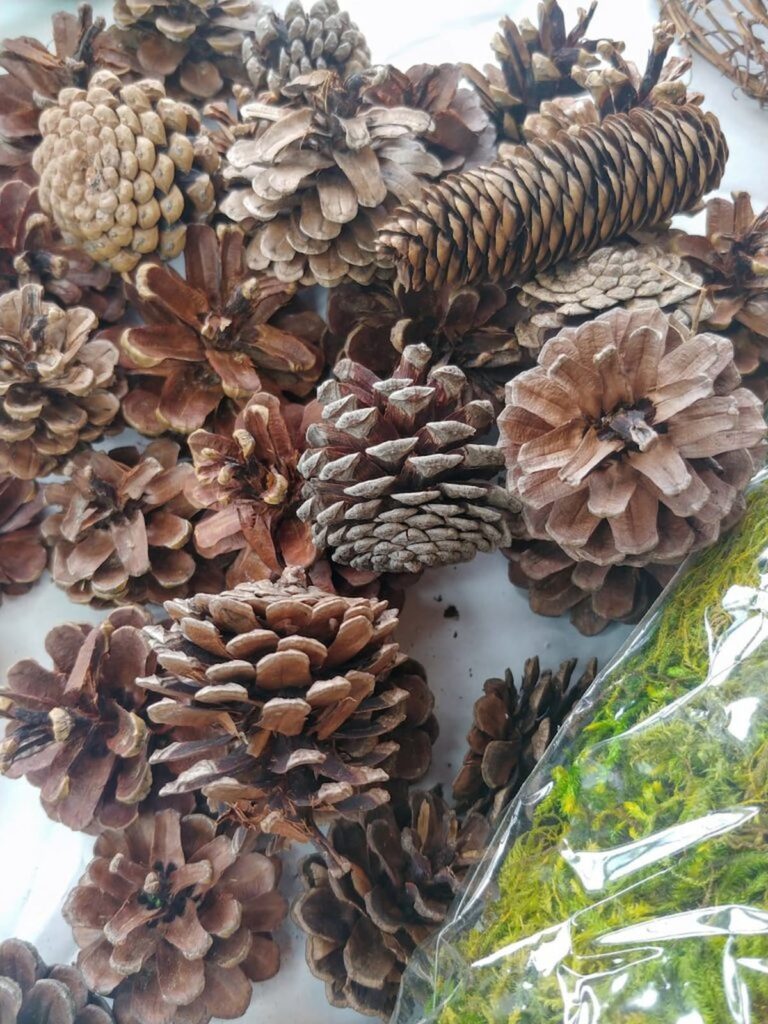
- You will need several bags of fresh or dried pinecones depending on the size of your wreath form ( small, medium pinecones, and larger pinecones are best)
- Jute twine
- Floral wire (optional)
- Glue sticks (lots of glue is needed
- Hot glue gun
- Ribbon or other embellishments (optional)
How to make your wreath instructions:
Step by Step: Easy tutorial: Follow along with these easy steps.
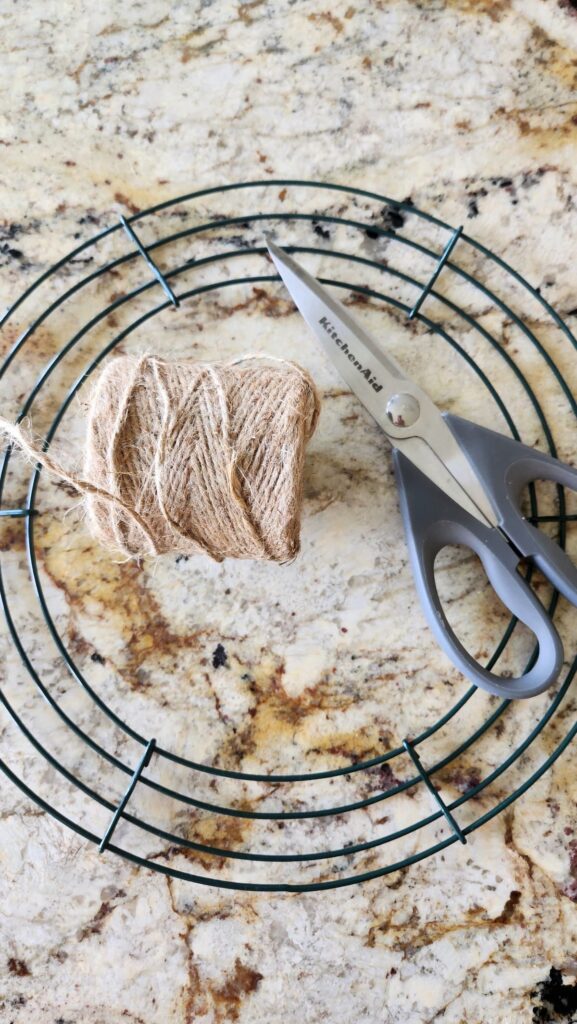
1. The first step is to gather your materials.
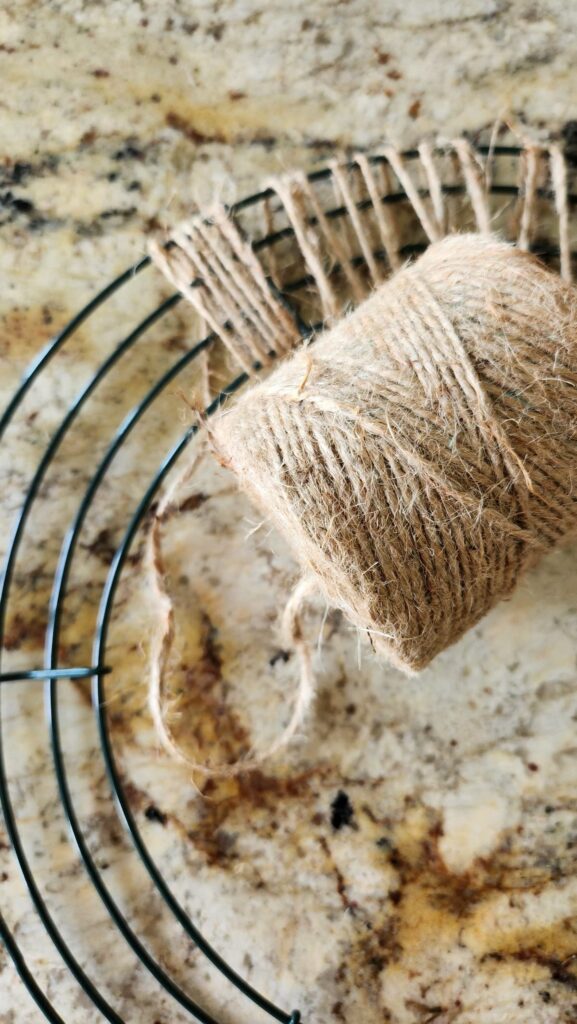
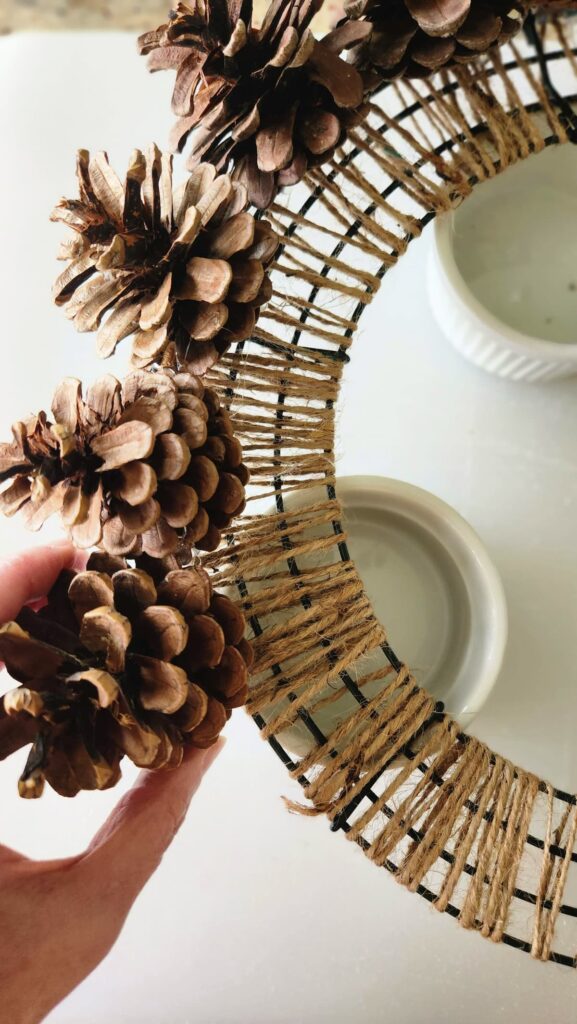
2. Next, Using your jute twine start to wrap the wire frame.
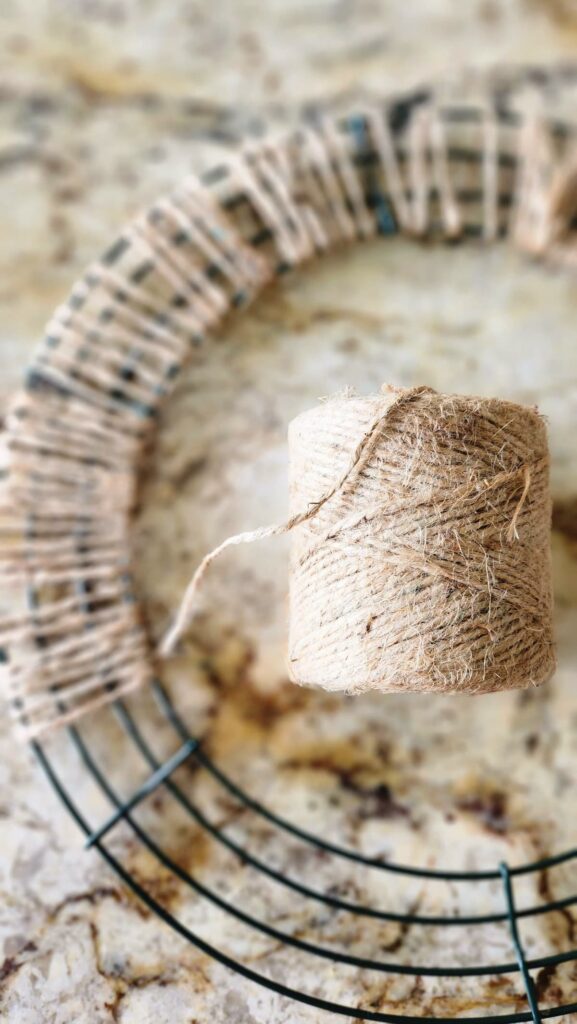
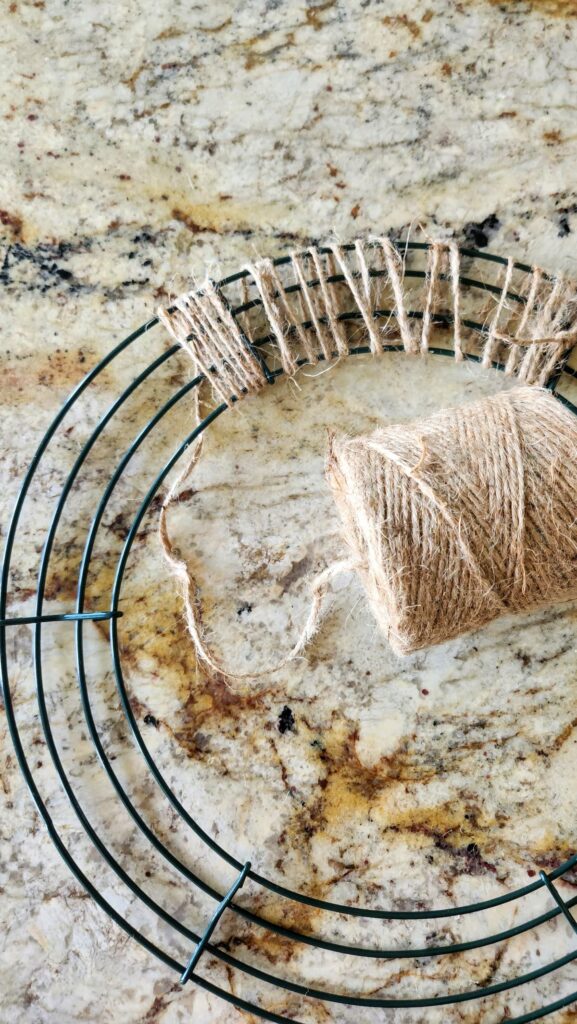
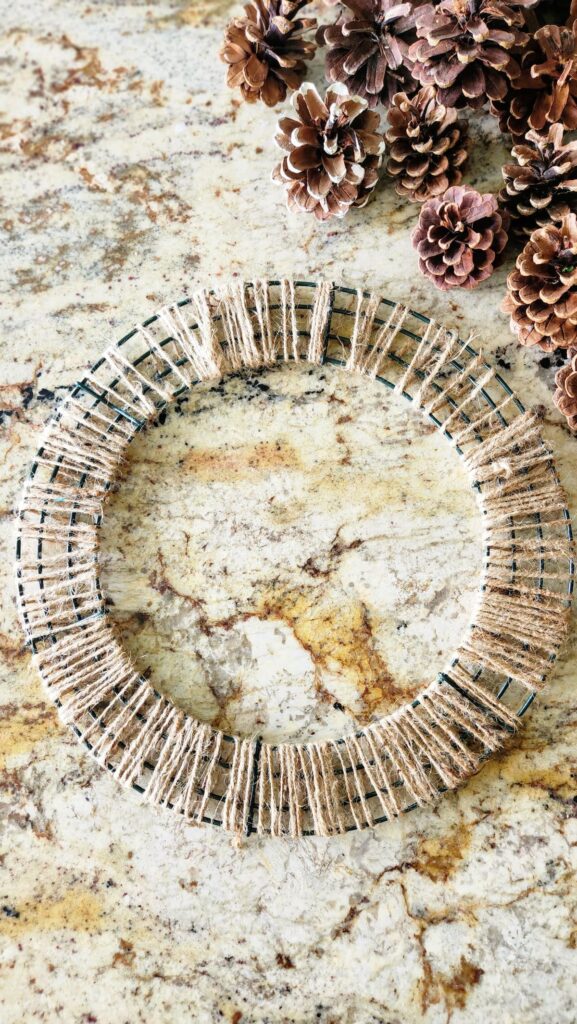
3. Continue to wrap the form until it is covered with the jute all the way around.
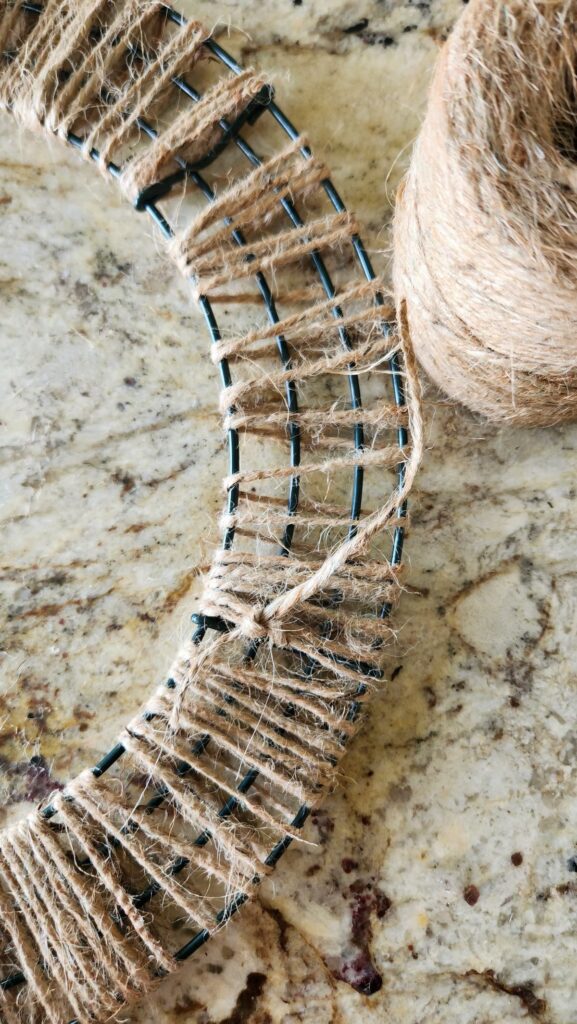
Once you’ve made your way around the entire form, tie the two ends together and trim the excess jute string.
4. Start by using the largest pincones first.
5. On the outer ring, begin attaching the largest pinecones to the wire wreath form using hot glue or floral wire. This step will take some time to securely attache the pinecones to the edge of the wire. Be patient, and hold them in place until they adhere to the side well.
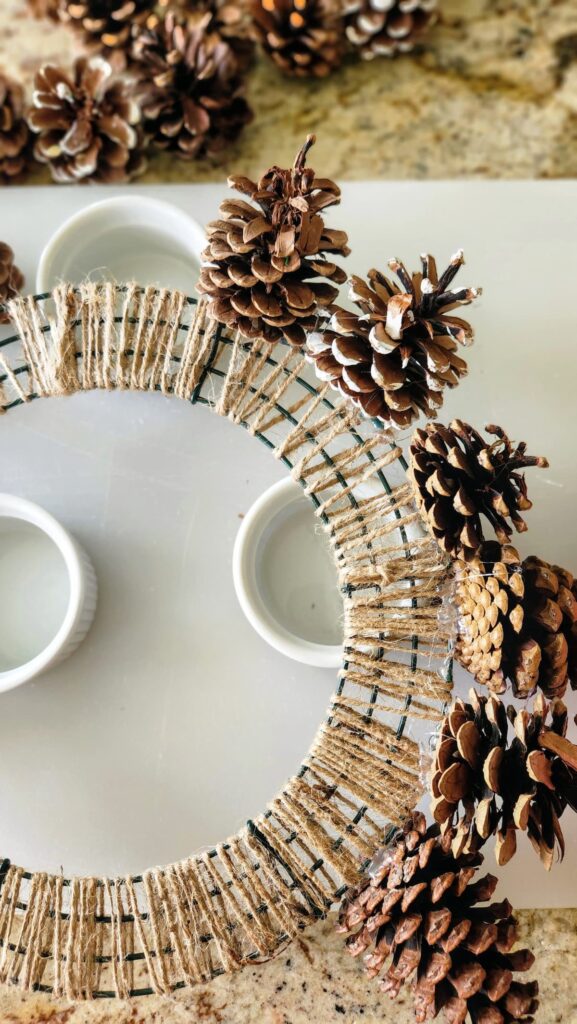
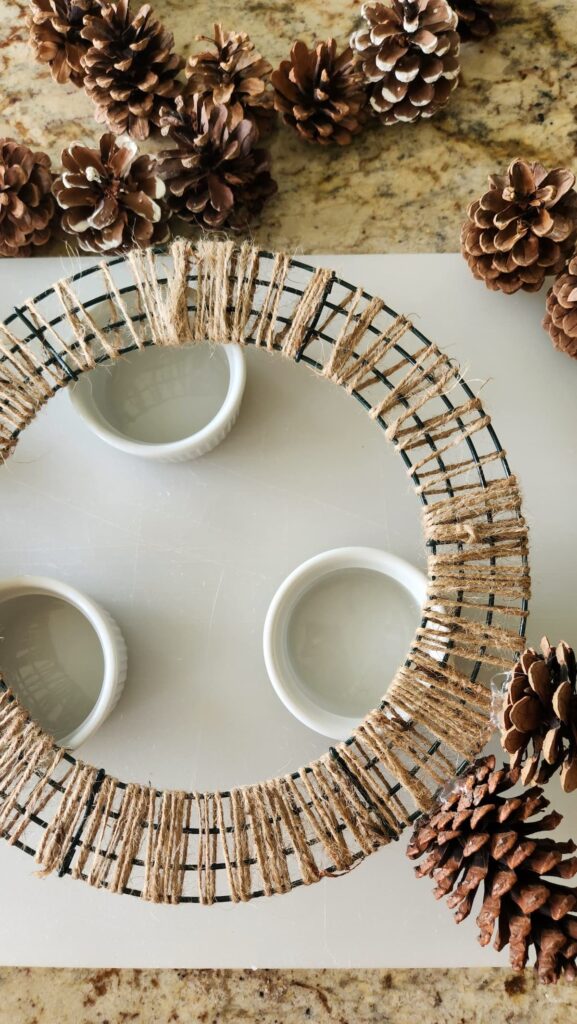
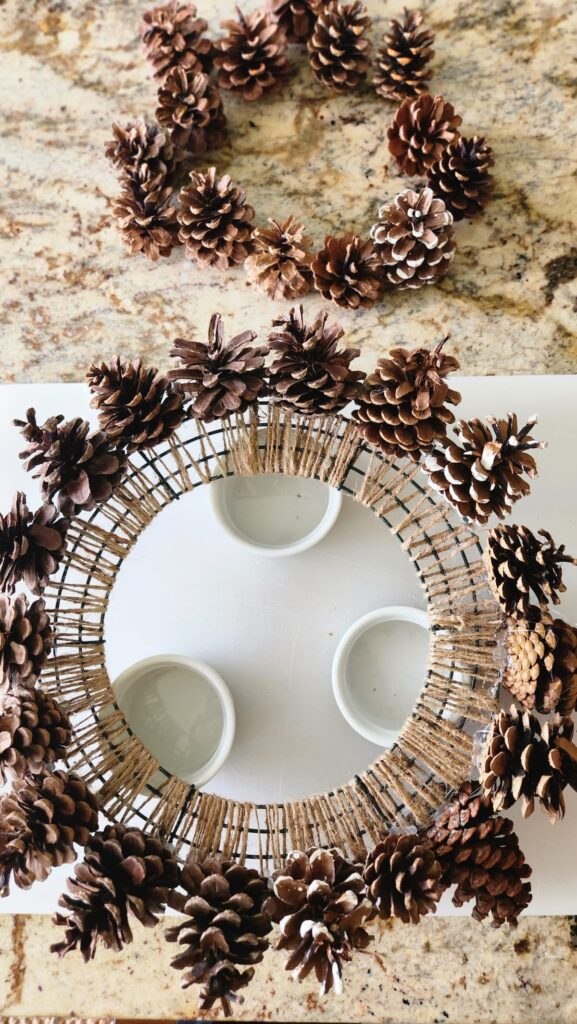
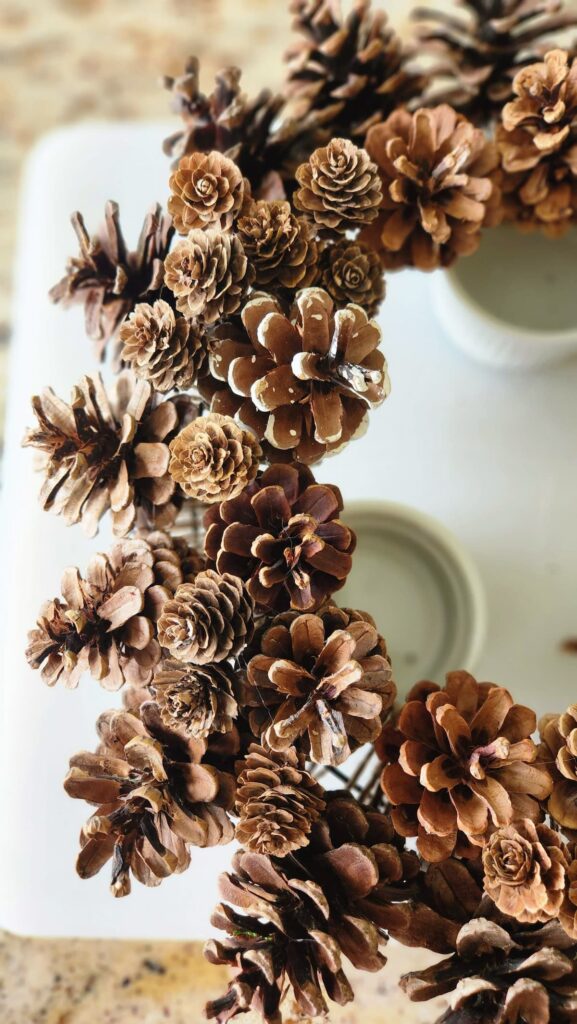
Tip: Elevate the wreath form with three small ramekins in order to make room between the form and your surface for the size of the pinecones while adding them.
6. Once you have gone all the way around the outer ring you may start with adding the medium-sized pinecones. Continue working your way around the wreath attaching the pinecones to the middle ring area.
Shop & Source
7. Using the smallest pine cones fill in any open spaces or gaps with the small pine cones.
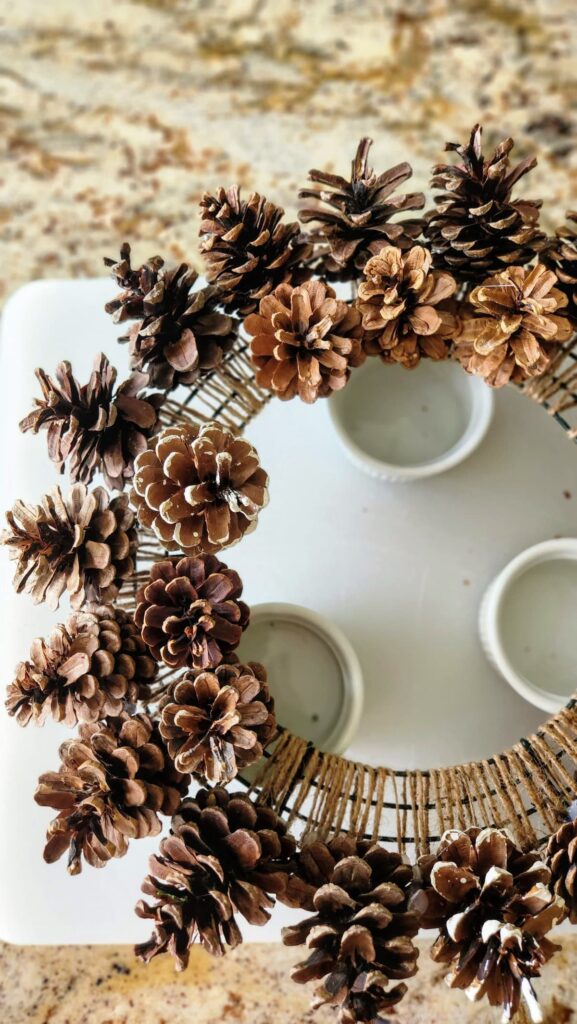
8. Make sure to use a lot of hot glue so the pinecones adhere well.
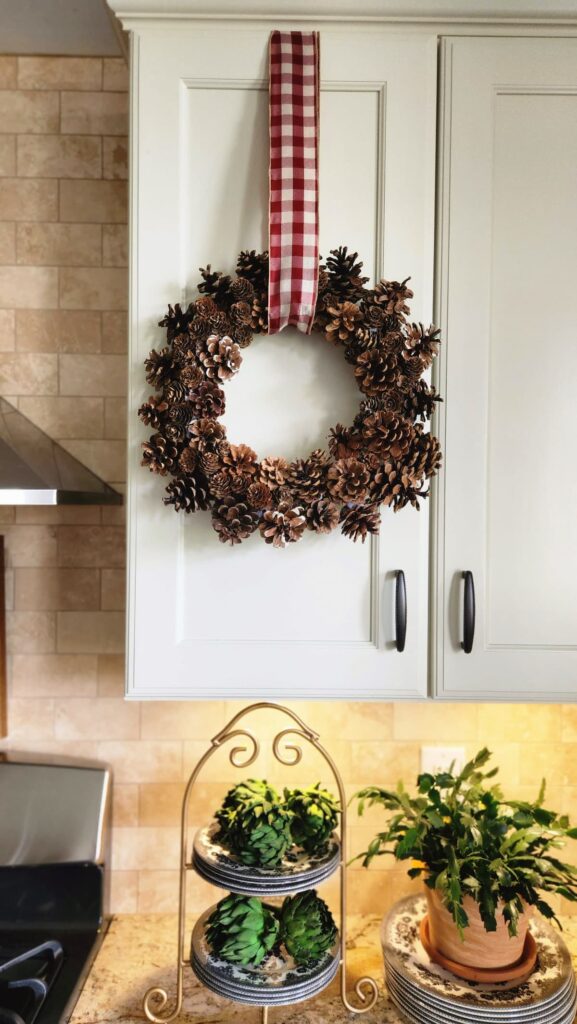
9. Tie a ribbon around the wreath, if desired.
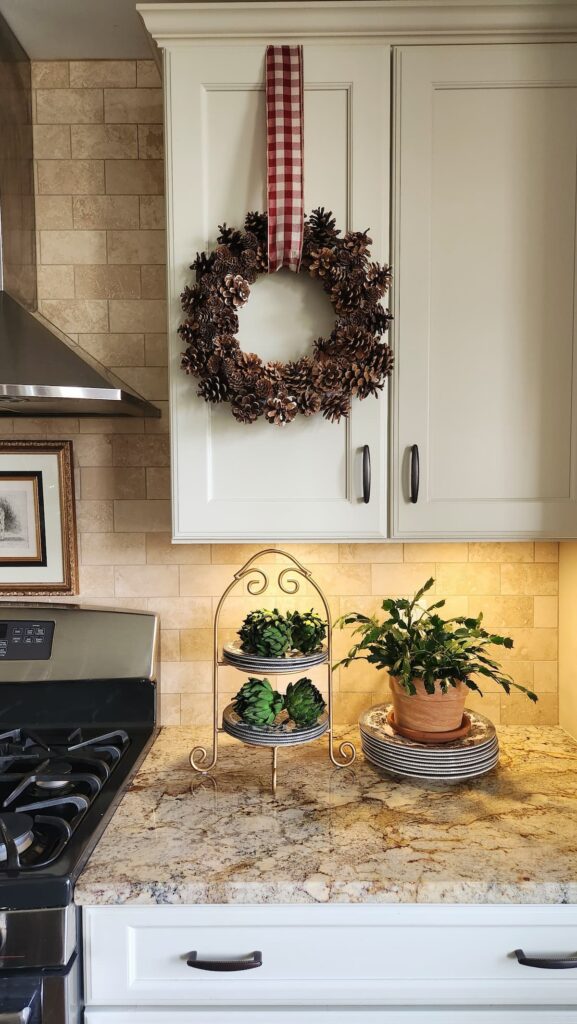
10. Hang your wreath on your front door or in your home on a pantry door, or window, or place it in the middle of your table as a centerpiece!

Tips:
- If you are using fresh pine cones, allow them to dry completely before using them in your wreath.
- To prevent the pine cones from falling off, use hot glue to secure them in place.
- Get creative with your wreath! You can add other natural elements, such as leaves, berries, or nuts.
- You can also spray-paint your pine cones with white paint for a more colorful wreath.

Here are 5 additional tips for using real pine cones in a wreath:
Choose the right type of pinecones:
1. Not all pine cones are created equal. Some pine cones are better suited for wreaths than others. For example, pine cones with tight scales will hold their shape better than pine cones with loose scales. You can also use different types of pine cones to add visual interest to your wreath.
Dry your pine cones before using them.
2. If you use wet pine cones in your wreath, they will mold and rot. To dry pine cones, spread them out in a single layer on a baking sheet and bake them in a low oven (200 degrees Fahrenheit) for 2-3 hours, or until they are dry and brittle.
Use a wire wreath form
3. A wire wreath frame is the easiest way to make a pine cone wreath. I found using the wireframe was the easiest and best way. You can find wire wreath frames at most craft stores.
Hot glue the pine cones to the wreath frame
4. Hot glue is the best way to attach pine cones to a wreath frame. Make sure to use a lot of hot glue so that the pine cones are secure.
Add other embellishments to your wreath
5. Once you have hot glued the pine cones to the wreath frame, you can add other embellishments to your wreath, such as ribbons, bows, or berries. Changing or adding a red ribbon will instantly update your new wreath for the Christmas season. Pine cone wreaths may be used for several different seasons by simply changing the embellishments.
As I step back to admire my finished pine cone wreath, I’m filled with a sense of accomplishment and joy. This simple craft has not only brought a touch of nature’s beauty into my home but also reminded me of the simple pleasures of creativity.
The process of gathering pine cones, sorting them by size, and carefully attaching them to the wreath was a meditative and mindful experience, allowing me to disconnect from the hustle and bustle of daily life. And the result is a unique and handcrafted piece of décor that I’ll cherish for years to come.
If you’re looking for a fun and rewarding DIY project, I highly encourage you to give pine cone wreath making a try.
It’s a great way to get into the holiday spirit, connect with nature, and express your creativity. And who knows, you might just find yourself surprised at how much fun it is!


Other posts you may enjoy:
This easy porch topiary
A fun wooden door hanger