Easy to Make: DIY Faux Magnolia Wreath for Christmas
Step into the holiday spirit with a touch of Southern charm as we delve into the art of crafting an easy-to-make DIY faux magnolia wreath for Christmas. My journey with magnolias began a long time ago when I relocated with my sons next door to a charming older home, graced by the presence of a stunning magnolia tree in the yard.
The memories of its lush greenery and the timeless fragrance wafting through my breakfast room window inspired me to bring a piece of that beauty indoors. In this blog post, I’ll guide you through the steps of creating a faux magnolia wreath that captures the elegance of real magnolia leaves, without the fleeting nature of fresh leaves and flowers. Let’s infuse your home with the warmth and festive allure of a magnolia wreath diy, perfect for the holiday season.
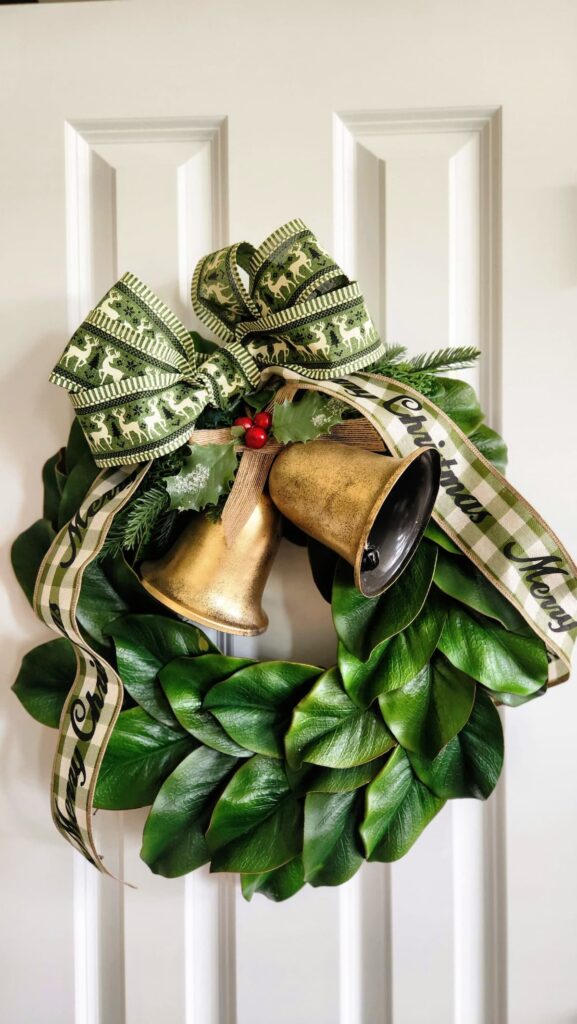
Crafting Cheer: Elevate Your Christmas Decor with an Easy DIY Faux Magnolia Wreath
Last year I decorated my Christmas tree and a magnolia garland on the mantel in my living room with bunches of magnolia leaves. I loved it so much that this year I decided to get out my hot glue gun and make an entire wreath out of faux magnolia leaves. I had looked for a wreath in Hobby Lobby but then I thought I could easily make my own beautiful wreath for a much lower price tag.
Step-by-Step Guide: Creating a Stunning Faux Magnolia Wreath for the Holidays
Gather your materials
Here is a list of items you will need to make a magnolia leaf wreath:
- Wire wreath form or Grapevine wreath form (I opted for the grapevine wreath)
- Floral Wire
- Faux Magnolia Stems
- Wire Cutter
- Several bunches of magnolia green leaves (we will break these down into individual leaves)
- Glue Gun
- Gold Bells (optional)
- Glue Sticks (we will use a lot of glue)
- Small Piece of Wire or Pipe Cleaner
- Ribbon (I used two coordinating ribbons for my bow)
- Pinecones (optional)
Step-by-Step Guide to Creating a Stunning Arrangement
A Trip to the Craft Store for Magnolia Magic
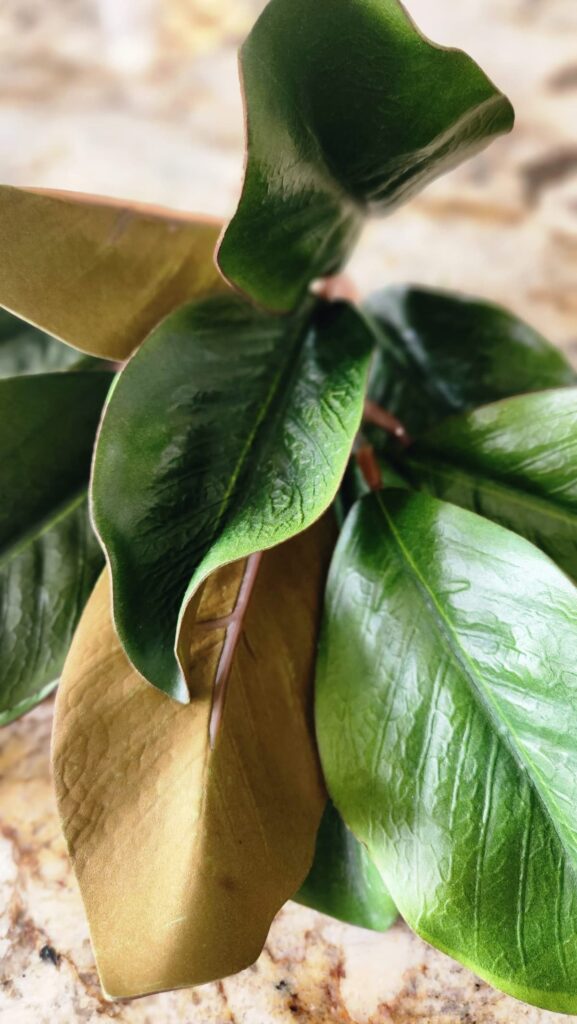
I found my magnolia stems at Hobby Lobby last year. The bunches were full and very good quality. I went back three times for more I liked them so much.
Selecting the Right Wreath Form Size
Selecting the right size wreath form is very important. You’ll want to have an idea of where you are going to hang it or which table you’ll be using it on to determine what size if best for you. I used a 14 inch grapevine wreath I already had in my home.
Securing Faux Magnolia Leaves for a Lasting Wreath
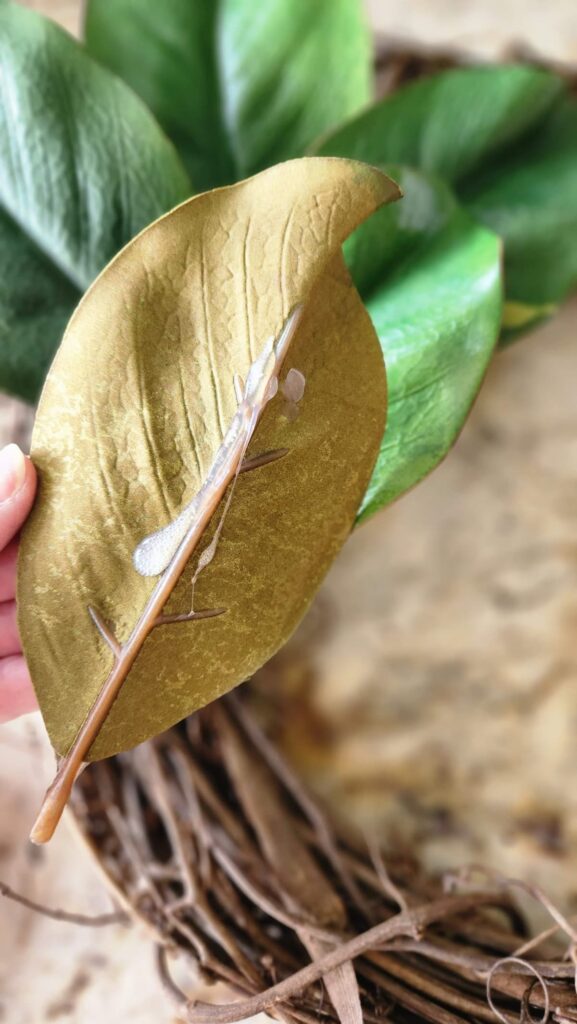
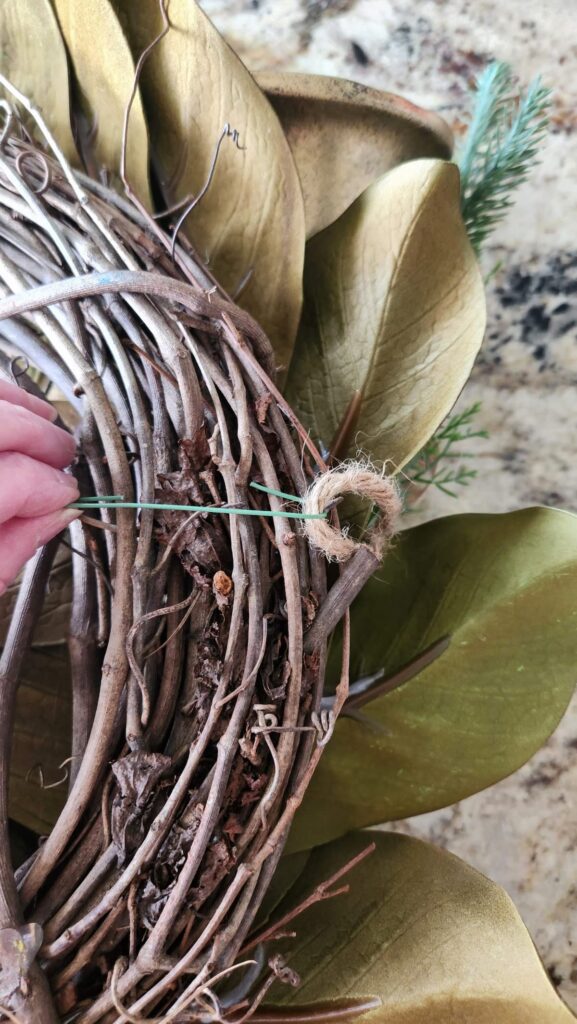
To secure my leaf stems to the wreath I used a line of hot glue along the vein of the leaf, then placed the leaf on the grapevine form.
Next, I started layering the leaves in groupings of three. One on the left, one in the middle and one on the right variying them slightly for added interest.
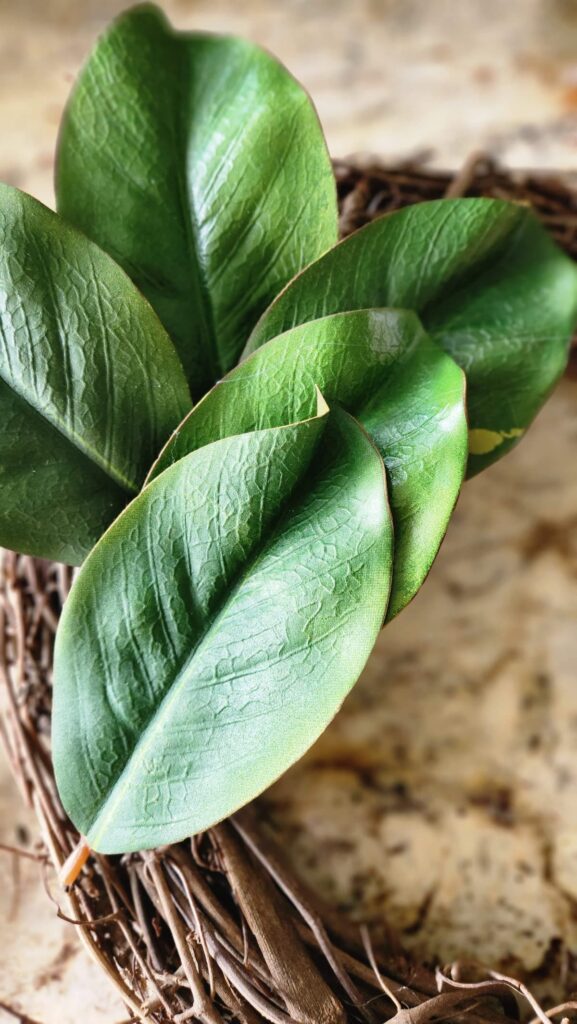
Slowly work your way around the form filling the form and molding the leaves around the edges of the wreath.
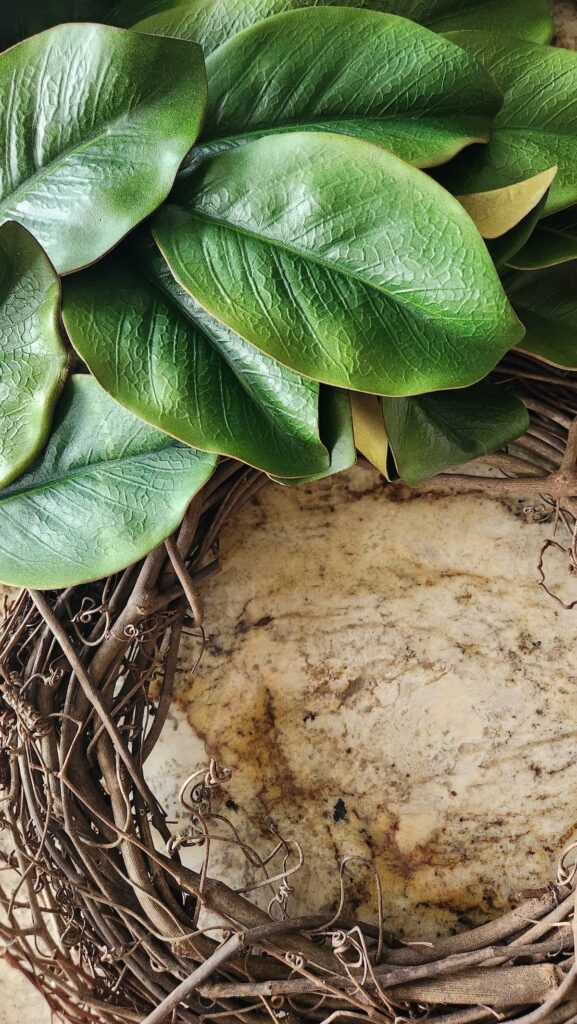
Tuck the base of the leaves inward to hide the stem.
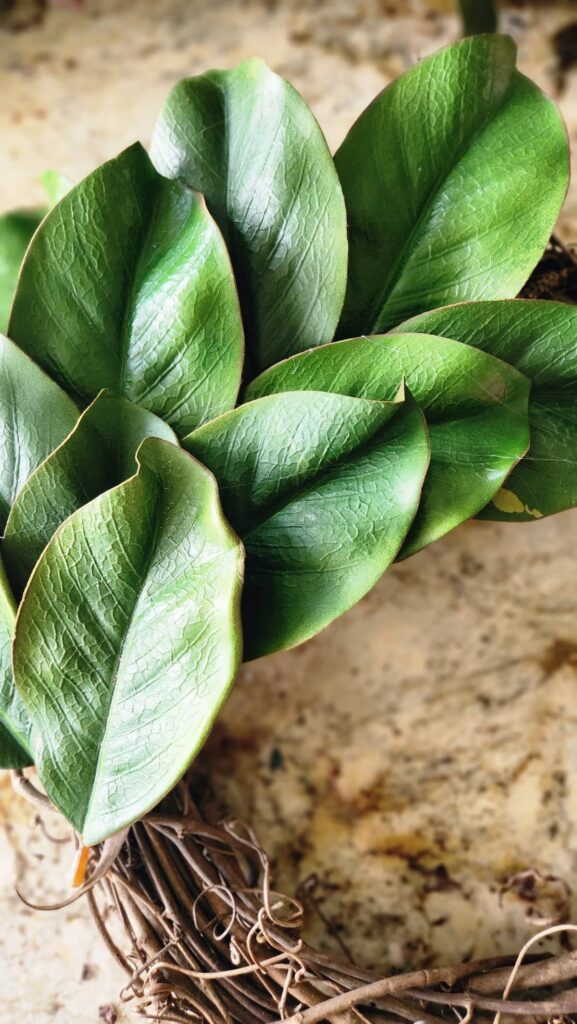
Continue until you add leaves all the way around the form. If you would like you could always vary your wreath by using smaller leaves tucked in between the larger leaves.
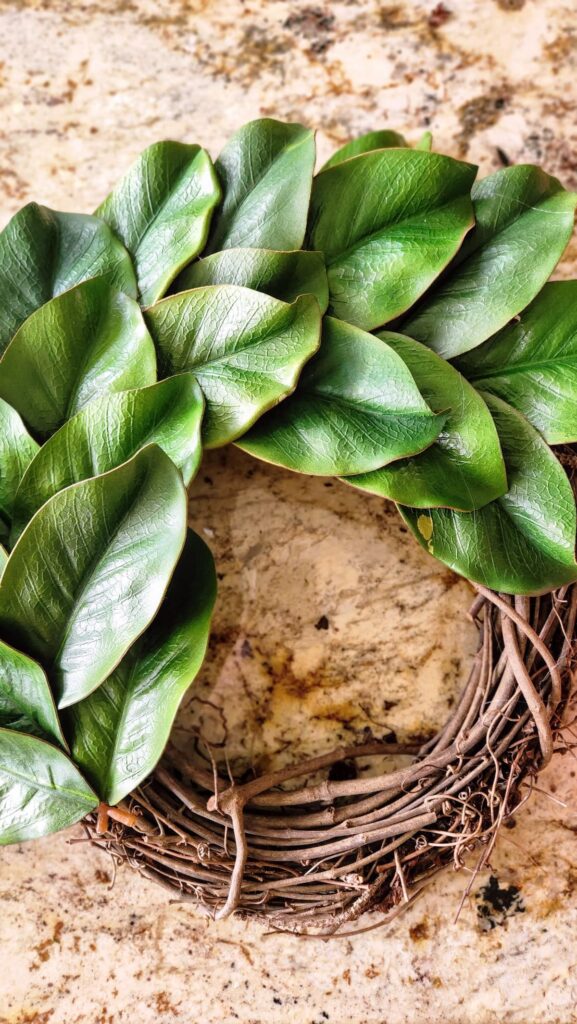
When you get to the last stem, tuck it under the first leaf that you started with. This will allow the leaves and wreath to lay smoothly all the way around.
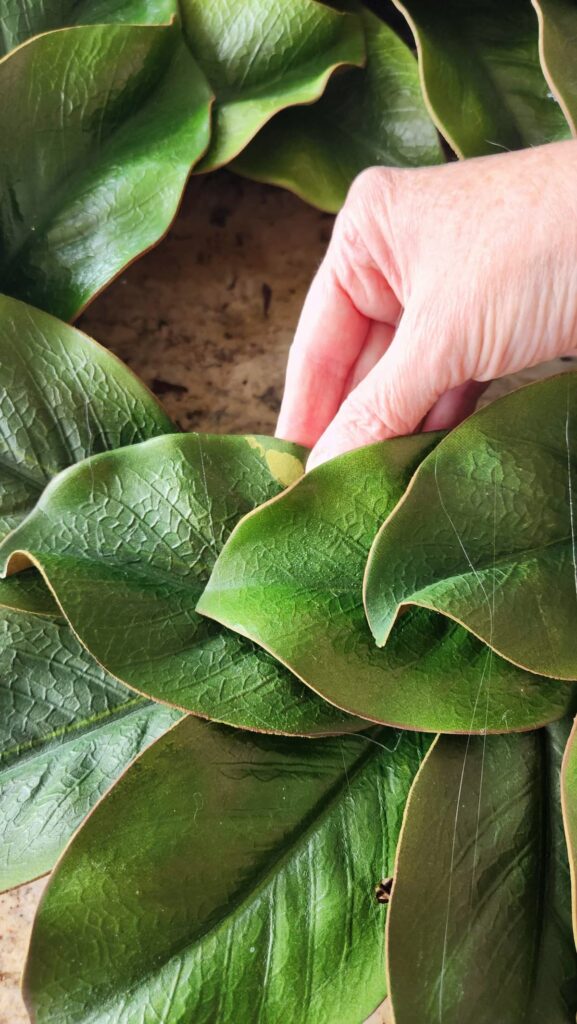
Personalizing Your Wreath: Adding Festive Flair
Mixing in Holiday Accents: Berries, Ribbons, and More
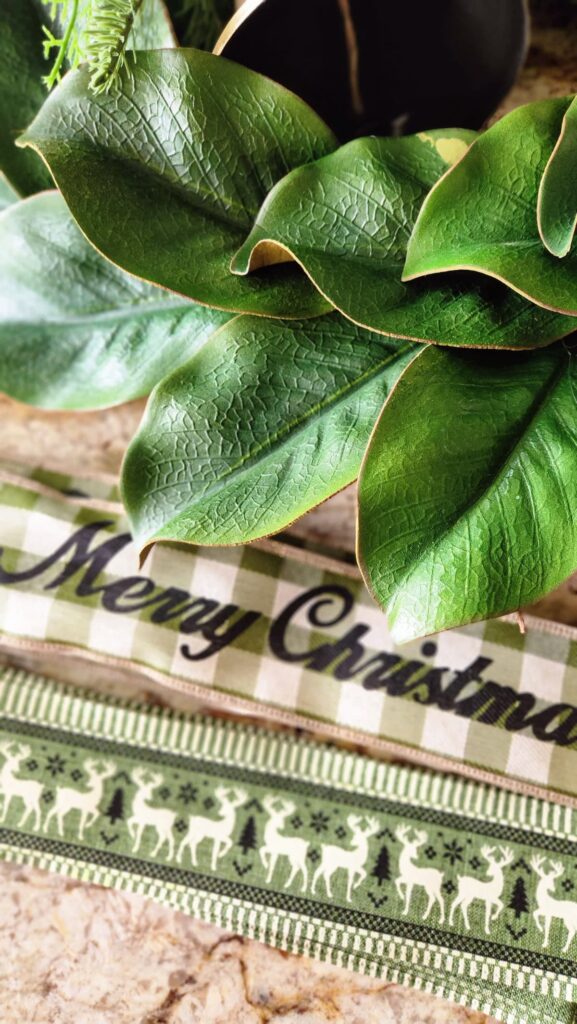
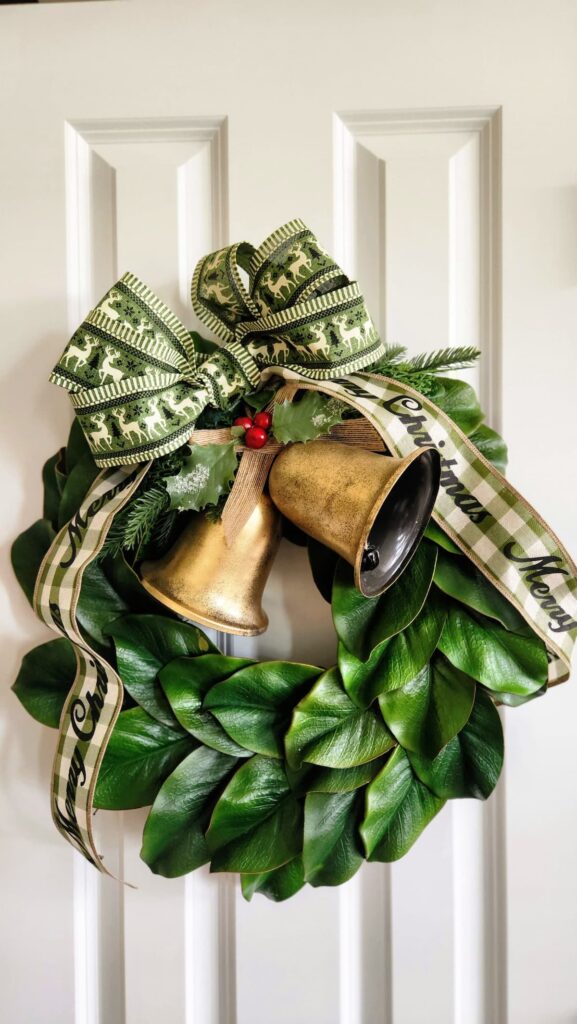
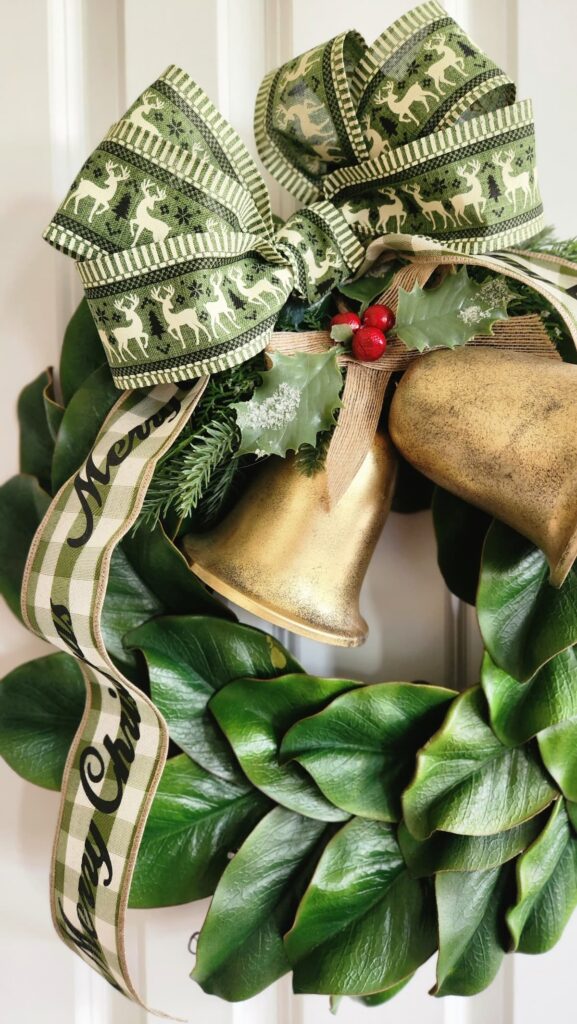
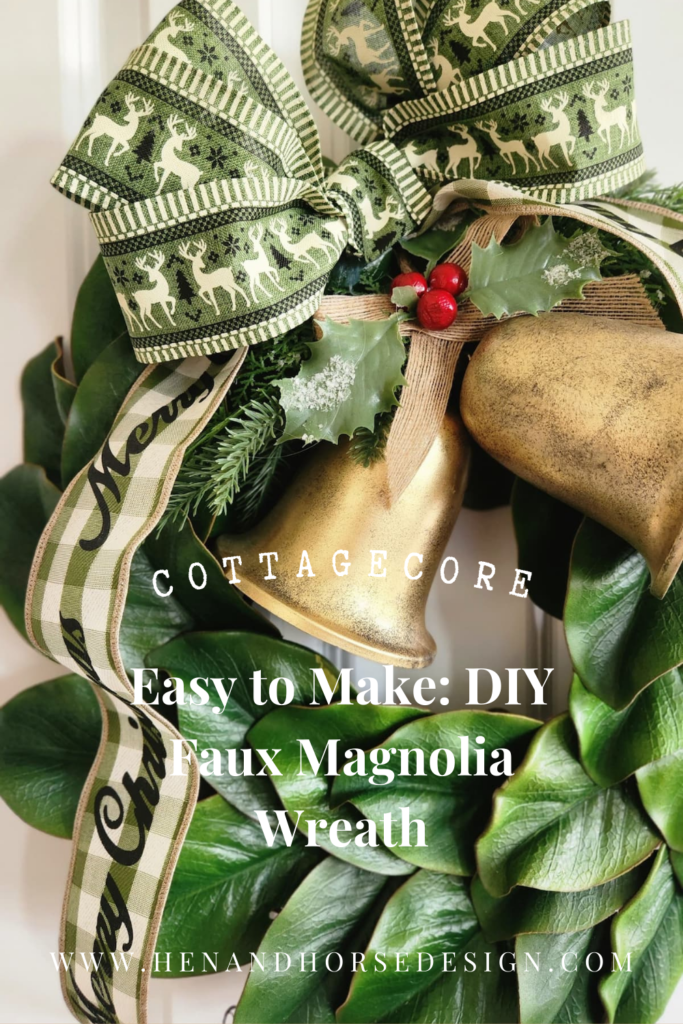
Once the leaves were glued securely it was time to add a few embellishments. I added two gold bells to the front of the wreath. Then I used two coordinating wired ribbons to create a bow.
The Merry Christmas ribbon was 10 inches and the reindeer ribbon was 14 inches to begin.
Shop & Source
Securing Decorative Elements for a Professional Finish
I secured the bells with a Christmas tree ornament hook by wrapping the wire around to the back of the wreath. It worked perfectly. If you like you could use a pipe cleaner or floral wire as another option.

Once the bells were attached, I attached the two bows together. I then attached them to the wreath using a pipe cleaner.
Deck the Halls: Incorporating Your Personal Style into a DIY Christmas Wreath
The holiday season is the perfect time to infuse your home with personal touches, and what better way to do so than by crafting a unique Christmas wreath with magnolia leaves? A quick visit to the craft store will yield the essential materials for this easy DIY project—grab a bunch of lifelike magnolia leaves and let your creativity take the lead.
The beauty of working with individual leaves lies in the freedom to express your personal style. Consider mixing in other materials like berries, ribbons, or ornaments that resonate with your festive aesthetic. Arrange the magnolia leaves in a way that speaks to your taste, whether it’s a symmetrical design, an asymmetrical flourish, or a combination of both.
The best part of this creative process is watching your vision come to life, resulting in a Christmas wreath that not only captures the essence of the season but also reflects your unique personality.
Displaying and Preserving Your Faux Magnolia Wreath
Finding the Perfect Spot for Your Festive Creation
The best part about front door wreaths is that you don’t have to use them on only the front door. I love adding mine to the center of my table or hanging them on my kitchen cabinets with a long ribbon or bow. This looks so festive, especially around the holidays. Wherever you decide to hang or use your wreath is a personal preference.
Tips for Storing and Reusing Your Magnolia Wreath Next Christmas
Secure Storage: When it’s time to pack away your gorgeous wreath after the holiday season, store it in a cool, dry place. Place the wreath in a sturdy container to prevent it from getting crushed or damaged. If possible, hang it on a hook or store it in a wreath storage bag to maintain its shape.
Avoid Direct Sunlight: Faux magnolia leaves can fade over time when exposed to direct sunlight. To preserve the vibrancy of your wreath, store it in a location away from prolonged sunlight exposure. A closet or under a bed can be an ideal spot.
Fluff and Refresh: Before redeploying your magnolia wreath next Christmas, take a few moments to fluff the leaves and refresh their appearance. Gently reshape any flattened leaves and add any new decorative elements or accents if desired. This quick touch-up ensures your wreath looks as stunning as the first time you crafted it.
Other posts and DIY Projects you may enjoy:
This Christmas Home tour.
How to Layer Your Christmas tree decorations like a pro.
These outdoor porch decorations.
You can Make this in minutes.
This fun kissing ball.
The joy of this easy DIY magnolia wreath extends beyond the finished product; it becomes a cherished representation of your style and a focal point for holiday cheer. As you admire your creation, consider the possibilities for the next time—perhaps a new color palette or a different arrangement technique. With each DIY endeavor, you have the opportunity to celebrate the holiday season in a way that is distinctly and beautifully yours!




Such a beautiful project, Susan! Magnolias are one of my favorites so this is right up my alley! Love it!
How did I not know it was one of your favorites? I could see this on your front door!