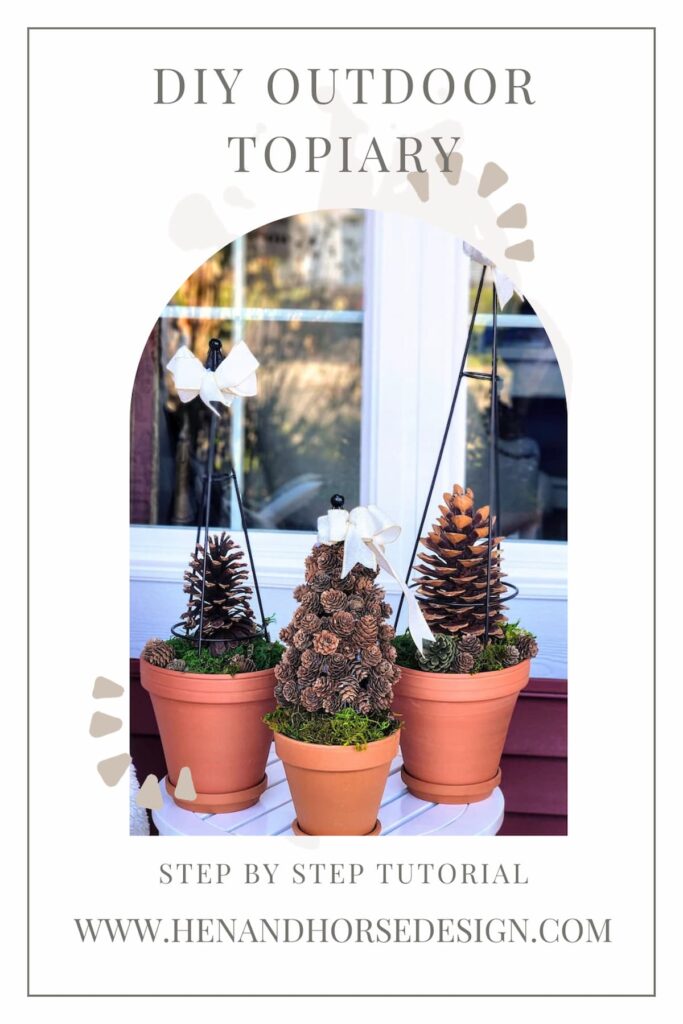
DIY Outdoor Pinecone Topiary: Brilliant Porch Decor
Well, gather ’round, my dear friends, because we’re about to embark on a delightful DIY adventure that will have your front porch looking like a scene straight out of a vintage Hollywood movie! Picture this: a touch of whimsy, a dash of creativity, and a whole lot of pinecones.
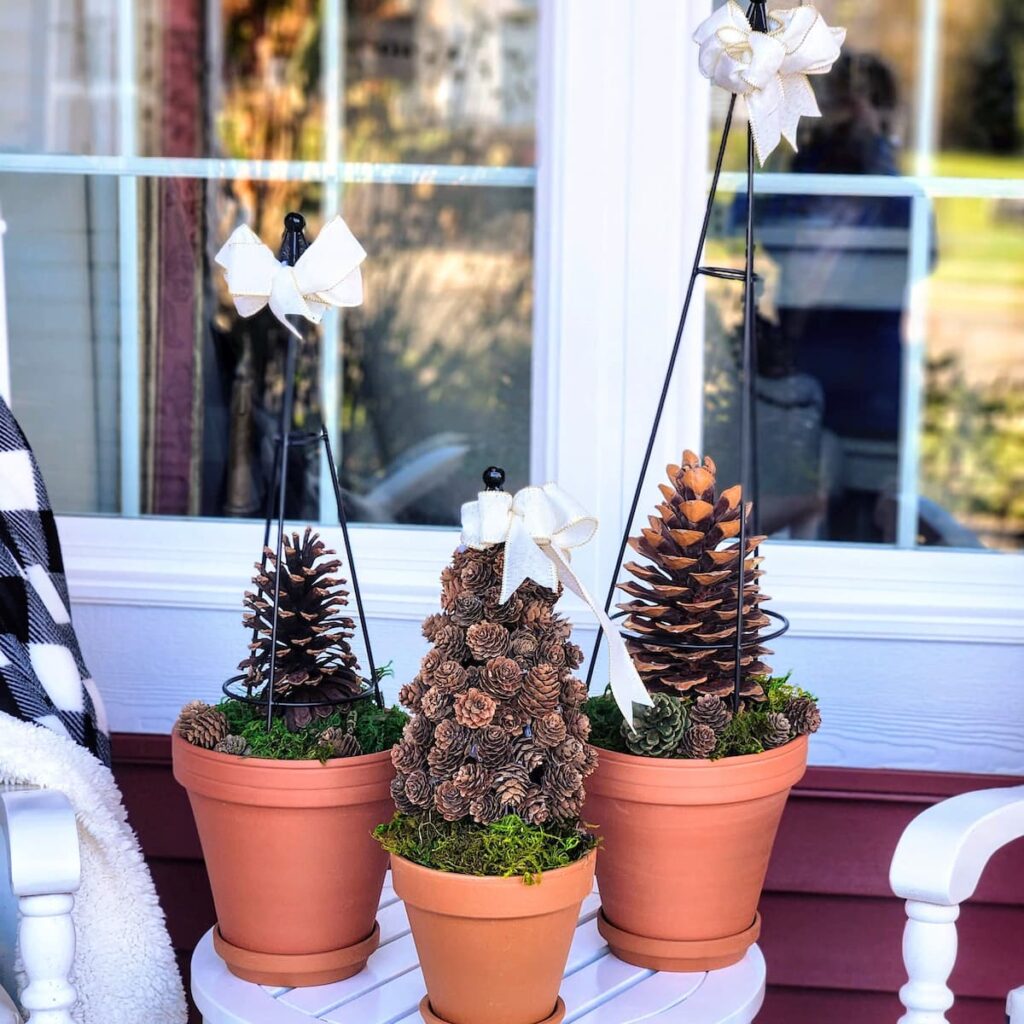
That’s right, sweet peas, I’ve whipped up a blog post that’s all about crafting your very own DIY Outdoor Pinecone Topiary trees to transform your porch into a brilliant nature winter wonderland. Get ready to bring the outdoors in and make your neighbors green with envy as we dive into the world of DIY porch decor that’s simply to pine for!
What is a DIY Outdoor Pinecone Topiary Tree?
Oh, friends, you’re in for a real treat! Topiaries are one of my favorite things. DIY topiary trees or topiary balls in any form always have my vote. A pinecone topiary tree is like taking a little slice of Mother Nature and dressing it up in its Sunday best.
Picture this, it’s like your very own green, textured mannequin adorned with lovely pinecones – yes, those pointy, brown, and fabulous little things you find on the forest floor.
You stack ’em up, glue ’em together, and sculpt ’em into the shape of a charming tree. It’s a bit like Mother Nature’s version of a fashion show, with the pinecones strutting their stuff in a topiary twist. So, when you see a pinecone topiary tree, just remember, it’s like a piece of natural art with a touch of whimsy, ready to glam up your porch or garden. Fabulous, isn’t it?
All about pinecones
It’s the first Tuesday of the month which means it’s our monthly Handcrafted Society post. This month’s theme is all about pinecones. I’m delighted to be in the company of so many talented bloggers and creators. Thank you to my dear blogging friend Wendy from WM Design House for hosting this fun group. It’s an honor for me to be included and part of this fantastic group. Be sure to check out all of their blogs at the end of this post for tons of great pinecone ideas for your home decor.
We always invite a guest to join in on the fun. This month, we welcome Kim @cottageinthemitten. We are so happy she joined us.
If you have come over from Missy at Sonata Home Design welcome! Doesn’t her ‘pinecone’ holiday cheese ball recipe look scrumptious? It’s so pretty and I’m sure this will be a hit for any holiday party! I cannot wait to make this one!

How do you make a porch topiary?
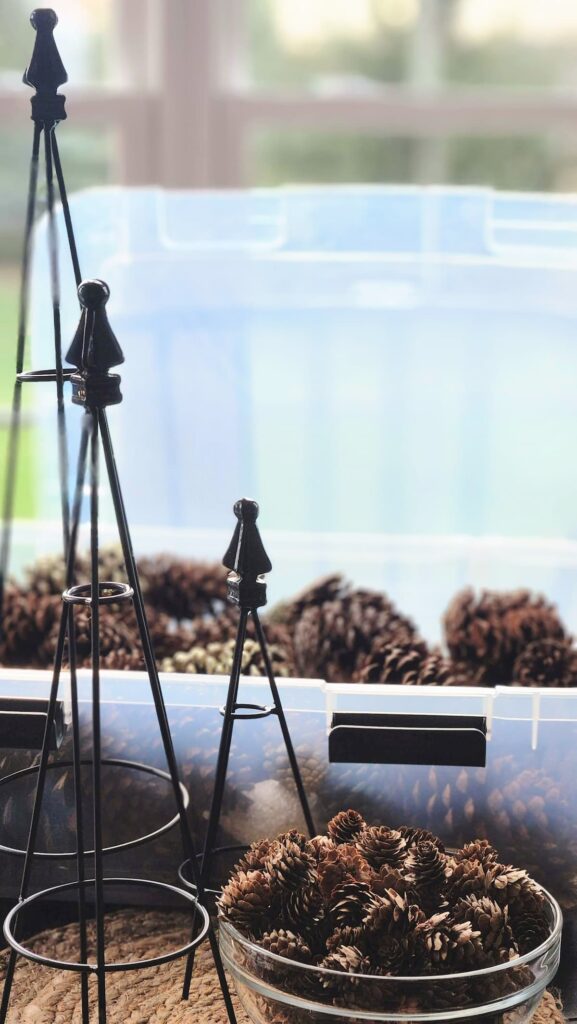
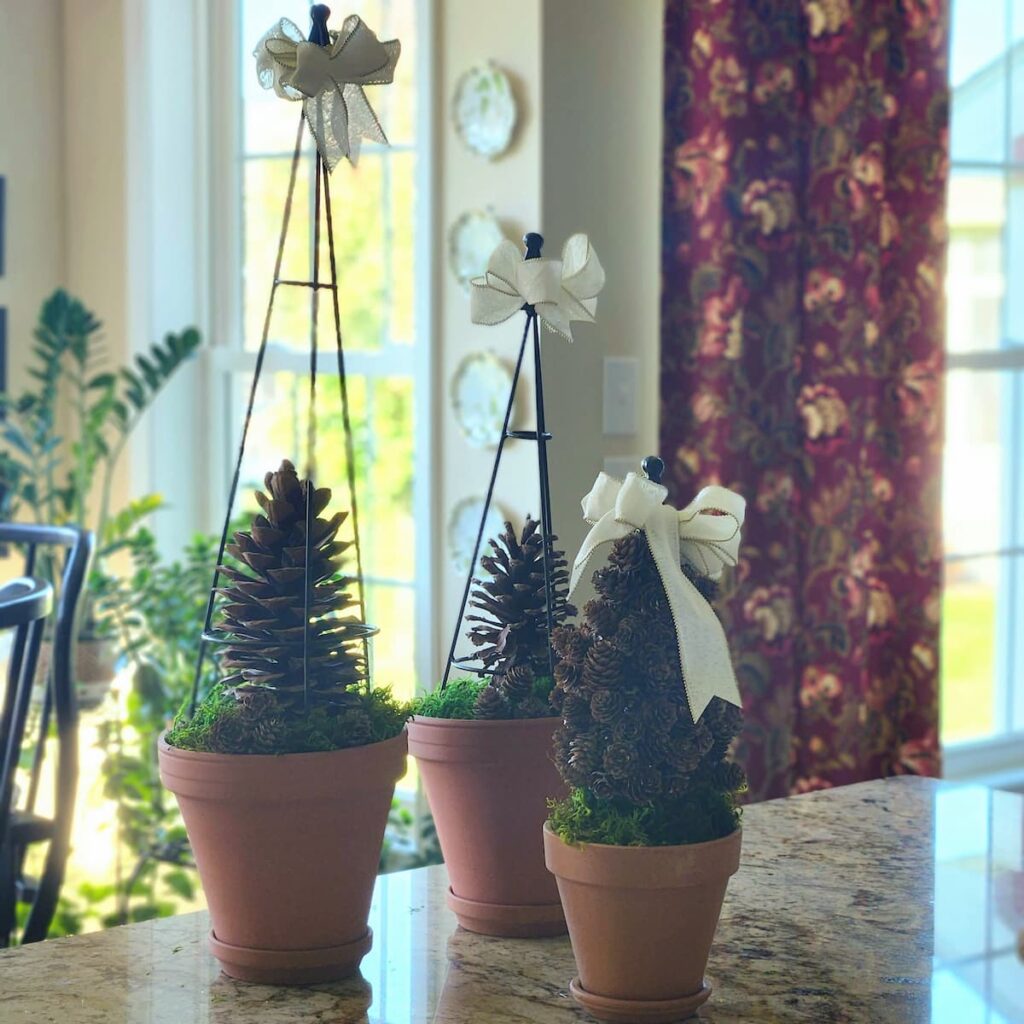
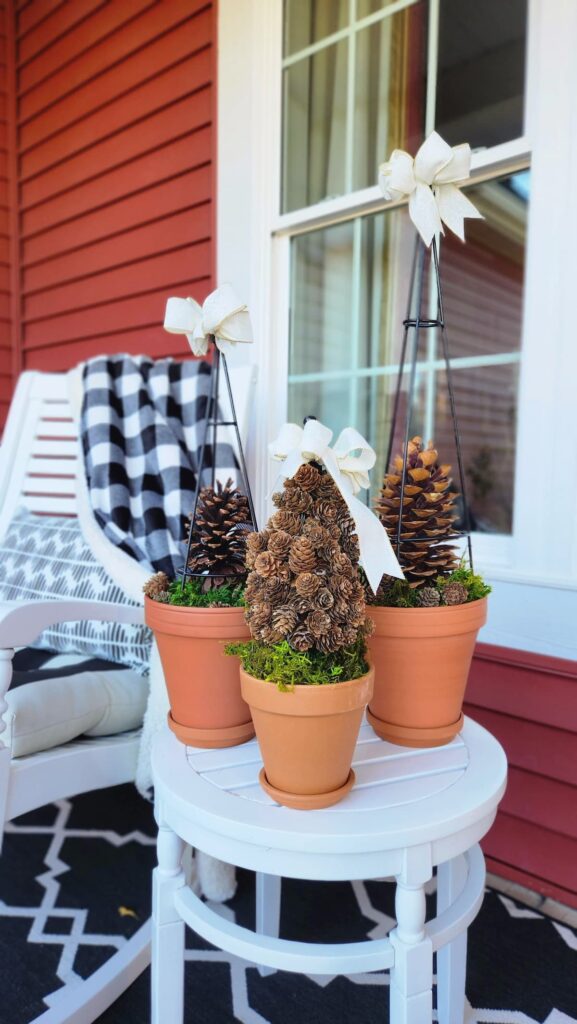
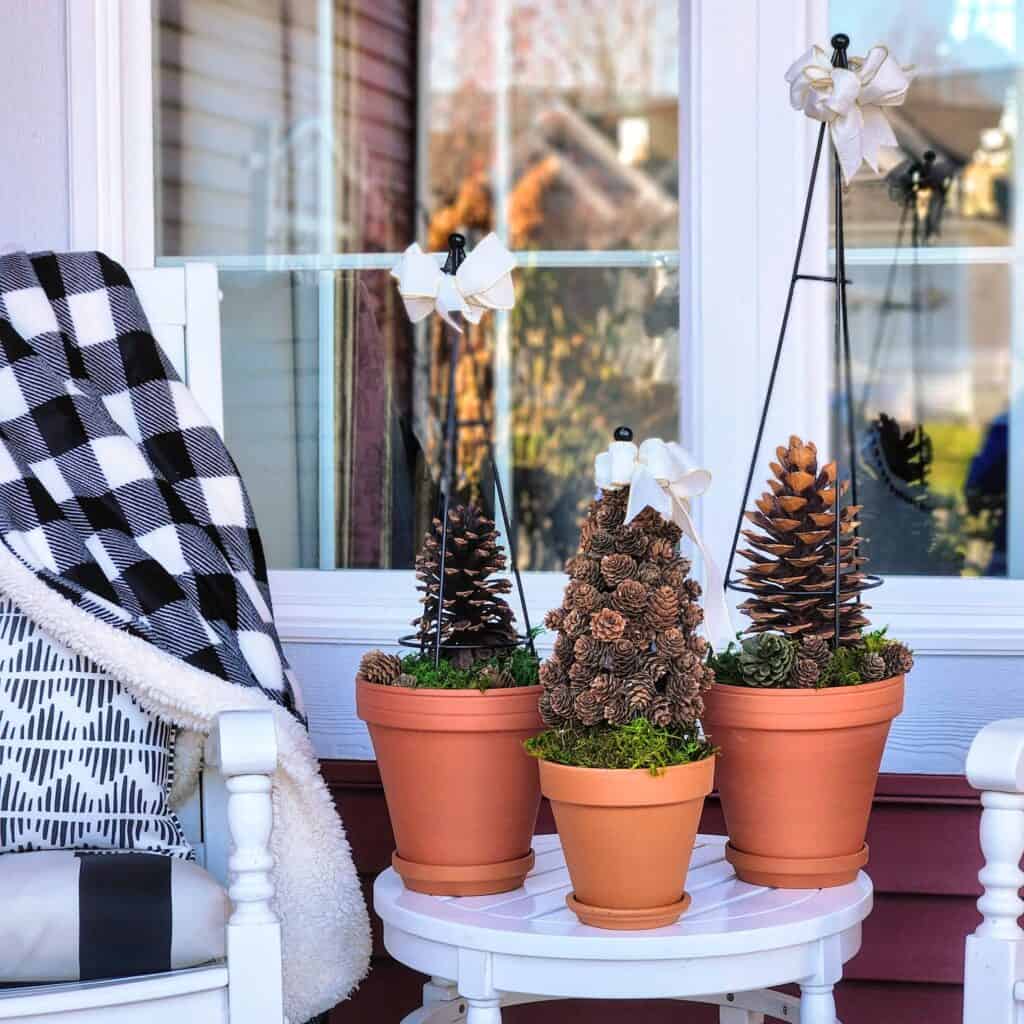
There are a variety of ways to make a porch topiary tree. My first thought was to use floral foam or a wire frame. This will help with acquiring the perfect topiary shapes. I opted to use three-wire topiary frames I bought on Amazon in different sizes. This way I will group them together, with each one having a different look than the other.
Hobby Lobby or your local dollar store will have many of the items you’ll need to begin without a high price tag. With a little bit of creativity, your front door will be transformed in no time at all. The best part is pinecone topiaries are a great way to decorate and are also really low maintenance.
What You’ll Need from the Craft Store:
Here is a list of supplies you will need to get started.
List of Supplies for a DIY Outdoor Topiary
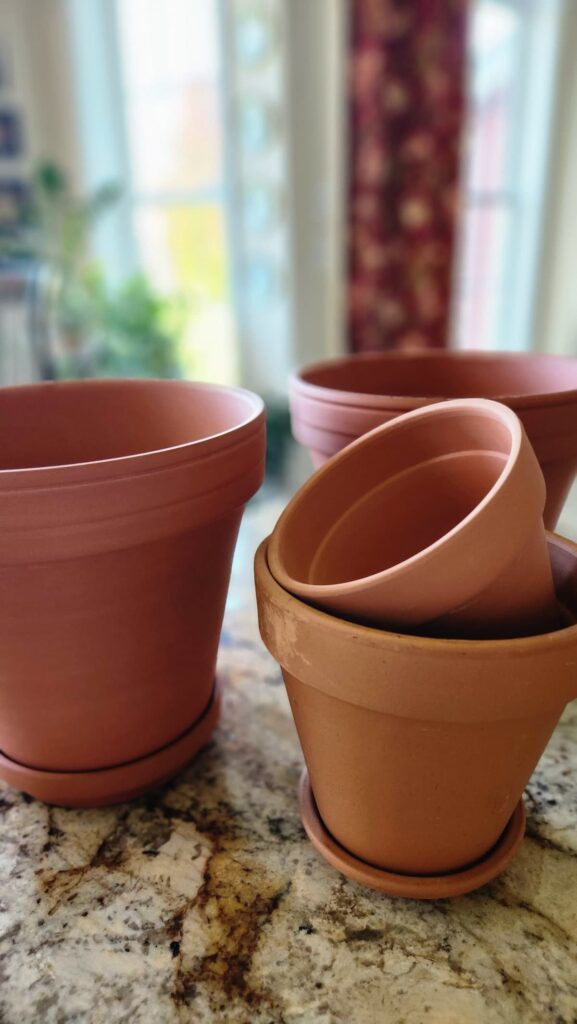
- Terra Cotta Clay Pots (I used three)
- Wire form
- Hot glue gun and glue sticks
- Bag of small Pinecones
- Floral wire
- Ribbon (optional)
- 2 Extra Large Pinecones
- Potting soil or rocks (for filling the bottom of the bucket) (if is windy on your porch I suggest small pebble rocks. I opted for pieces of brown kraft paper to fill the bottom)
- Spanish moss or pieces of greenery to fill the top of the pot
Step by Step Instructions
In this post, I’ll guide you through the easy steps to making a pinecone topiary tree for your home decor.
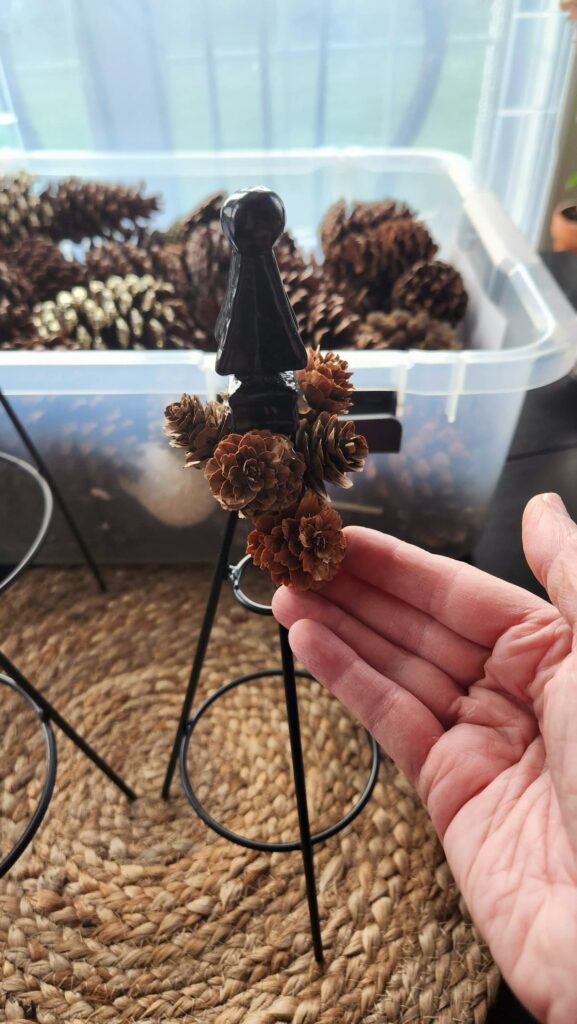
Step 1: Hot glue pinecones to topiary form
The first step is to hot glue the pinecones to the topiary form, starting at the top and working your way down.
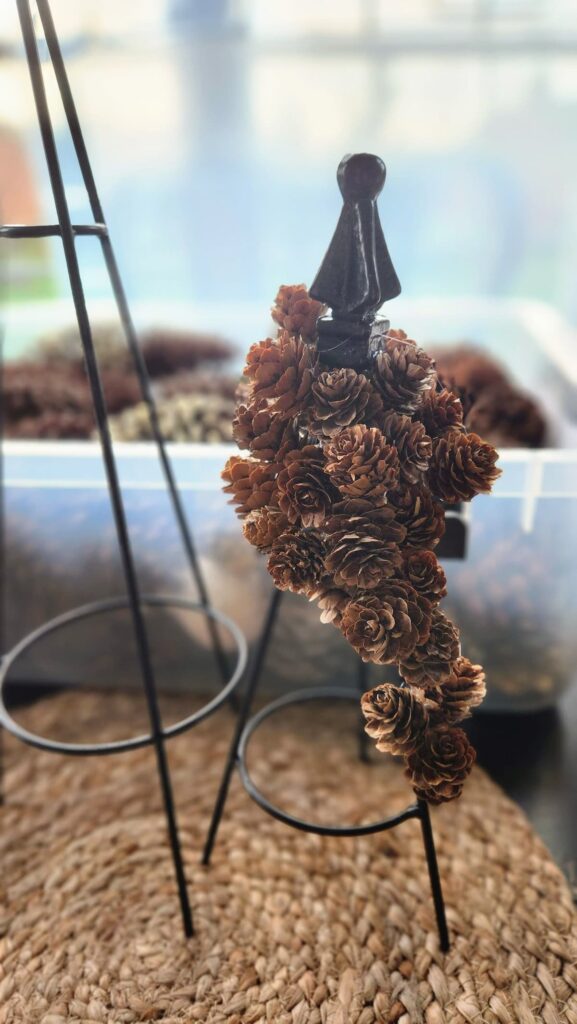
Step 2: Add pinecones along the edge of the wireframe
Continue gluing pinecones along the edge of the wireframe, then work your way around the form attaching the pinecones to each other one by one. This will vary depending on the look of topiary trees you’d like to create.
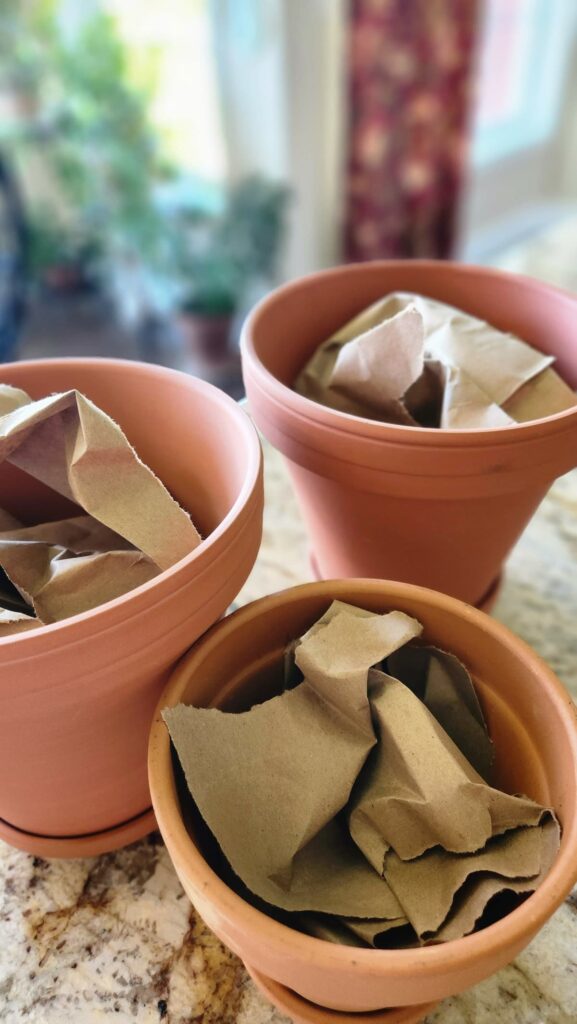
Step 3: Fill the pot with weighted material
Once your pinecones are fully added to the wire form, fill the pots with stone or brown paper pieces.
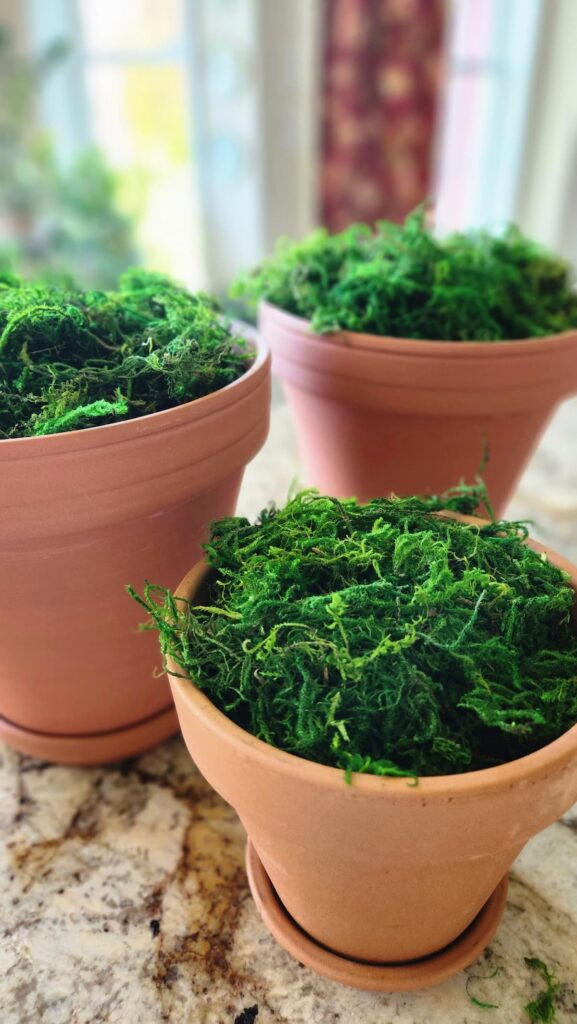
Step 4: Add green moss to cover the stone or paper
Cover the brown paper with green moss.
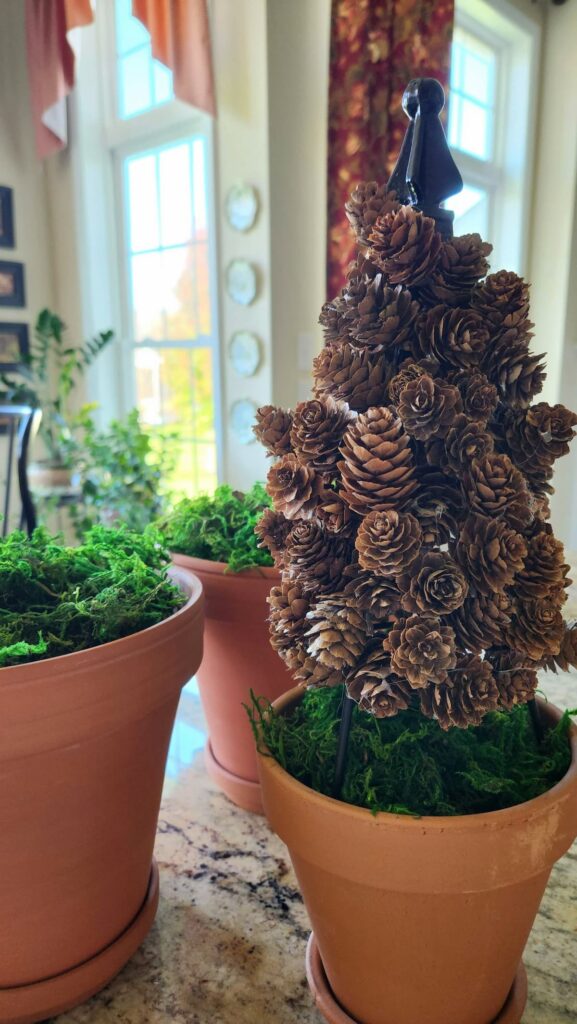
Step 5: Place the topiary frame inside the pot
Add the topiary wire frames to the inside of the pot. (hot glue may be used to keep them in place) Mine fit perfectly and were quite snug.
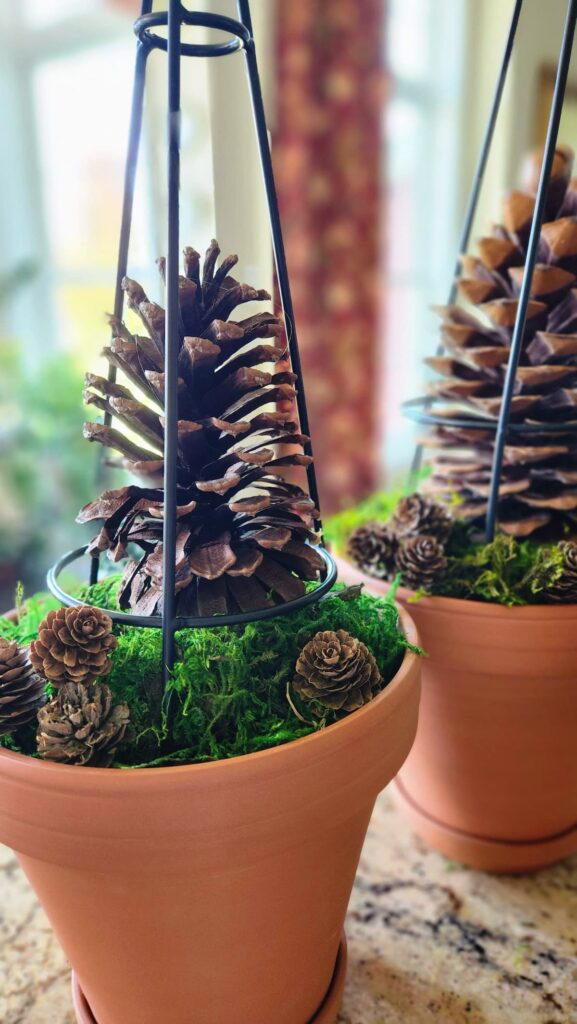
Step 6: Place large pinecones under topiary form
Next, I added the extra large pinecones under the two large topiary forms. For a bit of depth, I’ve included a few more smaller pinecones around the base.

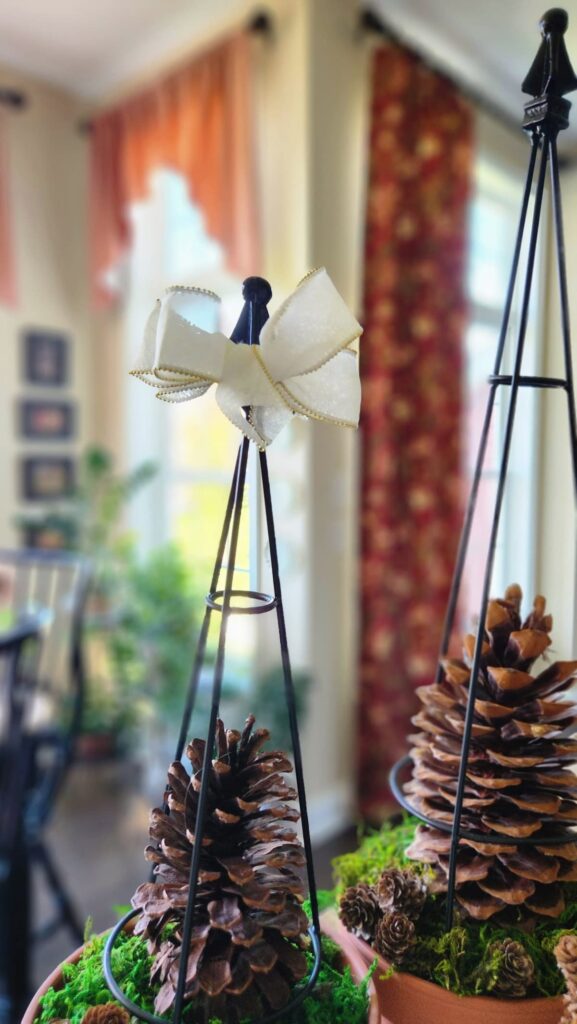
Lastly, I used 1 1/2 inch ivory wired ribbon. To tie the bow to the top of the topiary frame, I used a pipe cleaner, cut in half.
Tips for making a Topiary
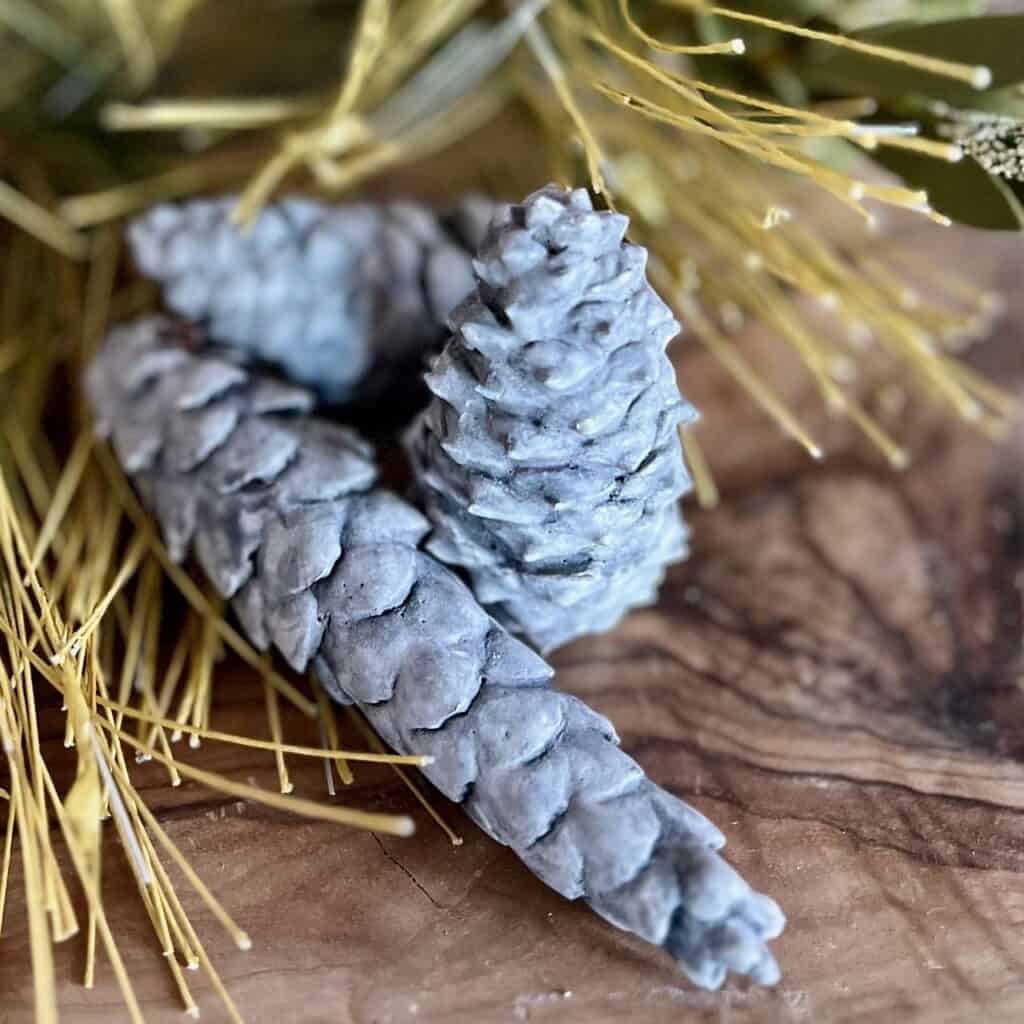
- For a more polished look, you can paint them with white paint or spray paint them with a clear sealant.
- For a more rustic look, leave the pine cones natural.
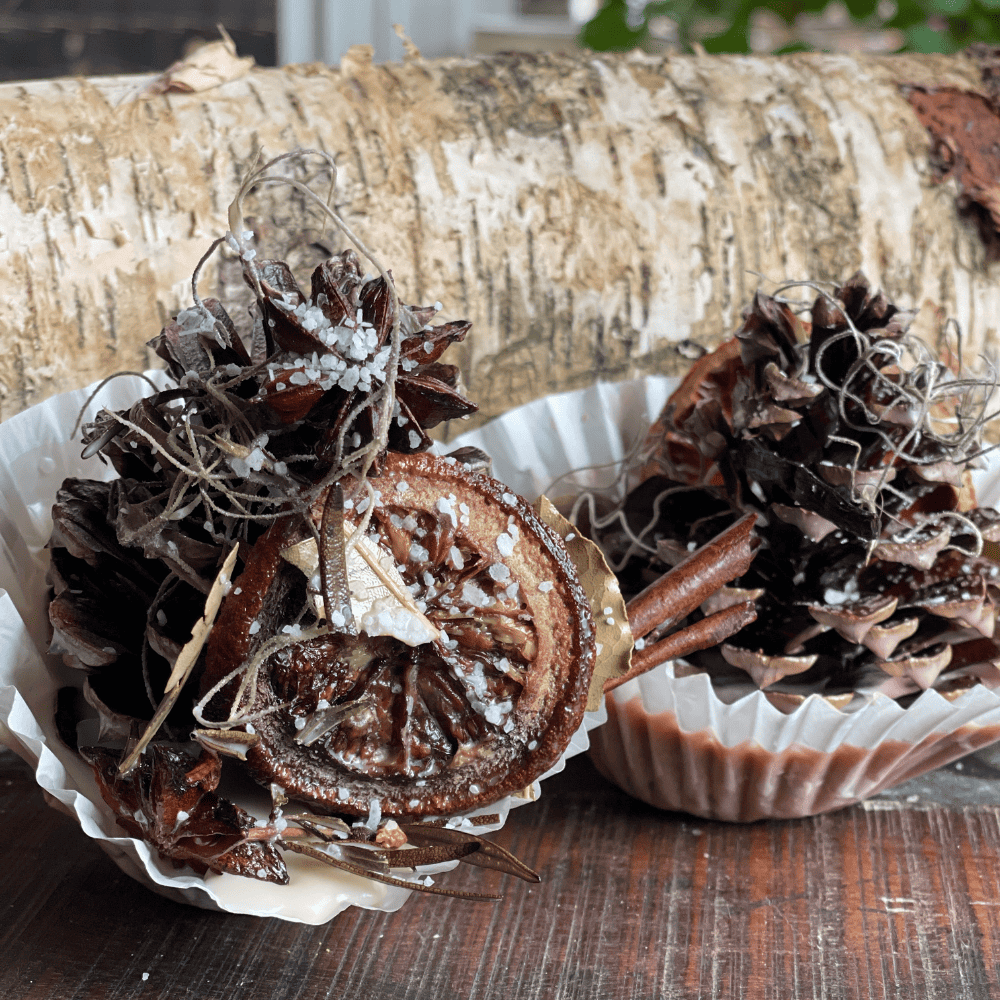
- Use a variety of pine cones with different shapes and sizes.
- You can also use other natural materials, such as acorns, twigs, or berries, to decorate your topiaries.
- If you live in a windy area, secure the topiaries to the ground with stakes or fishing wire.
- When using fresh greenery during the winter months, be sure to keep it moist by placing a jar of water in the bottom of the vessel.
- To add a touch of sparkle, spray the topiaries with silver or gold glitter acrylic paint.
Ideas for How to Display Your DIY Outdoor Topiary
- Place the artificial topiaries on your front porch, steps, or patio.
- Cluster them together to create a focal point.
- Use them to flank your front door.
- Place them in pots or planters of varying heights to add interest.
- Add them to your holiday table décor
- After the holidays, I plan to use the topiary frames for growing several perennial plants
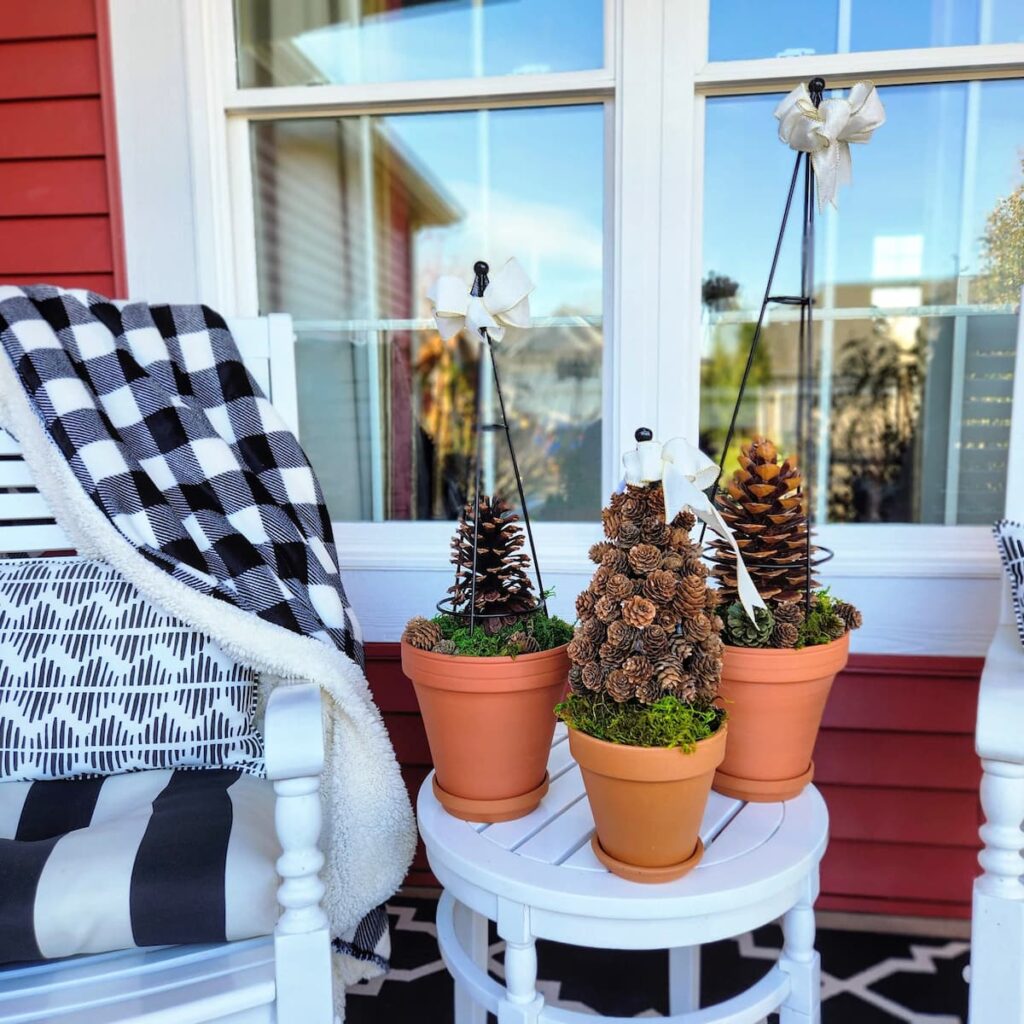
No matter how you choose to display them, your pinecone DIY outdoor topiary is an ideal choice to add a touch of charm to your outdoor space.
Benefits of making your own topiary tree
Creative Expression:
Crafting your own easy DIY project allows you to unleash your inner artist and express your unique style. You have the freedom to choose the shape, size, and design, making it a fantastic outlet for creative expression.
Cost-Effective Decor:
DIY pinecone topiaries are a budget-friendly way to spruce up your home or outdoor space. You can gather pinecones from your surroundings or purchase them inexpensively, making it an affordable decor option compared to store-bought alternatives.
Personalized Decor:
When you create your own topiary tree, you infuse it with your personal touch. You can customize it with different paint colors, ornaments, or other embellishments to match your home’s decor or the current season, resulting in a unique and personalized decoration.
Eco-Friendly
Using natural materials like pinecones in your DIY projects is an excellent way to be environmentally friendly. You’re repurposing and upcycling materials found in nature, reducing waste and the need for synthetic decorations.
Relaxing and Therapeutic:
The process of making a pinecone topiary can be a calming and meditative activity. It provides a break from the hustle and bustle of daily life, allowing you to focus on the simple pleasure of creating something beautiful with your hands.
Shop & Source
I hope you enjoyed this fun pinecone craft project that combines the beauty of nature with the love of creativity! It’s amazing how many different ways you can use pinecones to create a gorgeous masterpiece.

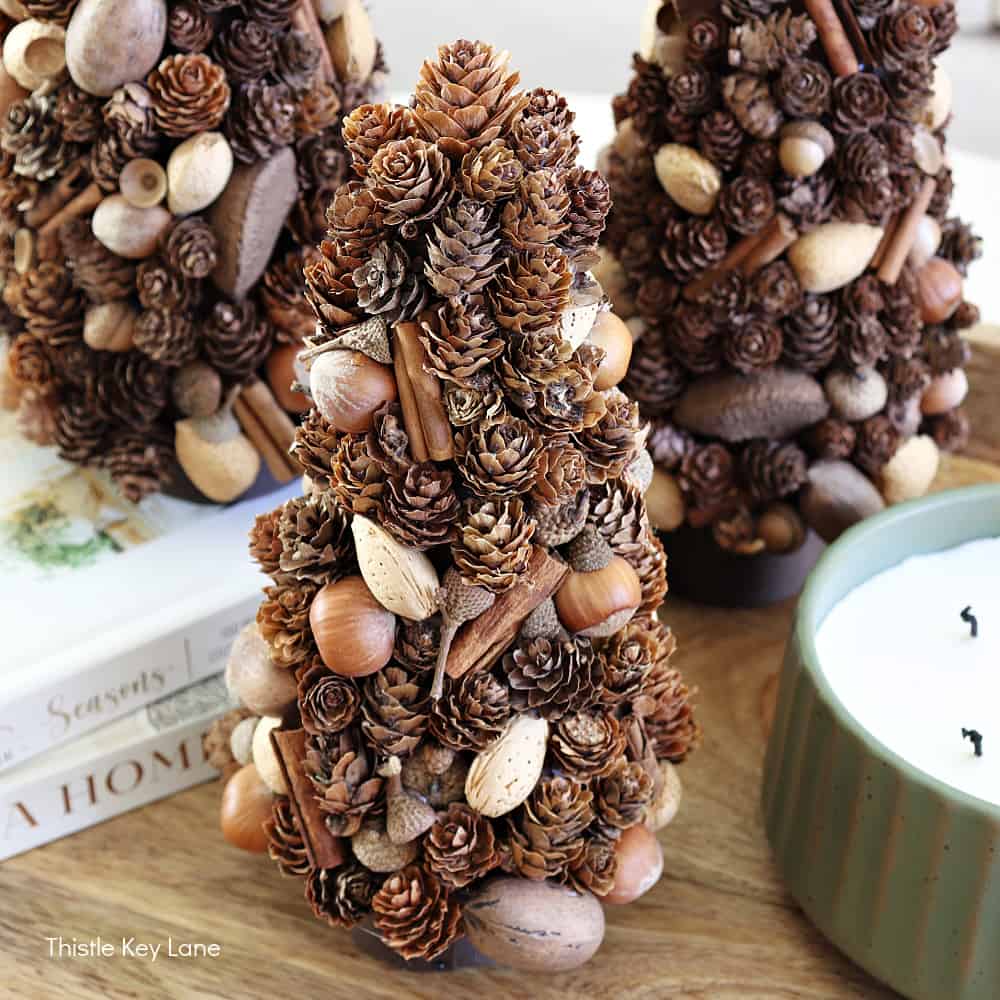
Now, it’s time to head over the my friend Michelle’s blog at Thistle Key Lane. Michelle is sharing How to make pinecone trees. She has some truly awe-inspiring projects I think you will love!


I hope you enjoyed this post! If you want to stay up-to-date on all my latest content, be sure to sign up for my newsletter. You can also follow me on Instagram, Facebook, and Pinterest!

Other posts you may enjoy:
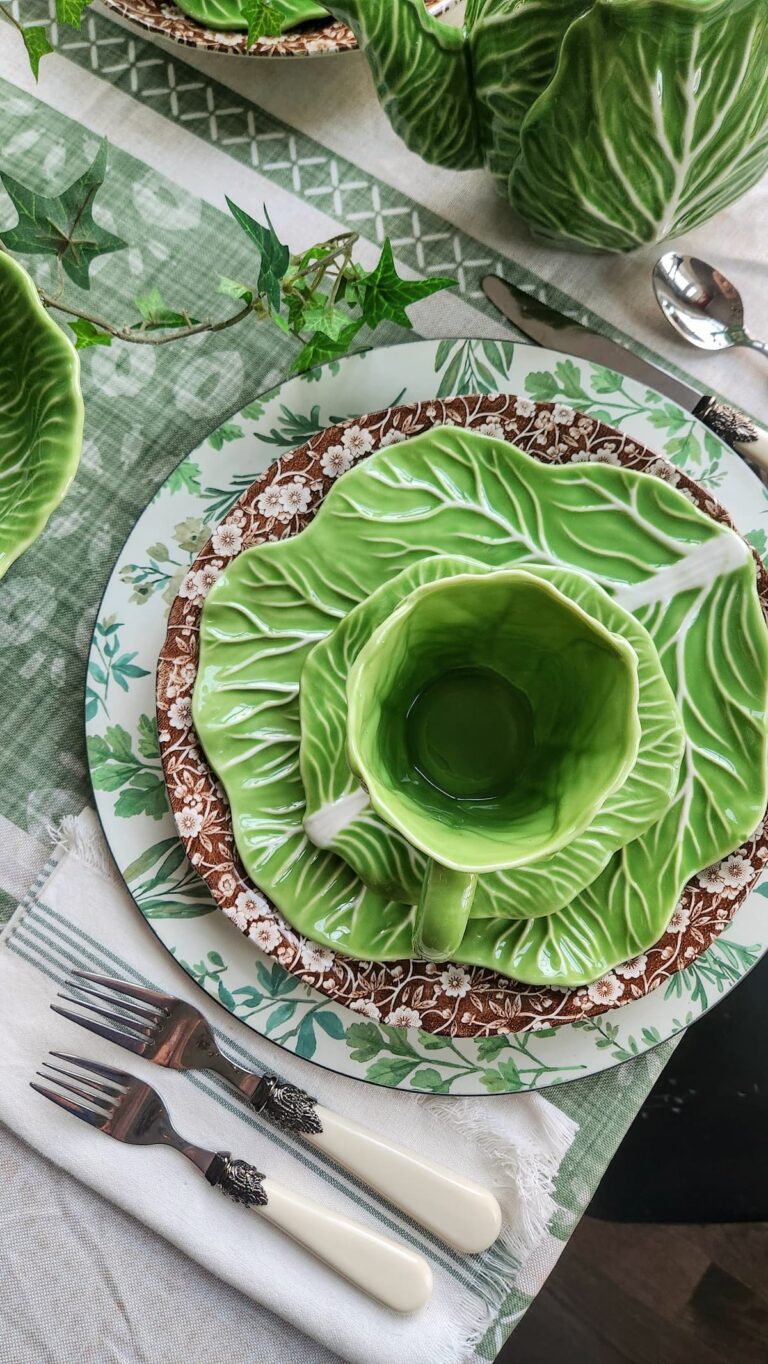
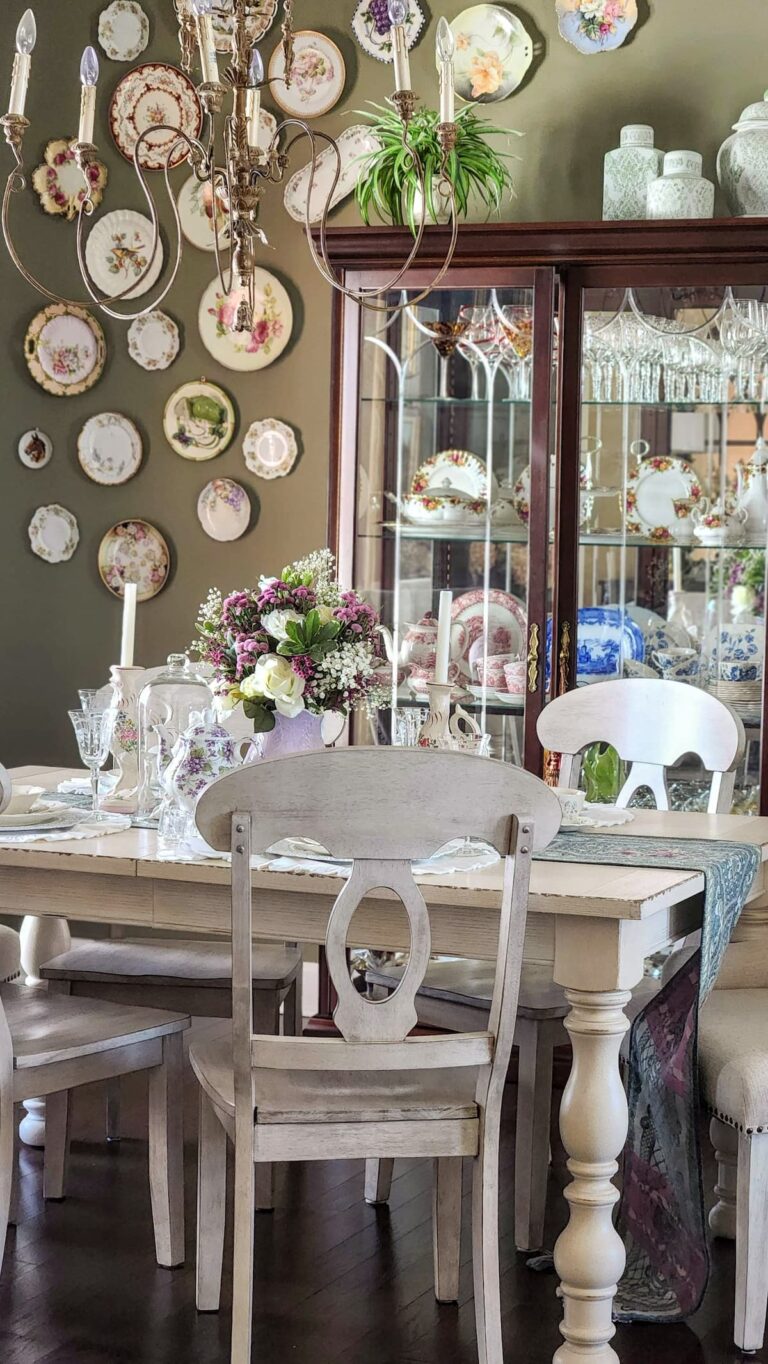
Looking for ideas to decorate your dining room table for Thanksgiving?
Fun Fall Pine cone wreath you can make in minutes


Links don’t work- page not found
all fixed thank you! 🙂
Susan I love these wire topiaries with their cute finials. With the addition of pinecones they really make pretty tabletop decoration for a porch or patio! Pinning!
Thank you Michelle! I love using natural elements when I can!
These are so beautiful, Susan! So perfect for the holidays but I could also see these outside after the holidays and throughout the winter. Thanks for a great idea!
Thanks Missy! Absolutely, I plan on keeping them thru the snowy winter on a shelf or my mantel. Thanks for stopping by!
Love them! Great idea, Susan
Thank you Jennifer! The Handcrafted ladies are so much fun and super creative for sure!