My Favorite Floral Topiary DIY
Come on over and sit down with your cuppa tea while I share with you My Favorite Floral Topiary DIY. I’m pretty sure you won’t want to sit too long thou because you may want to head straight away to your nearest Trader Joe’s or Marketplace for a few bouquets of flowers to get started.
Why I Love This Topiary
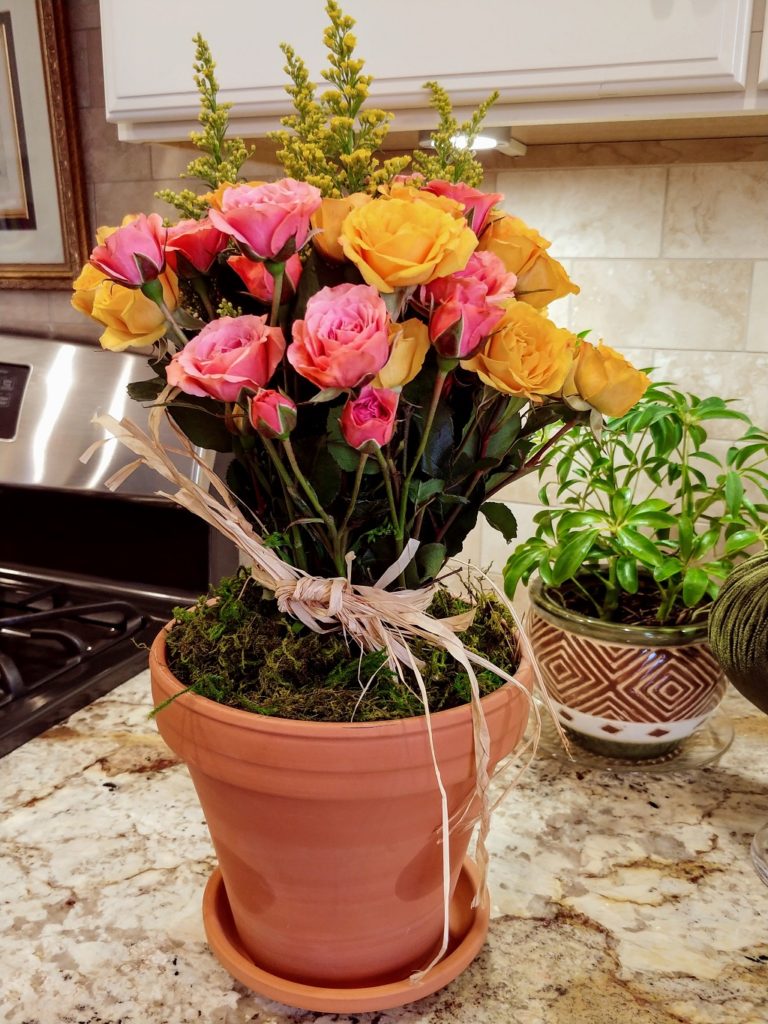
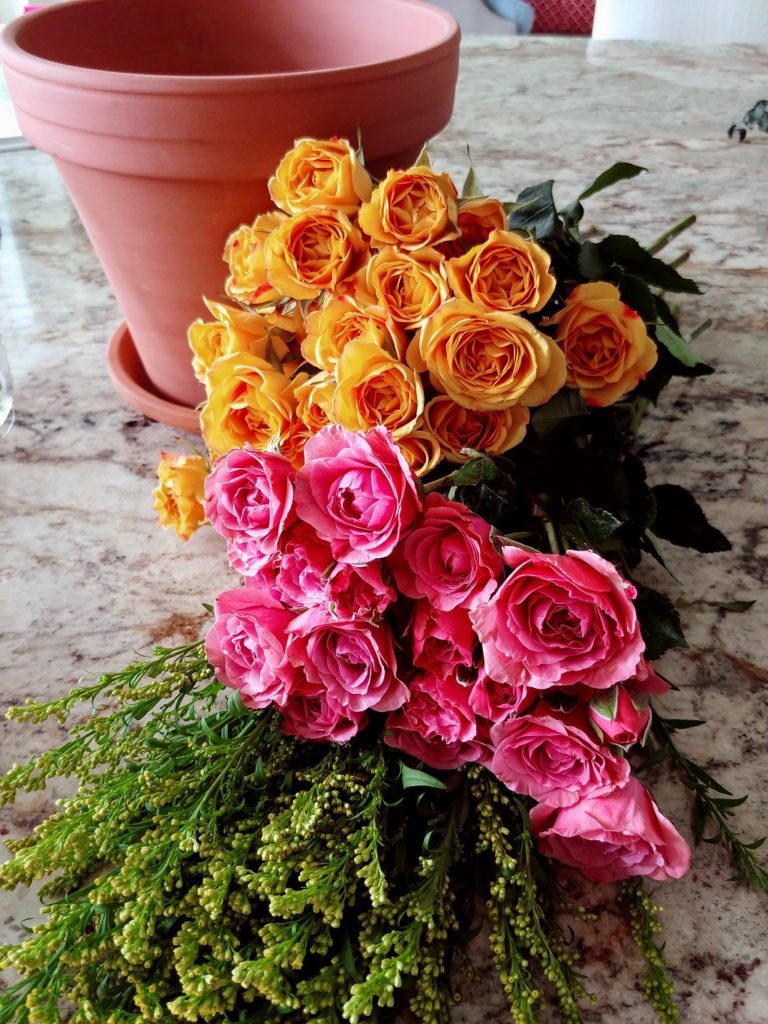
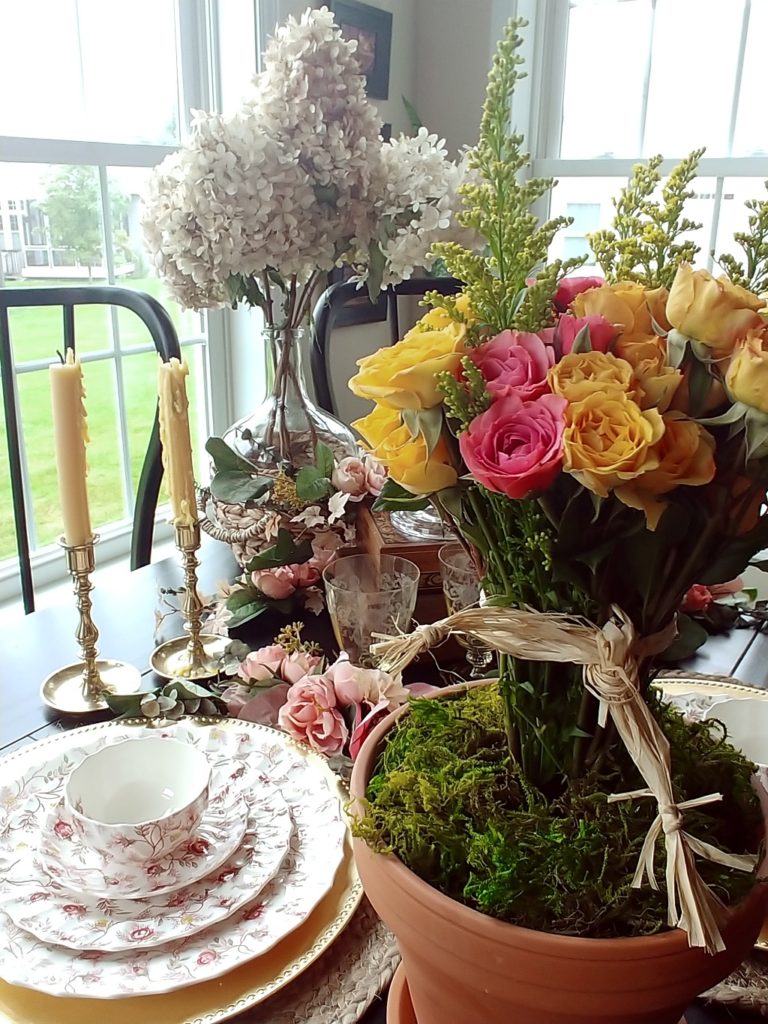
Adding different colors to my fall arrangements has always interested me. Autumn arrangements don’t necessarily have to have orange in them. I opted for pinks and yellows for My Favorite Floral Topiary DIY.
I love changing my flower vessels up a bit and I had the thought that I did not want to use a traditional vase for this floral topiary.
Creating a beautiful Floral Topiary with a lot of colors, that was quick and easy to make was my goal!
Materials You Will Need
- Clay Pot (mine was an 8″ pot)
- Jar or Glass to fit inside the Clay Pot
- 40 Flower Stems (I used two bouquets from Trader Joe’s and 1 Pack of Greenery)
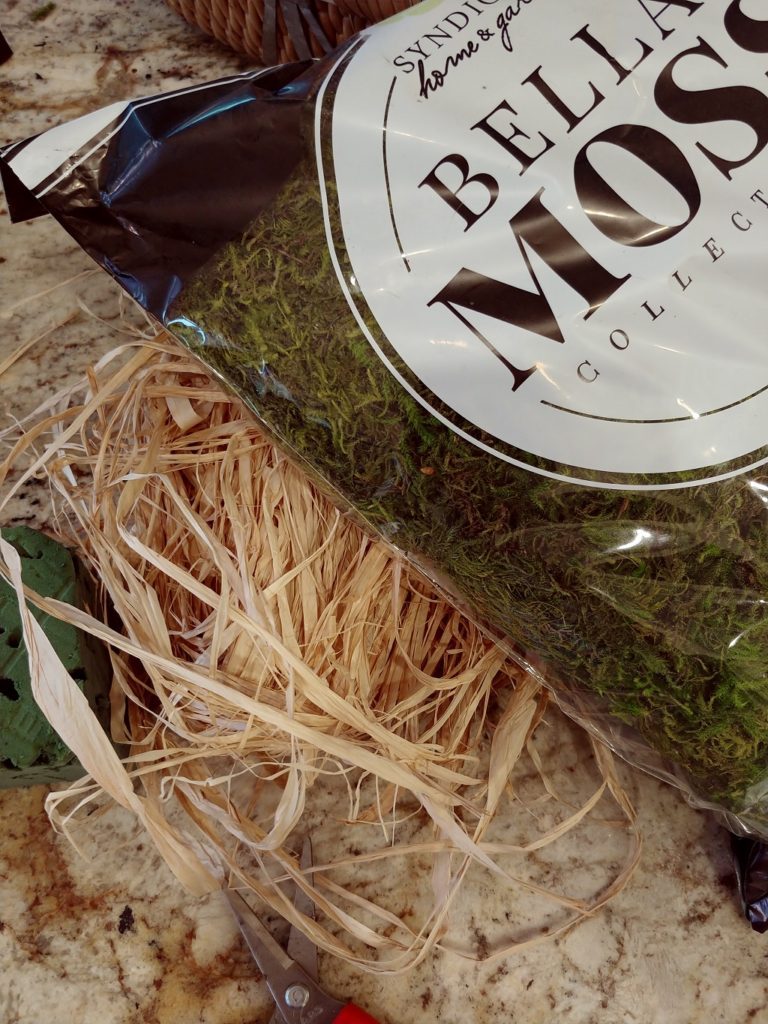
- Dried Moss (Similar to THIS )
- Floral Foam (I cut small pieces from one I had)
- 4 to 6 Strands of Raffia
- Scissors
- Floral Clippers
Once I gathered my materials, I set off to measure the stems for the proper height inside of the clay pot. I wanted my flower blooms to appear tall, with an obvious height difference from the top of the pot.
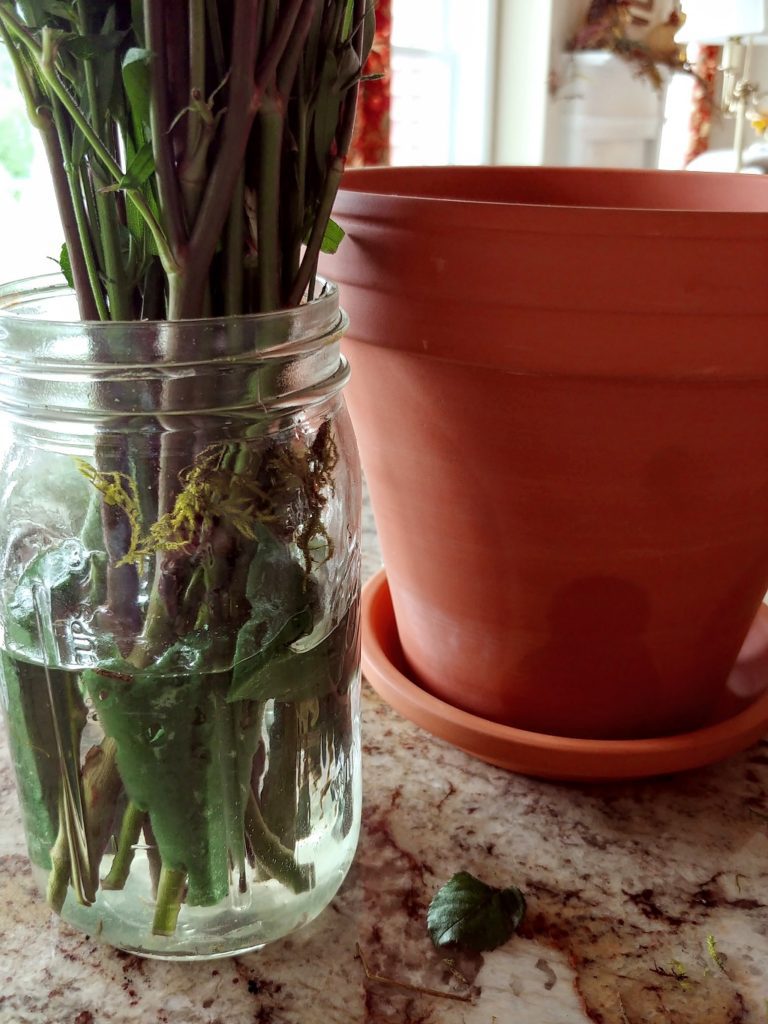
Once I completed that, I added the water to my glass jar, along with a packet of floral preservatives.
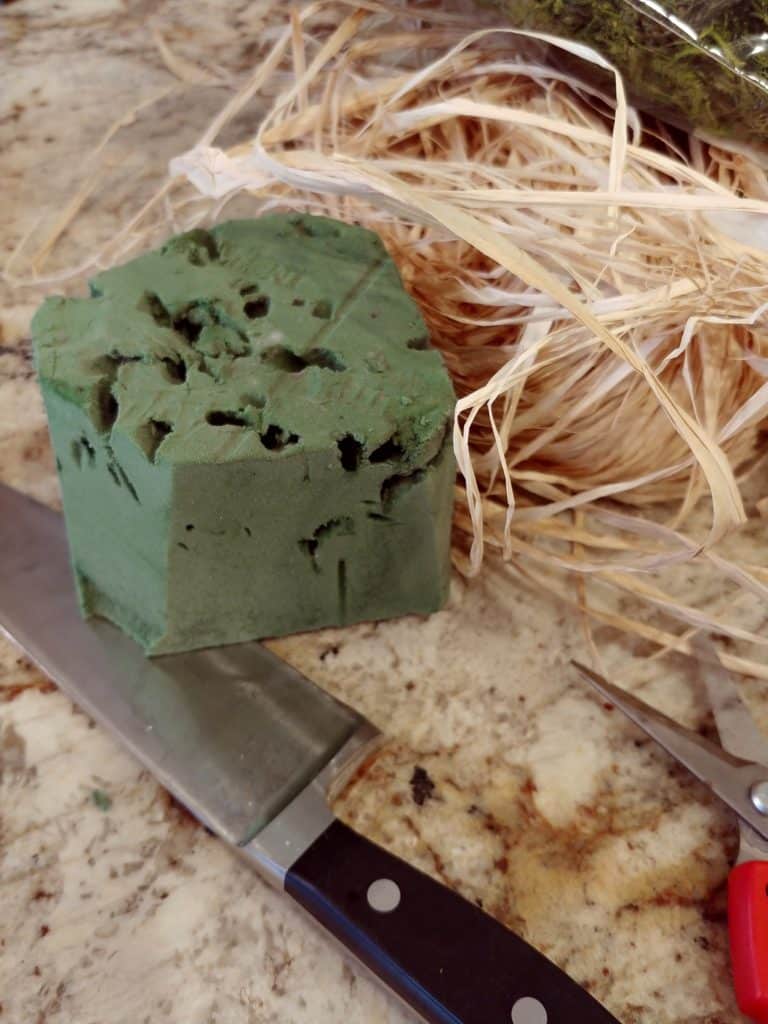
My next step was to slice the floral foam into triangular pieces to fit around the outside of the glass jar, to snugly fit inside the clay pot. I used three or four small pieces, and they securely anchored the jar in place.
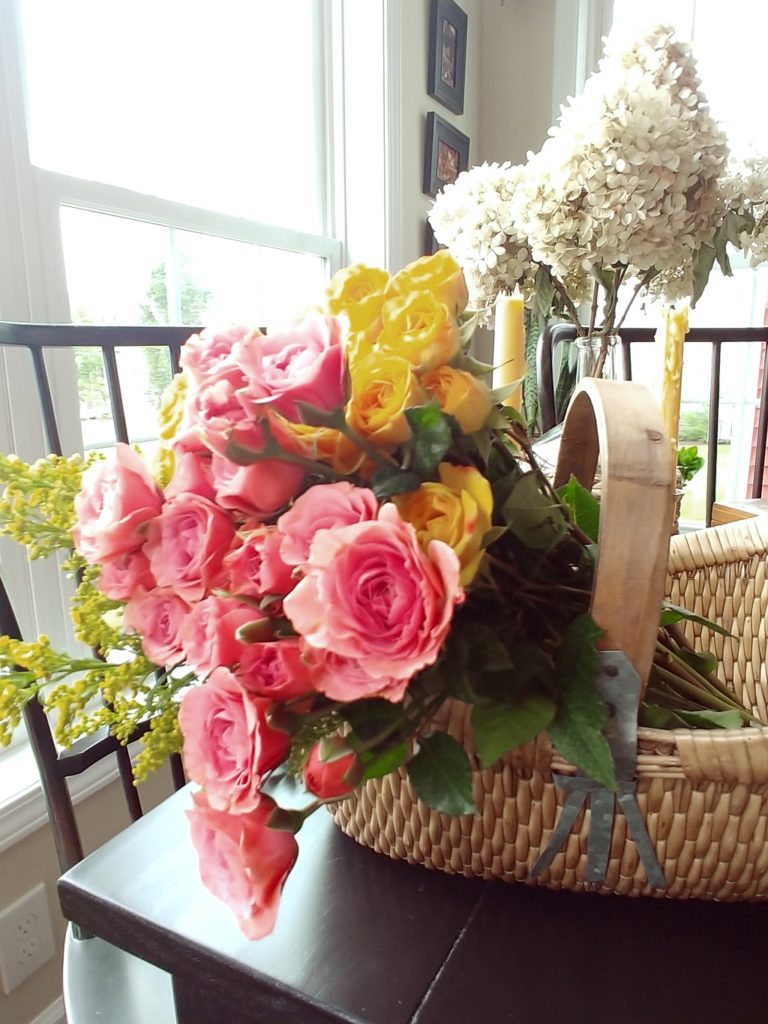
When I carried the flowers home in my newest vintage basket, I just had to stop and take a photo. Isn’t this just so pretty!
https://henandhorsedesign.com/wp-content/uploads/2021/10/1003211631-1.mp4
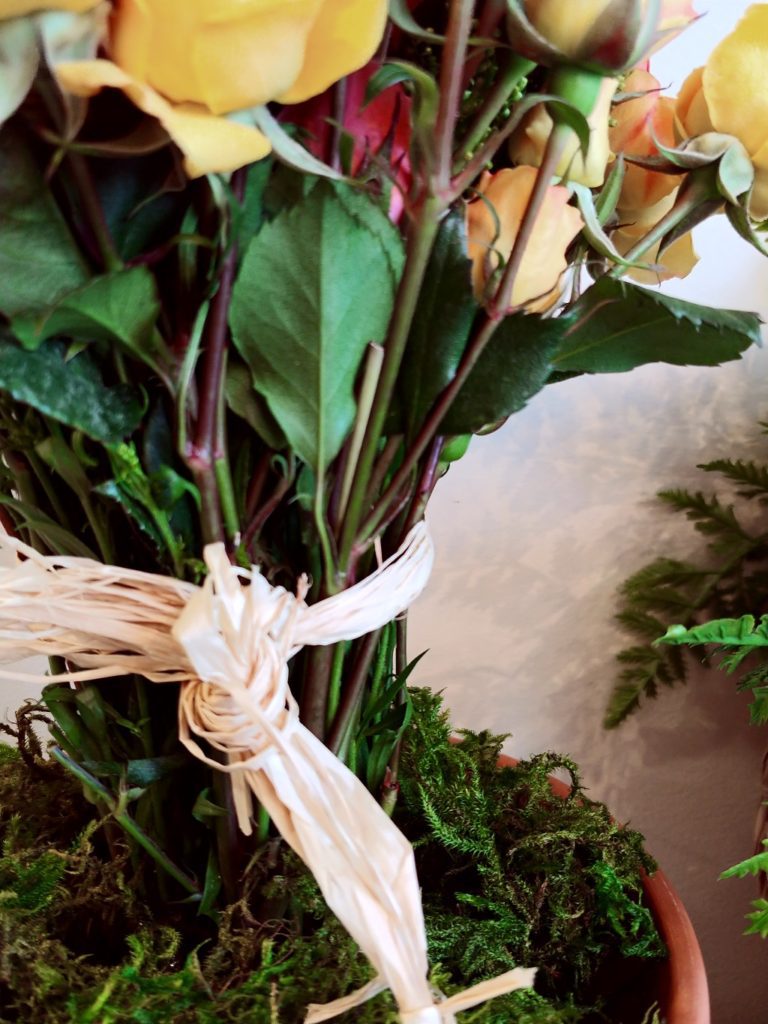
The last thing I did was to remove any leaves from the stems. This is how you will give your arrangement the floral topiary look and feel.
When I finished with the stems, I added a few pieces of raffia around the base of the flowers just below the flower heads and tied a knot. At the ends of the raffia, I tied an additional knot on each side, which gave the raffia a more finished look rather than looking frayed.
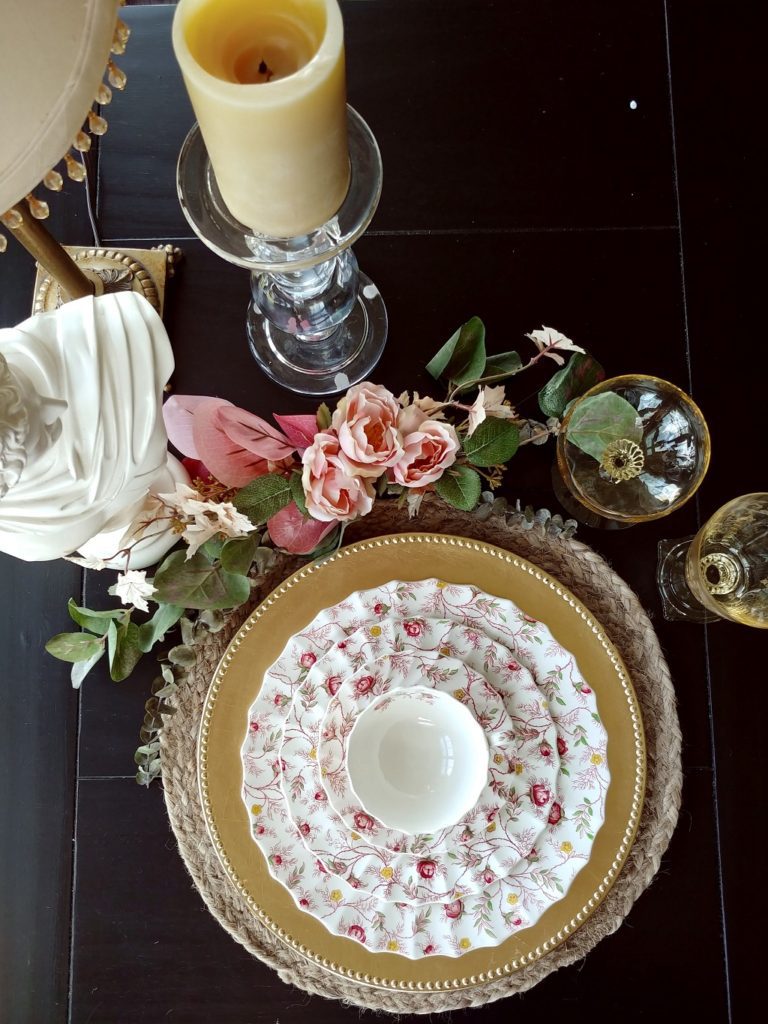
Here is a Closer Look at the Raffia
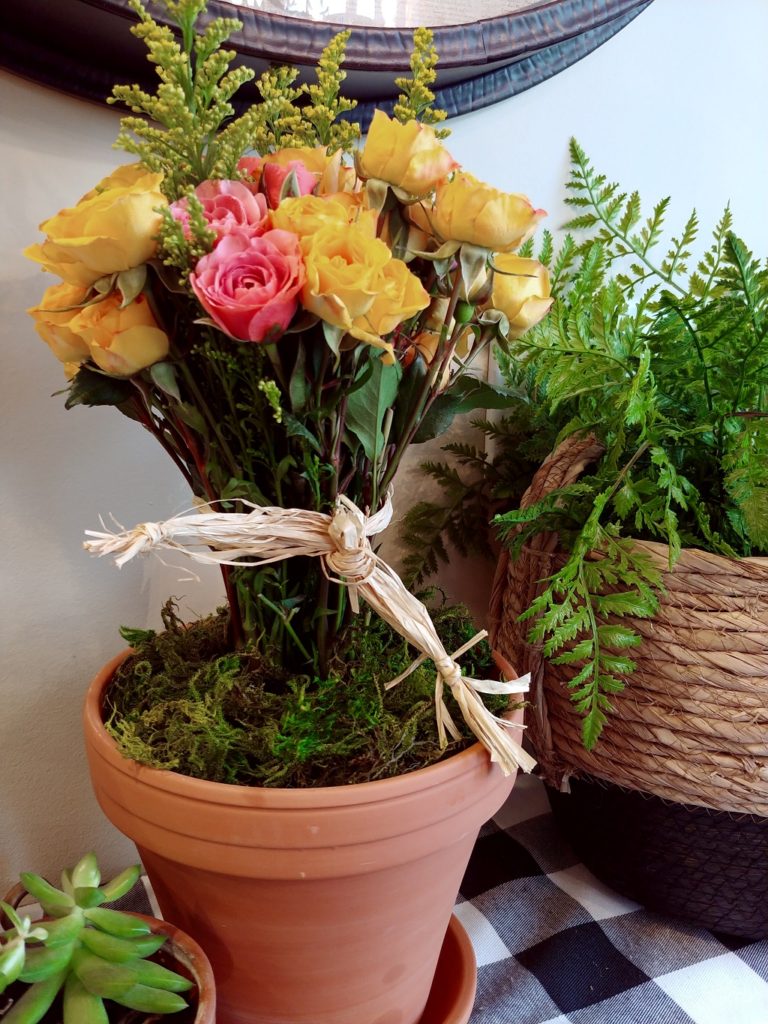
Lastly, I added the base with my green moss. Don’t forget to keep your flowers watered!

My Favorite Floral Topiary DIY is so gorgeous, I may just have to make another one using different flowers next week!
XO Susan
If you enjoyed this post, you may wish to sign up for receiving emails directly to your inbox. Click on the photos below for more fun DIY’s.
![]()

Super cute! I love this idea.
Thank you Renae! A fun way to style a bouquet without a vase! 🙂